


So, let's get started!
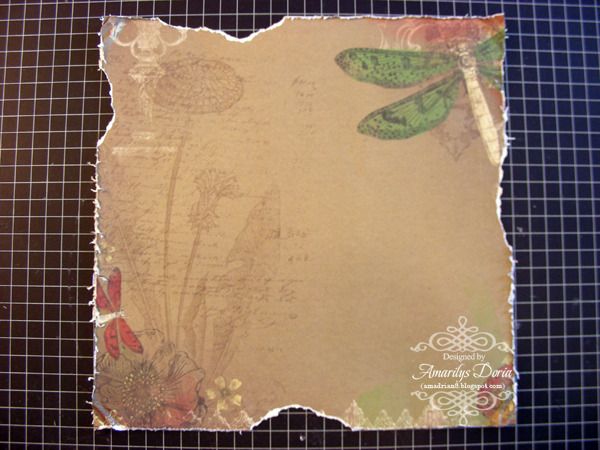
Step 1. Distress your pattern paper with the Tim Holtz distressing tool. Tear random areas around the page and crumble the corners with your fingers.
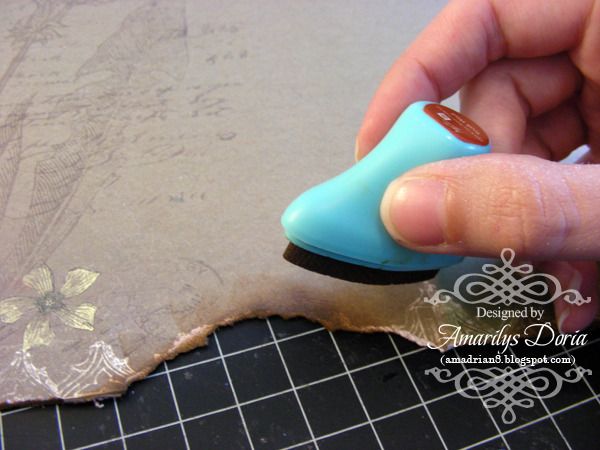
Step 2. Use the Prima ink and ink the edges to give it a worn look.
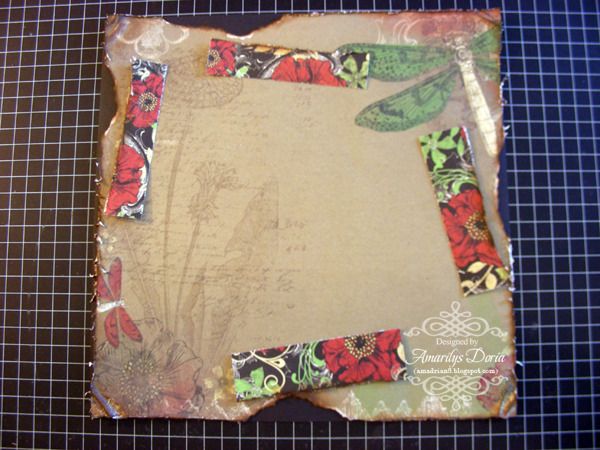
Step 3. Trim a 12"x1.5" strip of coordinating paper, distress the edges with the tool and cut to size to fit under the torn areas from the background paper. Adhere the strips of papers to the back of the background paper, making sure that the distressed edges alight correctly.
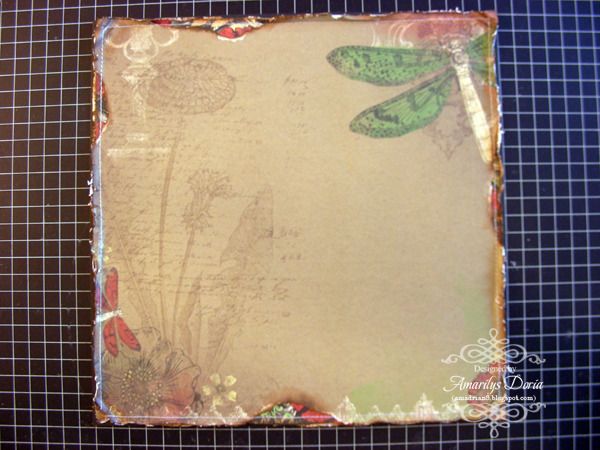
Step 4. Adhere your pattern paper unto a black cardstock and machine stitch the edges.
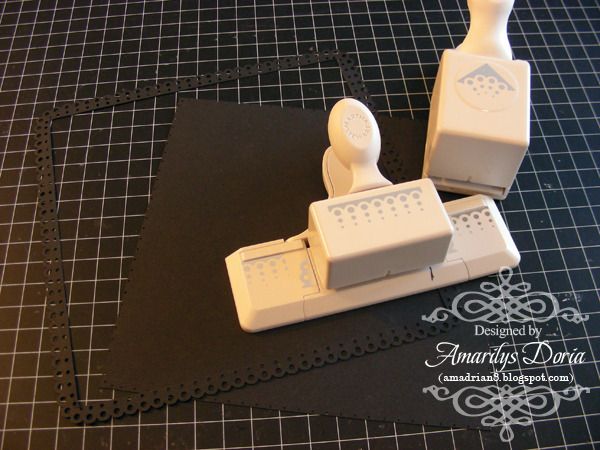
Step 5. Using Martha Stewart Punch Around the Page Scallop 3 Dot, punch a 8.5" square. Cut out the center part and discard.
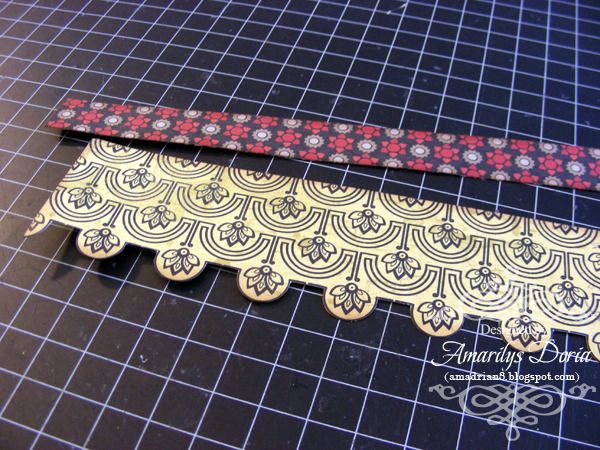
Step 6. Fuzzy cut the yellow pattern paper to make scallops and trim a 0.75" paper of the back side to layer.
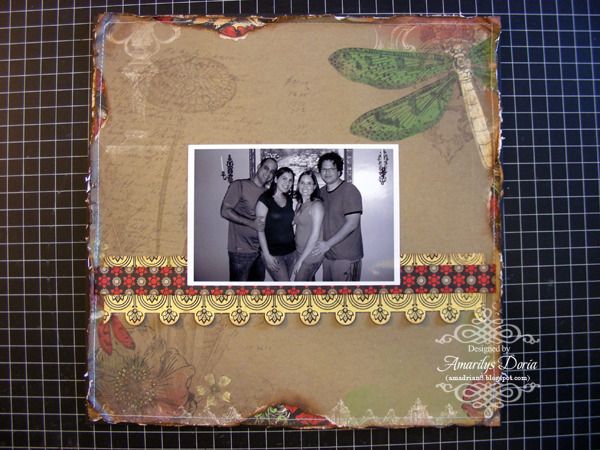
Step 7. Add your black and white photo over the center over the layered strips of paper.

Step 9. Adhere the black frame but only add adhesive in the corners and one random spot in each side so that the frame looks a little raised. This will give it some dimension.
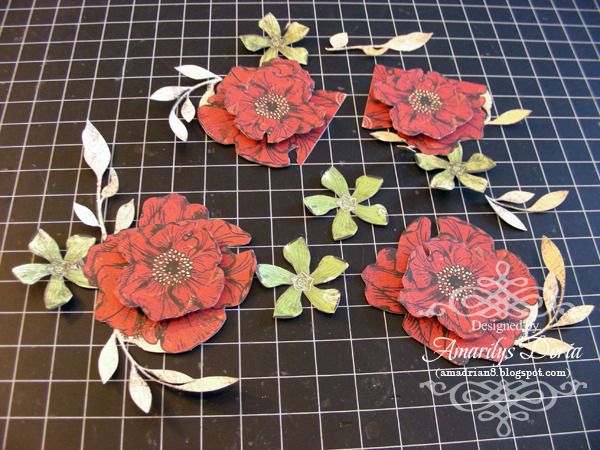
Step 10. Fuzzy cut some flowers and layer them to give them dimension. It's ok if some have straight edges. You will tuck these in under the picture.

Step 11. Add the fuzzy cut flowers around the photo as shown. Tuck in a Prima wooden door on the left side of the picture and under the flowers.
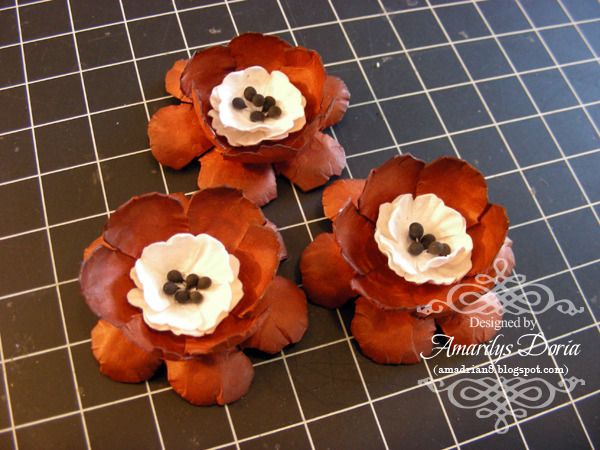
Step 12. Hand make some flowers using the red cardstock that comes in the kit and the white flowers.
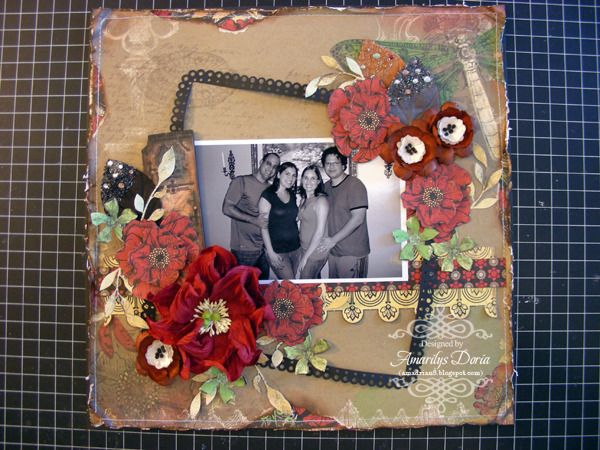
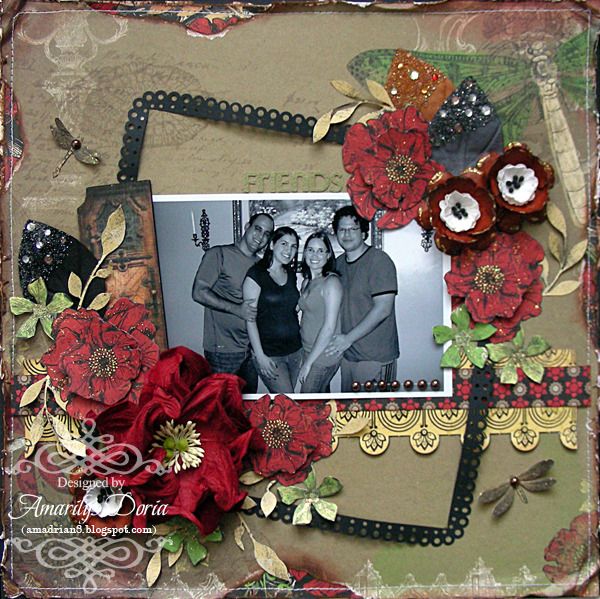
Step 13. Fill in the cluster by adding the handmade flowers, large red flower included in the kit and the leaves from the EAO. I then added some fuzzy cut dragonflies and a title above the picture.
Here's my finished layout which is based on the November Sketch (Tomorrow is the last day to ENTER):
Thanks for stopping! I hope that you are inspired to make something with this amazing kit! If you want to see more of my creations, please stop by my blog.


No comments:
Post a Comment