Friday, June 29, 2012


Welcome to ScrapThat! July Kit Reveal and Blog Hop

ScrapThat! is delighted to introduce to you our July Kit featuring Fabscrap's Beautiful Organic Collection!!

This month we have a special treat for you, mark your calendars, July 6th - July 8th
The ScrapThat! Design Team will be hosting our
 "Summer Garden Crop Party"
Crop will include: challenges, games, prizes, as well as live chat!!
Hope to see you'll join us for a weekend of fun!


Without further ado, we are pleased to bring you our July Kit

"Summer In My Garden"

This Kit is full of delectable goodies featuring the gorgeous FabScrap Organic Collection of papers, lace, pearls, chipboard, Ingvild Bolme Ink, an assortment of flowers and more!!


Main Kit $39.99
 1 sheet each
Organic Herbs
Organic Herbs Two
Organic Tree
Organic Garden
Organic Kitchen
Organic Lace
Organic Strawberries
Organic Script
Bazzil Cardstock
Tan, Green, Purple
 FabScraps Chipboard Word – Organic
2, wooden clothes pins
1, Melissa Francis, pearls
1, recipe card
4, fence posts
4, 2” craft sticks
10, IAMROSES – Cherry Blossom flowers - white
4, leaves
1, 2” piece of burlap
1, Ingvild Bolme – Old Road, chalk ink
3 yrds, white cotton lace trim
1, pkg, ZVA flowers, 1- blue & white flower, 1-two tone green flower
1, EK Success, alphabet sheets – green chocolate
 NOTE: The Main Kit cost for non-members is $44.99


Embellishment Add-On $14.99
1 pkg, Prima, 3 resin window frames
1 pkg, Prima, 2 crystal palace vines
1 pkg, Petaloo, 6 wild roses
 NOTE: The Embellishment Add-On cost for non-members is $17.99


Flower Add-On $12.99
(only 20 of these kits are available each month and sold on a first come first serve basis)

1 pkg, Pinkpaislee, 2 Muslin Flowers
1 pkg, Prima. 6 Primer flowers  
1 Pkg, Prima, 2 Sun Kiss vines

Paper Add-On $9.99
 1 sheet each
Organic Herbs
Organic Herbs Two
Organic Tree
Organic Garden
Organic Kitchen
Organic Lace
Organic Strawberries
Organic Script
Bazzil Cardstock – 1 sheet each
Tan
Green
Purple
NOTE: The Paper Add-On cost for non-members is $12.99


We are currently accepting new Kit Club Members
To become a ScrapThat! Subscriber: click here


Please Join Our July Sketch Challenge HERE


Everyone is welcome to participate, all entries due by July 15th

Our Blog Hop Features 9 Fantastic blogs

To Qualify for this month's Blog Hop prize you must complete the following:

1. Visit each blog listed on the hop to see what each Designer has created using this month's kit and sketch (comments are very much appreciated)
2. Each Designer's blog hop post will feature a word, to make up a secret sentence, collect these words along the way and follow the directions provided in ScrapThat!'s forum when you are all finished.
3. You must become a FOLLOWER of each blog along the way and LIKE us on our Facebook Page!
4. Post the ScrapThat! Blinkie on your blog
5. The last stop on our Blog Hop is our Forum, follow the link provided and complete the remainder of the Blog Hop instructions

The ScrapThat! HOP ends July 1st 10 pm CST
Prize must be claimed within 3 days of announcment that will be made on the ScrapThat! blog July 5th
If left unclaimed a NEW winner will be chosen!
Please Note: for anything larger than an envelope, winner will be responsible for the cost of shipping.

Next Hop Over To: Jenifer's Blog

Should you loose your way, come back here for the blog hop sequence

Thursday, June 28, 2012

July Sneaks, Blog Hop and Online Crop

We have so many great things in store for all of you at ScrapThat! Here are some sneaks of the beautiful July kit we will be revealing tomorrow along with a very inspirational Blog Hop. It all starts tomorrow, Friday at 9:30 AM CST and ends on Sunday, July 1st at 10:00PM CST.


Plus.....On July 6th-8th, we will be hosting the ScrapThat! Summer Garden Party Online Crop!
And these are some of the awesome prizes we will  be giving away!!
So be sure to mark your calenders for those exciting events...we wouldn't want you to miss out on all the fun and prizes!
Hope to see you there!!

Monday, June 25, 2012

Keren's June Kit Creations


Hi Everyone, Keren here and its my turn today to show you details of my June creations.
You've all seen these 3 layouts in the gallery but here are some close-ups of my creations too.


My Second layout used the Amarylis June Sketch:


Here is my last layout.


I loved working with this kit. This collection of Webster's pages is fantastic.

you can visit my blog to see more of my creations at

Thursday, June 21, 2012

Distressed Spiral Rose Tutorial by Sandi

Hi everyone...Sandi here today to share a Distressed Spiral Rose tutorial that I came across unexpectedly. I always make the regular spiral roses as fillers on my layout because the are so easy to make and coordinate so well on your layouts. I am sure you have already seen many tutorials on how to make those spiral roses.I made the blue roses in the above layout using the regular method and  blue cardstock in the May ScrapThat! kit.
 I had a piece of paper on my desk that I had distressed for a layout and had not used and grabbed that to make a few roses and loved the end result! Here is what you will need:
1. Cardstock/patterened paper
2.Water Mister
3.Decorative Scissors
4. Glue(I used hot glue gun because it dries fast
5. Heat Gun(not Shown)
Optional
-Inks
-Stickles
-Diamond dust
-or whatever else you like to use to pretty up your flowers
Step 1: Using your mister spray the paper until it is quite damp.

Step 2: Wrinkle paper into a ball and then dry with heat gun. Make sure it is dried well because it is difficult to cut if still damp.
Step 3: Once dry, smooth out paper.
Step 4: Using your decorative scissors cut a circle(this one measured about 2.5 inches
Step 5: Start cutting at the outside edge of the circle and continue in a spiral shape until you reach the middle of the circle. You could also ink the edges in this step or wait until the end and just rub your ink pad along the top of the flower.
Step 6: Start  rolling with the piece at the end on the outside of the circle with the side of the patterened you want the flower to be on the inside. This does not have to be perfect...just cut!!
It should look like the photo below. When I have made  these before using papers that are not distressed, once you let go of the spiral, they unravel on their own for a more open flower. With these you have to open it yourself using your fingers until it is at the desired openness.
Step 7: Add glue to the inside pices of the spiral and hold until fastened

The bottom will look like this.
And the top like this
I then turned the cardstock over and did the reverse side to get a pink flower

These are super easy to make and the bigger you cut your original circle, the bigger your flower will be. You can then ink, add stickles or whatever your heart desires to dress them up. Push back the layers of the flower with your fingers until you achieve the desired look. I think they would also be cute if you added a few stamen to the center when you begin rolling. Would love to see what you make!!

Wednesday, June 20, 2012

VIDEO TUTORIAL- Alissa Wells


Check out my video to see how I created this keepsake from start to finish!


Monday, June 18, 2012

Sandi C's June Kit Creations


"Friends"

Hello, scrappers! Sandi Clarkson posting here today for Scrap That! I wanted to share my projects from the June kit "Life's Muse." This was such a gorgeous kit and it was truly a pleasure to work with it.

The layout above above was actually the first page I worked on  .. after carefully going through my kit to get some idea what elements to put with which papers.  But here you can see some of the Webster's Pages Everyday Poetry papers paired with the ivory card stock. I have fussy cut my blue patterned paper using a template from an older favorite die cut paper.  Next, I did a ton of fussy cutting to get the dark rose blossoms to embellish with, as well as the birdcage. I've added flowers from the Embellishment add-on, as well as some from the main kit. Then from one of the papers, I've cut an exotic butterfly with my Cheery Lynn die. The leaves were cut using my Sizzix branches die.  There was some lovely Zva bling is in the main kit but I've used some Red Alcohol Ink to darken it somewhat. And don't you love that Prima gem I've dangled from the birdcage? I'd love to have more of those! I computer-generated my journaling. Everything here was from the main kit and the embellishment add-on except for the aqua and pink pearls which are from my stash.


"Elias"

Isn't he a dumpling? This is my new ggs Elias and I really wanted to make him the focus of the page. So I did some misting and stamping (Donna Salazar) as well as more fussy cutting to make an adorable page using nothing but product from the main  kit. You may think I've added in a store-bought doily but it was cut from one of the papers using my Cheery Lynn french pastry doily die. The white leaves are again Sizzix. Of course, there is more fussy cutting of some birdcages which are popped on foam squares. 


"Home"

This is my submission using the awesome sketch provided by team member Amarilys Doria.  You may remember this layout from my tutorial earlier this month.  Check out that gorgeous Green Tara lace and the Zva flowers, especially the tulle one .. be still my heart! A little more fussy cutting, distressing and inking finish off the page. I have only added my own paper doily and a few pearls from my stash. Otherwise, everything is from the main kit except the smallest pink Prima from the embellishment add-on. I worked really hard on using very little of my own product just so  you can see how far the kit really does go! 


"Tell Me Your Thoughts"

Here is one last page that I've done. For this one, I have added a large Webster's Pages Die Cut (split in two) from my own stash. But the remainder of the paper, as well as the lace and flowers are from the main kit and embellishment add-on. I've also used a couple of Dusty Attic pieces, the ornate corner #6 and the birdcage #5 from my stash. They were painted a warm winter color. Then I added a bit of pink to the birdcage along with some pearls.  Here you'll also see my first experimentation with molding paste in the swirls in the middle of the page. Love the effect and I'll be doing more of that soon! I am still in love with the Martha Stewart Wild Flowers punch that I got for Christmas. It was perfect for this girly page! This layout is based on a sketch by Leah Schaeffer from Stuck on U Sketches. Here is that sketch:


I hope you have enjoyed seeing these again. Thanks for coming by! 

Amarilys June Kit Creations

Amarilys here today sharing with you the projects that I made with the June Kit "Life's Muse". I managed to make 3 layouts and a card and I still have enough to make at least one more (very layered!) layout!

This is my first layout:

Handmade by Amarilys
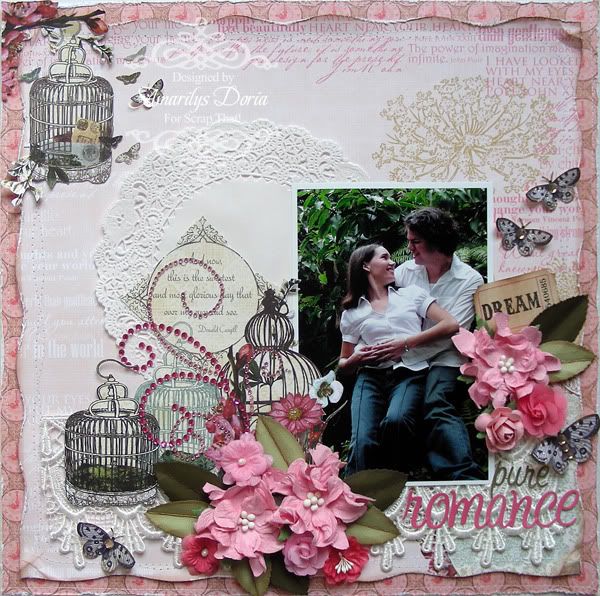
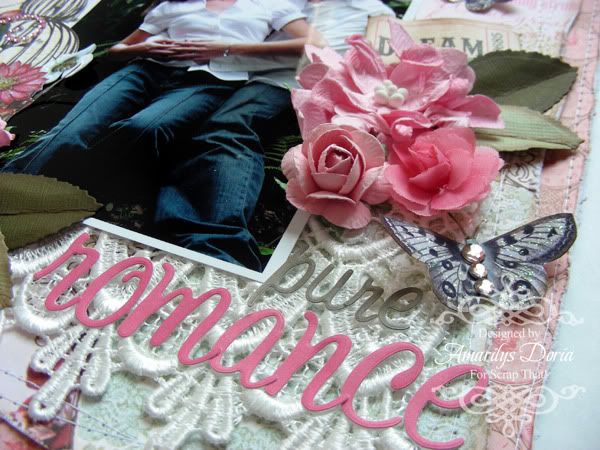
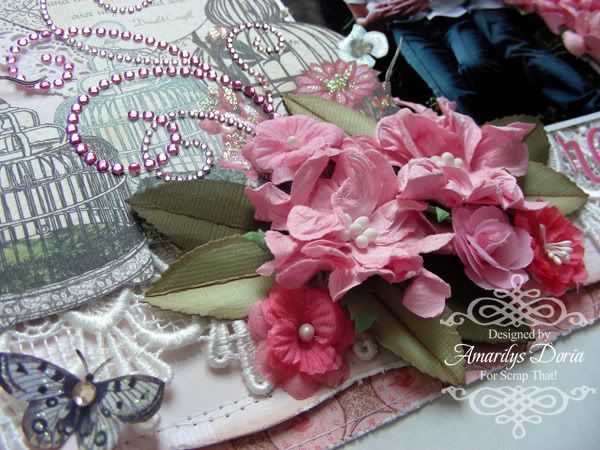
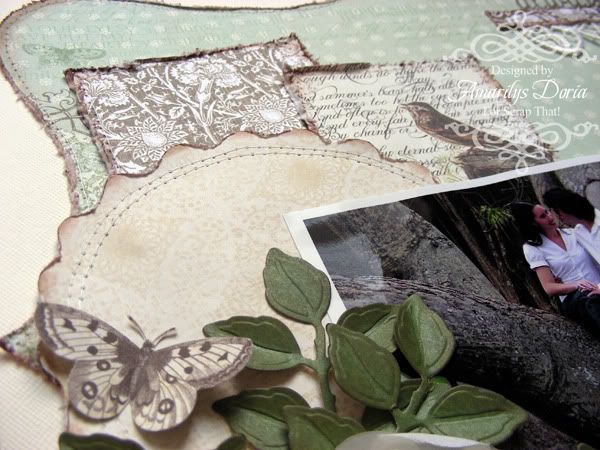
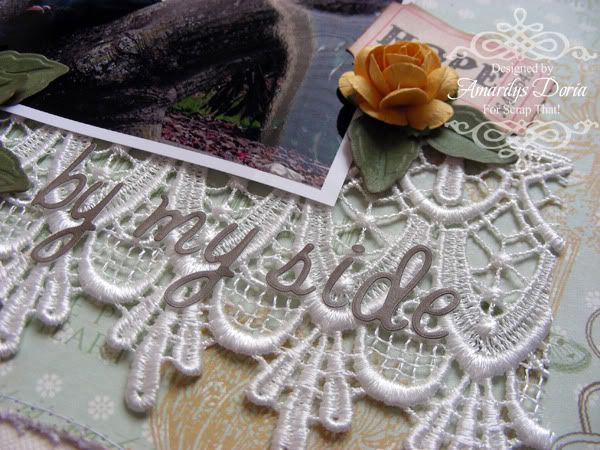
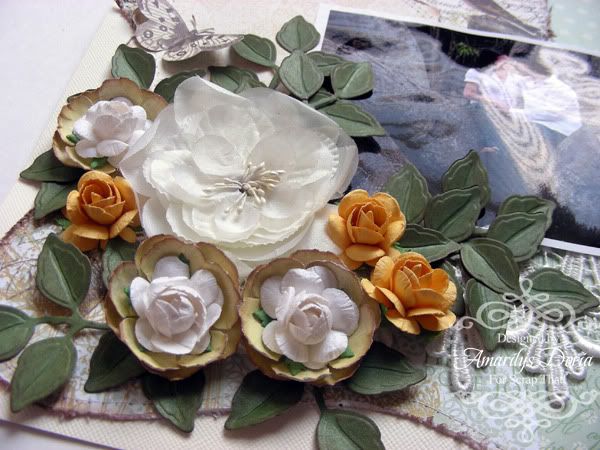
I used the Main Kit and the Embellishment add-on for this layout. The doily and rhinestones on the butterflies' bodies are from my stash. I used another one of my engagement photos for this layout. I fuzzy cut the bird cages and used them as embellies. I die cut a few leaves and added them to the flower clusters. I also handmade and added a few butterflies. You can check out my tutorial on how to make your own butterflies HERE.

Details:
Handmade by Amarilys

Handmade by Amarilys

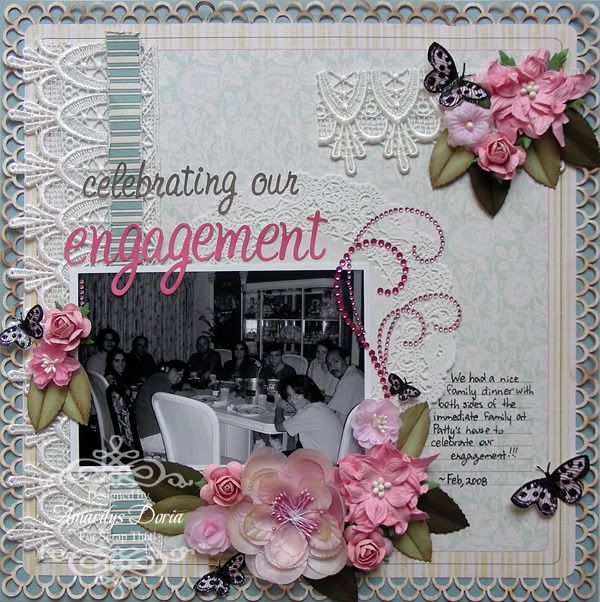
Here's my second layout, using another engagement photo, this time of our engagement dinner:

Handmade by Amarilys
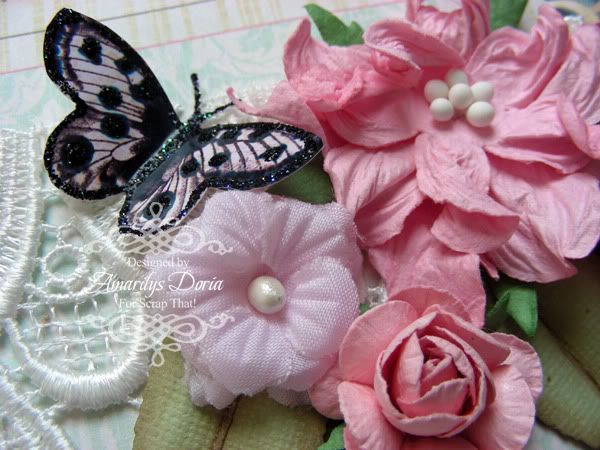
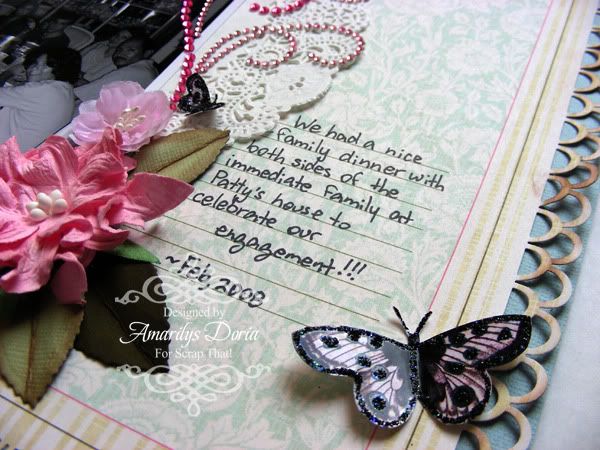
I used the Main Kit and the Embellishment add-on for this layout as well. The doily is from my stash. This picture was taken at my husband's parent house when they had my family over to celebrate our engagement. I turned the photo black and white because it was too busy and I wanted the focus to be on the people in the picture and not on their brightly colored clothes (*wink*). I had fun with this one by using lots of pretty pink blooms. Since it was an engagement photo and both my hubby and I were there, I went with a blue/pink (his/hers) color combo. Love how this one turned out!


Details:
Handmade by Amarilys

Handmade by Amarilys

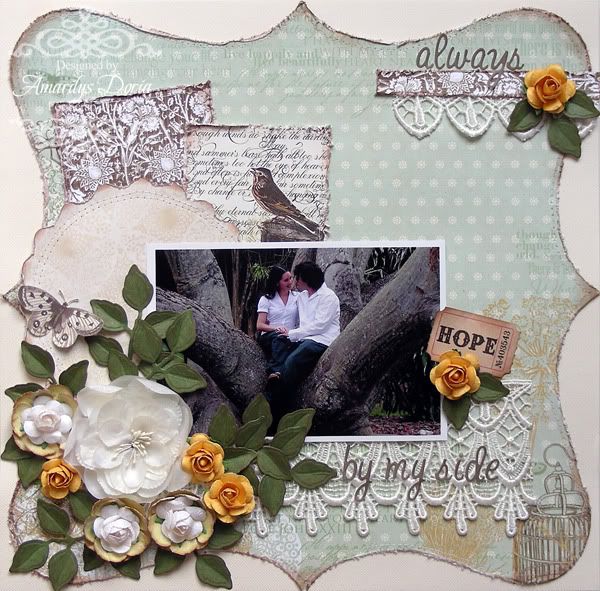
For my last layout I used the Scrap That! June Sketch, designed my me :)

Handmade by Amarilys
I used the Main Kit for this layout only (no embellie add-ons or flowers add-ons) and did not add anything from my stash. I used the gorgeous lace to add layers to this layout which I wanted to keep green/brown to match the photo of my hubby and I during our engagement session. I made the paper roses and added the white roses as the centers. I also die cut a bunch of leaves from the green paper and added them to the cluster.


Here's the Sketch:

 Details:
Handmade by Amarilys

Handmade by Amarilys

Handmade by Amarilys

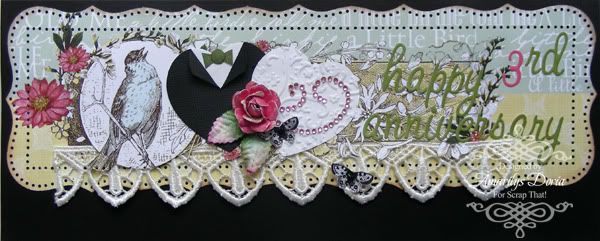
My last project is an oversized Anniversary card for my husband:

Handmade by Amarilys
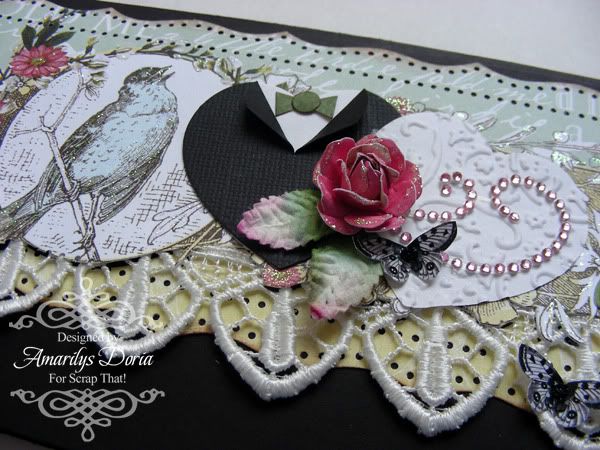
I used the Main Kit and the Embellishment add-on for this card. The black and white cardstocks are from my stash. We just celebrated our 3rd year anniversary and I thought he deserved a bigger than normal card. This card measures 4"x10.5". I went for something a bit romantic and made little his/hers heart shaped dress and tux and used the bird on the pattern paper as an embellie.

 Details:
Handmade by Amarilys

You can find the June Kit "Life's Muse" on the Scrap That! Kit Page. This month’s kit features Webster's Pages Beautiful 'Everyday Poetry Collection'! The kit is chock full of gorgeous goodies, such as lace, bling, an array of pretty flowers and much, much more!

Main Kit $39.99

Thanks for stopping! I hope that you are inspired to make something with this amazing kit!
If you want to see more of my creations, please stop by my blog today!