Thursday, September 27, 2012

Introducing our Talented October Guest Designer ~ Patti Hamil

ScrapThat! is honored to have the FABULOUSLY TALENTED designer
 PATTI HAMIL
join us this month as our
 Featured Guest Designer

I have been scrapbooking for about 15 years now. It’s my creative outlet, and I enjoy it tremendously. I have made many lasting friends while creating keepsakes for family members to come. 

I have had the honor of being published, had my work published in various publications and catalogs, had work featured on television and served on design teams. I am currently on several design teams, one of which is Anna Griffin. I create layouts for use on HSN and QVC UK and other social media. I have taught classes at Creative Keepsakes Conventions and my local scrapbook store and have been lucky enough to meet some of my scrap idols by attending CHA for several years. 

My usual subjects of my creative endeavors are usually our children, who are now grown. I also have been know to scrap our 4 legged children, even they run when they see the camera come out! 

If you want to take a peek at some of my work, please stop by my blog for a visit – I’d love to have you.

I am honored to be a guest designer for ScrapThat!, and have really enjoyed creating with the beautiful October Kit.

Wednesday, September 26, 2012

October Sneak Peeks

September month is coming to a close...gosh this month flew by so fast!! However...end of the month means it's time for Sneak Peeks, a reveal and a blog hop...YAHHHHH!!!!

Here are some lovely sneaks to tide you over until Friday when we hope you will come back and join us for the full reveal and Blog Hop!!! See ya then!

Saturday, September 22, 2012

Tips & Tricks Tutorial by our Guest Designer Tara Orr


Tips & Tricks to use with your
September Scrap That! Kit
I am so honoured to have been asked to guest design for Scrap That! once again this month!! When I received the September kit I was over the moon when I saw the Graphic 45 papers.  Not only am I slightly partial to this manufacturer (LOL), I am deeply in love with the collection included in this month's kit - A Ladies' Diary!  The perfect mix of soft, vintage papers with a beautiful mix of feminine imagery - perfectly suited to my shabby chic style.
Stretch Your Embellishments:
I have always been thrifty by nature - especially when it comes to my scrappy supplies.  Kit clubs are no exception.  The first thing I did when I 
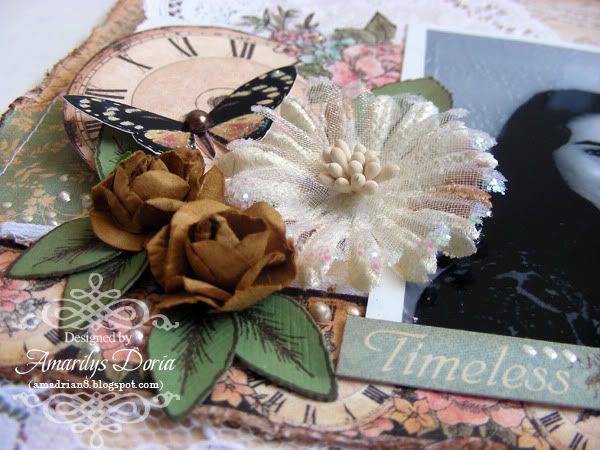
received my kit was to seperate the flowers.  Each of the three larger Petaloo flowers included in the kit had several layers so I split each apart and automatically doubled my flower supply!
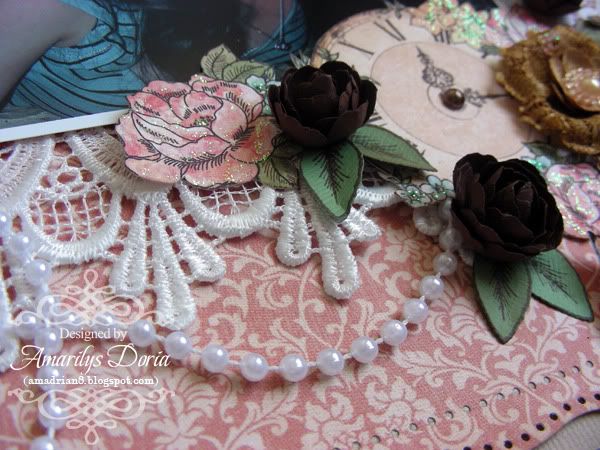
Another way you can stretch your embellishments is to cut them in half.  If you know that you will be tucking your elements under papers and under photos, why waste the hidden parts?  
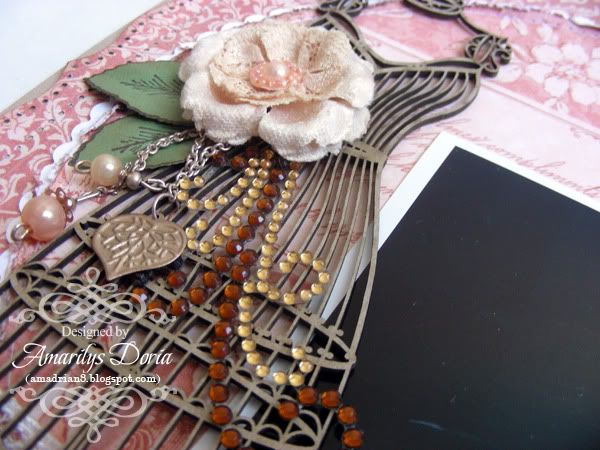
 Here I cut my dressform in half as well as the bling and doily so that I could use the other parts on another area of this layout or on another project completely.
Transform Your Kit
One thing that you must always remember when using papers, embellishments, anything scrappy related, is that everything can be altered to suit the needs of your 
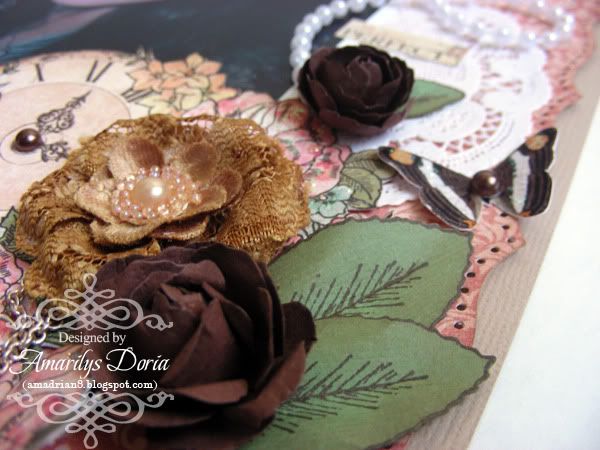
project. I wanted more flowers on my layout so I transformed my flowers 
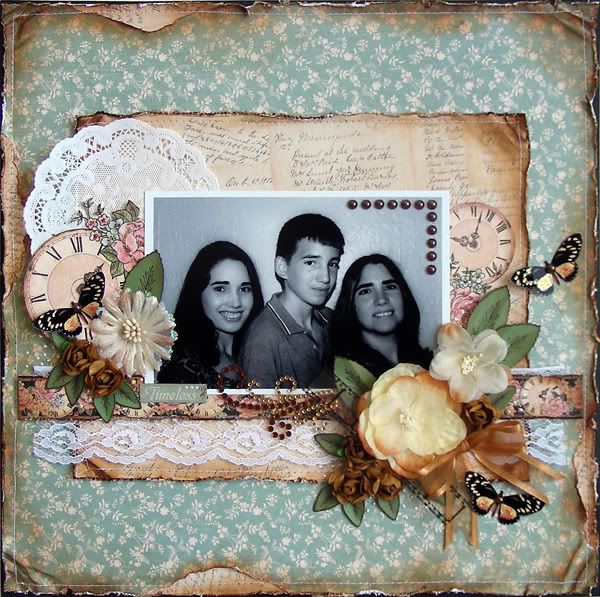
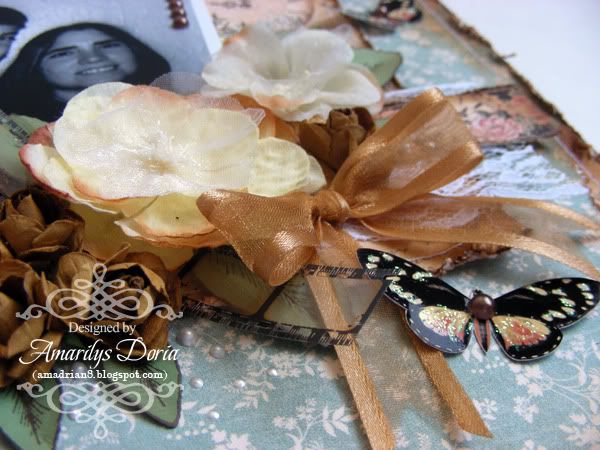
(split them apart, cut them in half) to give me more.  I wanted a soft, romantic, vintage look to my layout so I distressed the edges of my papers. I wanted a lush, dimensional feel to my project so I layered my papers and embellishments as much as possible.
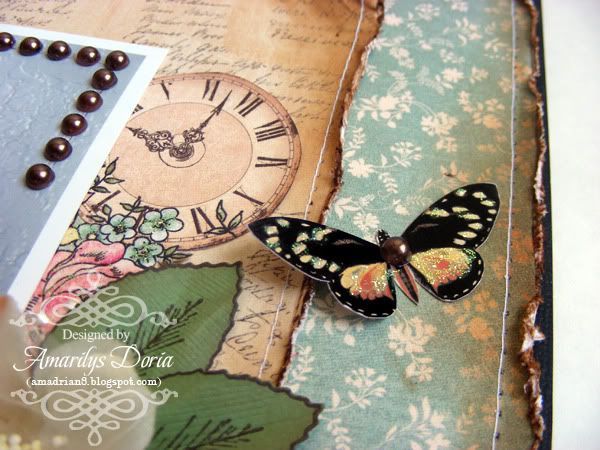
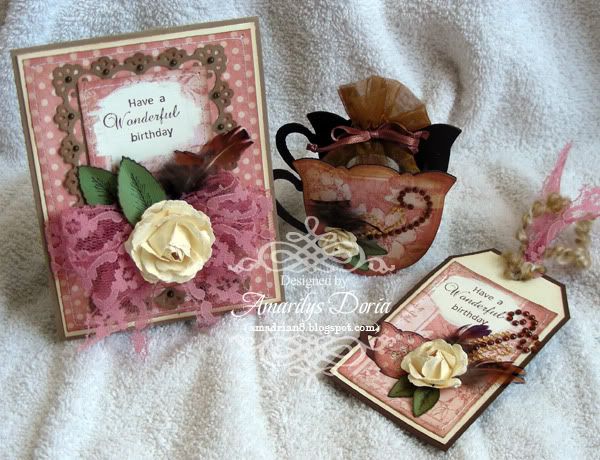
Also, because I have worked with these papers quite a bit, I wanted to achieve a completely different look.  Once my layout was complete 
I started to add a few stamps here and there.  The stamps and inks are not included in the kit, but these are normally items of which most of us have already.  I added  a few eyelets to my tags as well as a safety pin - 
again, items which you can find around your 
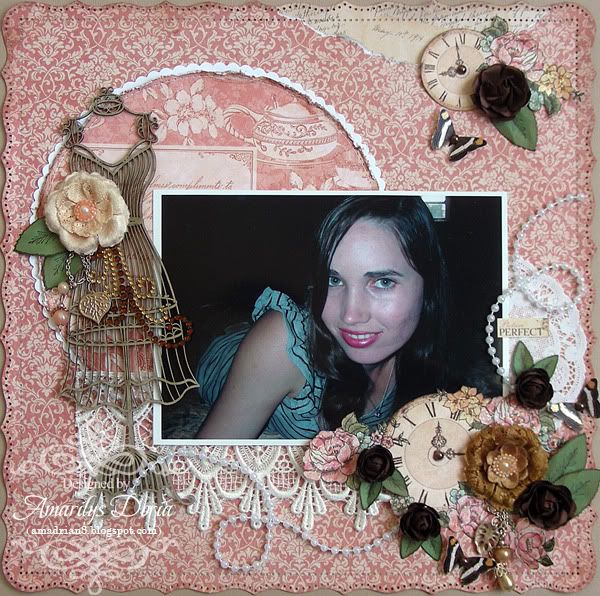
house.  The layout was complete.  I liked the composition, it seemed to 
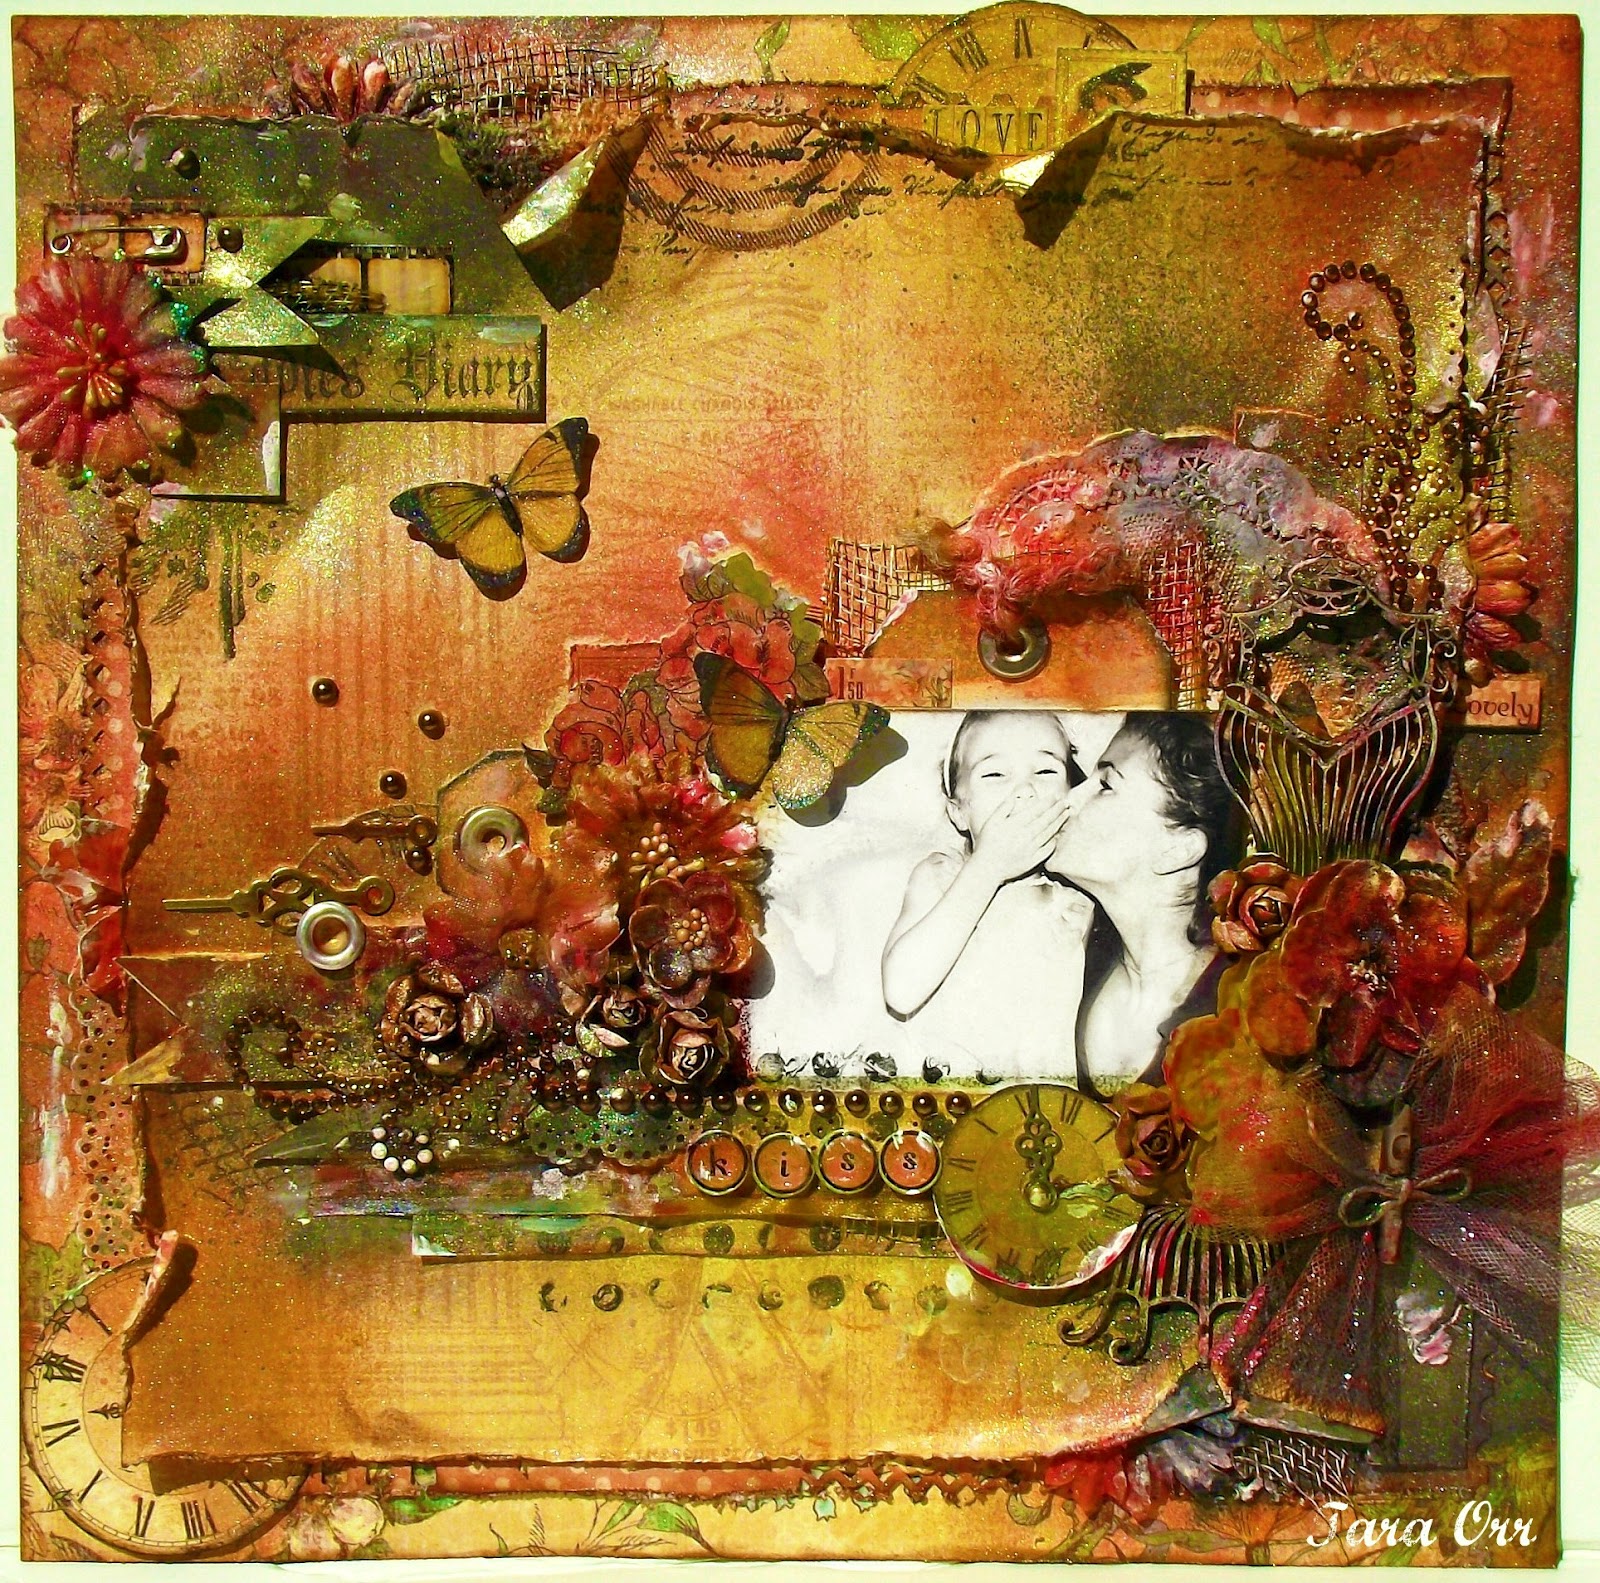
have just the right amount of white space.... but it wasn't unique enough.  Enter your mist!!
This is exactly the same layout. Look at the transformation when a little (okay, a lot) mist is added!  You can use any colour, any technique - just mist until your heart is content!!  For my layout I used shades of peach, gold, green and black....
I hope that these tips and tricks have helped boost your creative mojo just a little.
Thanks so much!!

Friday, September 21, 2012

Guest Designer ~ Tara Orr's Victorian Dream Creations

We are so excited to have the talented Tara Orr as our September Guest Designer!


Our Victorian Dream kit features a selection of papers from Graphic 45's "A Ladies' Diary" Collection paired with gorgeous coordinating embellishments. As a former Scrap That! Design Team member and current designer for Graphic 45, Tara is a master of creating stunning Shabby Chic layouts and projects.

We are so grateful that Tara agreed to design for us this month, and I am sure you be delighted with her creations from this kit. For more inspiration please visit her blog at:

Kiss
 
My Joy
Standard Fashion Card


4711 Card


Rose Card

For more information on this kit please visit the Scrap That! website.

Thursday, September 20, 2012

Sandi's shoe tutorial


Hi, there, scrappers! I am  posting today with a quick tutorial on how I made this cute little shoe using the Scrap That! September kit featuring Graphic 45's Ladies Diary collection. 


Just another photo of the original shoe! 

My team mates at Scrap That! talked me in to doing this tutorial although I had another planned and ready.  Therefore the papers are different on the second shoe I put together. 


I've been wanting to make a shoe for a while now and have been collecting shoe templates along the way. The one I've used for this cute little number is found at Ellen Hutson's online store for a mere $2.00.  I later found it for free but felt that the artist deserved to be paid for her template, wouldn't you agree? 


This is the pattern for the lining of the shoe. 


First, you cut your pattern out after tracing it on card stock for a permanent pattern. 


Next, select a couple of co-ordinating papers. 


Then, trace your pattern on your designer paper using repositional tape to hold it in place. 


After you've traced it, you'll begin cutting it out.  Be sure to leave your pattern on your designer paper until after you have begun scoring on the fold lines. 


I did find that fussy cutting scissors helped to get in the corners. 


I used a bone folder to make my creases nice and sharp. Accuracy is paramount! Once you have your folds done, you can remove your template. 


Here is the liner after it has been cut and scored. 


Next, I began folding and scoring the shoe itself. 


Then you'll want to lift the instep so that you can put the heel together first. 


Just checking the fit. 


Using Tacky tape you can secure the heel before moving on. 


I placed my liner in the shoe .. temporarily .. before I actually taped the toe of the shoe.  Once the toe was secured, I re-placed the liner in the shoe. 


Here is the shoe before it was embellished. 


Lastly, just embellish to your heart's content. 


Now, wasn't that easy? Why don't you give it a try? 

Sandi C


Monday, September 17, 2012

ScrapThat! Kit September Creations by Amarilys Doria

Amarilys here today sharing with you the projects that I made with the September Kit "Victorian Secret".

My first layout is based on my September Sketch Challenge:


and here's my take on it:

This layout is based on my sketch for this month. I used the Main Kit only for this layout. The lace and brown background cardstock are from my stash. This picture of my mom, younger brother and I was taken back in 2004 on Mother's Day. Here's a step by step on how I did this layout.

Here are a few close ups:


 Below is my second layout:

I used the Main Kit and The Embellishment Add On for this layout. The lace is from the June kit and I handmade a few brown roses to compliment my layout. I did some fuzzy cutting, layering, and distressing on this layout to make it stand out. I just love this dress form!

Here are a few close ups:


Finally, here's my last project:

For my last project, I made a Birthday Gift Set, complete with a tag, card and small teacup container. I used the Main Kit and the Embellishment Add On for this set. The pink lace is from my stash as well as the cardstocks used here.

You can find the September Kit "Victorian Secret" on the ScrapThat! Kit Page. This month’s kit features  the beautiful the yummy "Graphic 45 A Ladies Diary Collection" by Graphic 45. This kit is chock full of gorgeous goodies that is sure to knock your socks off!!!! Just for starters think ribbon, ZVA Bling, Dusty Attic and Prima and ZVA Flowers and much much more.


Thanks for stopping! I hope that you are inspired to make something with this amazing kit! If you want to see more of my creations, please stop by my blog today!

Sunday, September 16, 2012

September Sketch Challenge Winner

Hi everyone,  Amarilys here. We had 9 amazing entries for the September Sketch Challenge and I'm glad that  we use random.org to choose a winner because there is no way that I can!

So, according to random.org the winner is.......

Angie Shepherd
Congrats Angie! 

I want to take this time to encourage you to play along the monthly sketch challenge. The next one opens on September 28th during the blog hop. Hope to see you there!