


So, let's get started!
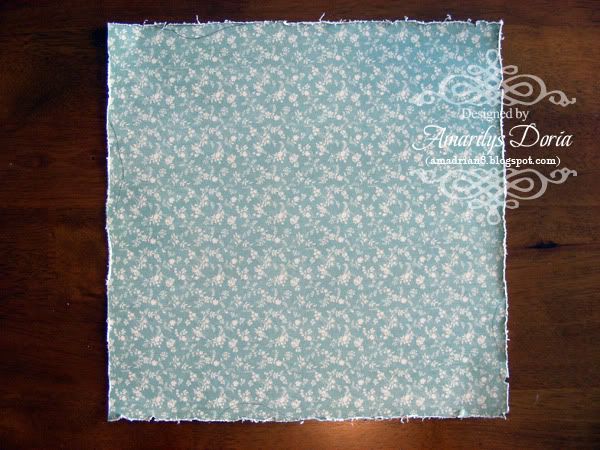
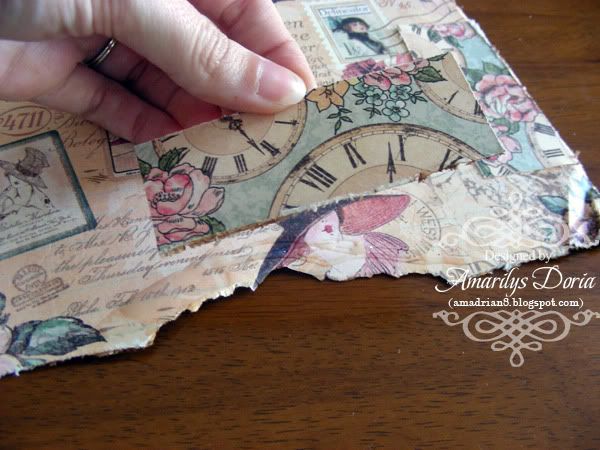
Step 1. Distress your pattern paper with the Tim Holtz distressing tool.
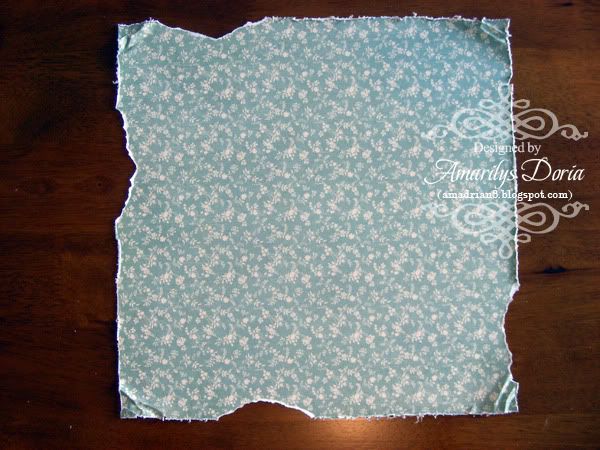
Step 2. Tear random areas around the page and crumble with your fingers the corners.
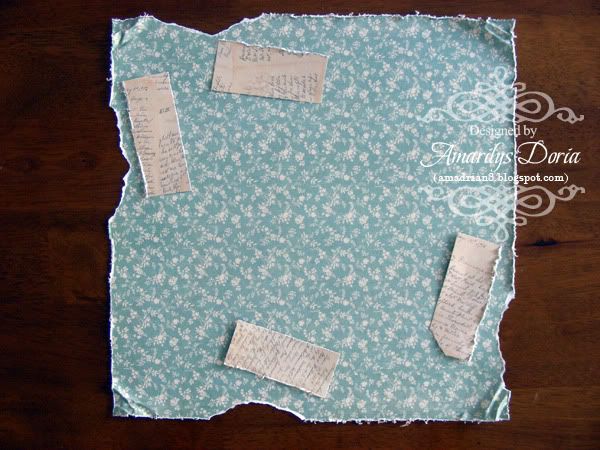
Step 3. Trim a 12"x1.5" strip of typography paper, distress the edges with the tool and cut to size to fit under the torn areas from the blue background paper.
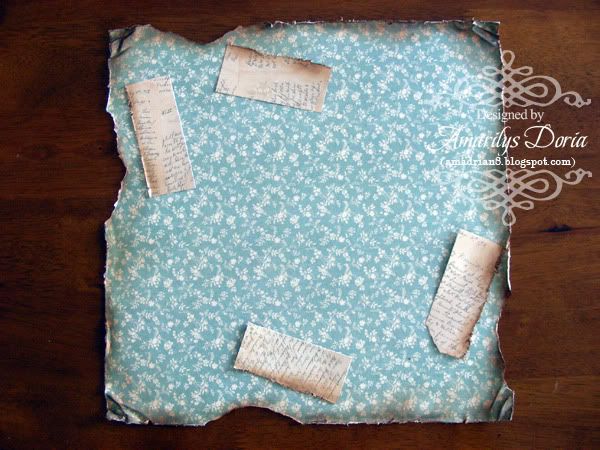
Step 4. Using the Tim Holtz blending tool and Vintage Photo distress ink, ink the edges of all the papers.
Step 5. Adhere the strips of typography papers to the back of the blue paper, making sure that the sides alight correctly.
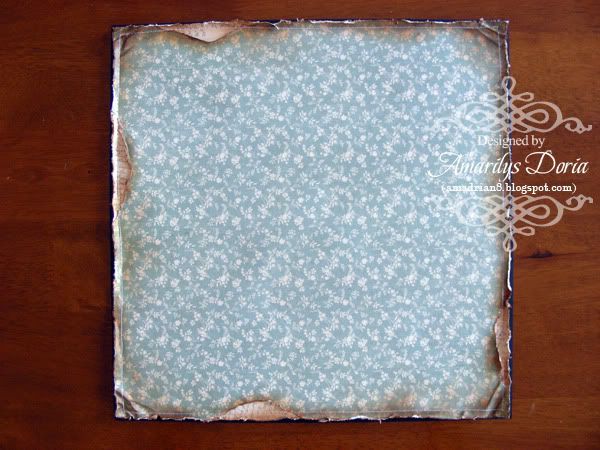
Step 6. Adhere your pattern paper unto a black cardstock and machine stitch the edges.
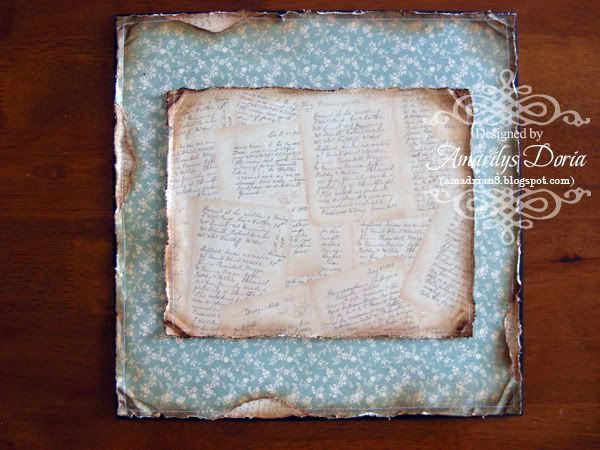
Step 7. Trim the same typography paper to 9"x7.5" and repeat the distressing process that you did for the background on this paper too. Machine stitch this layer unto the center of the layout.
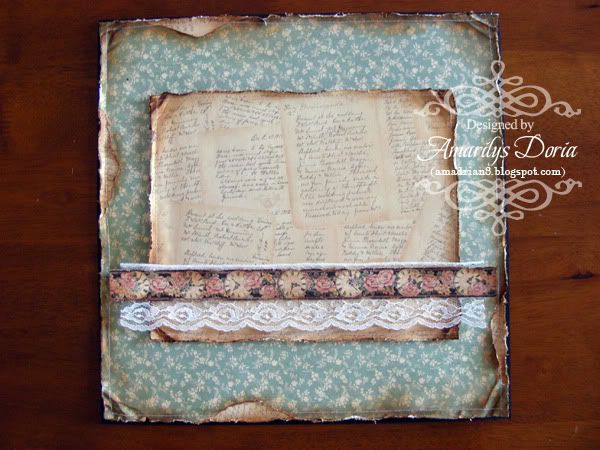
Step 8. Add lace and a strip of pastern paper over the typography paper as shown.
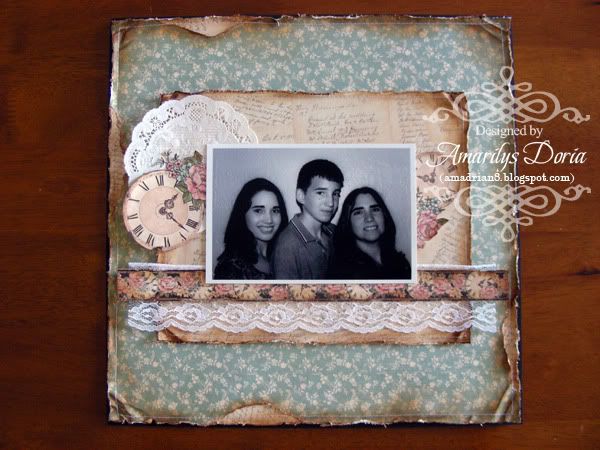
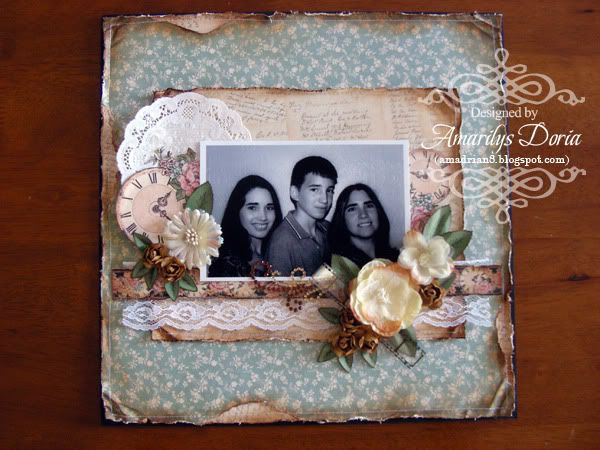
Step 9. Add your black and white photo over the center and tuck in a white doily and two fuzzy cut clocks on the left and right side of the picture.
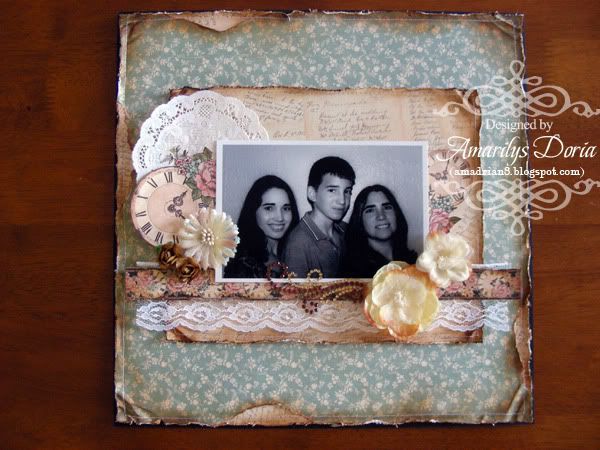
Step 10. To start forming the clusters, add a few larger flowers to the bottom right corner and to the left of the picture. Add a bling flourish under the picture as well.
Step 11. Add the smaller flowers now as well as the film to the right side of the picture.
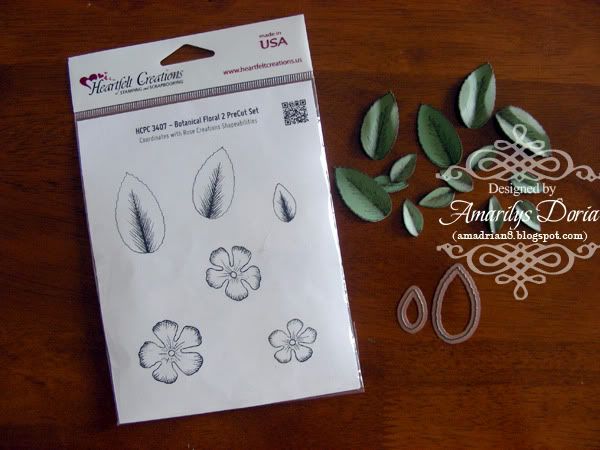
Step 12. Die cut, stamp and shape a bunch of green leaves using the Rose Creations Shapeabilities and the Heartfelt Creations Botanical Florals 2 Precut Stamp Set.
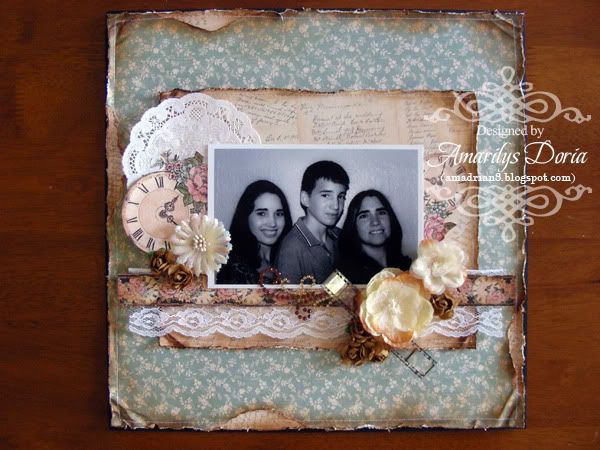
Step 13. Add the leaves to the cluster to fill the area.
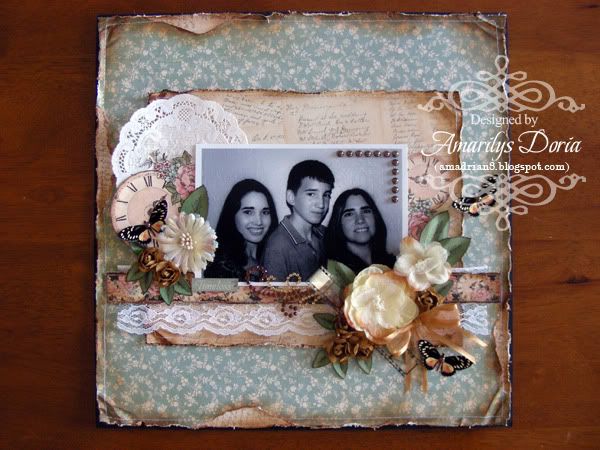
Step 14. Add a bow to the right corner cluster, a few butterflies randomly around the page, and a title sticker on the bottom left side of the picture. Add a strip of pearls as a corner on the top right corner of the picture. Finally, add stickles to the fuzzy cut flowers on the clocks, and on the butterflies.
Here's my finished layout:
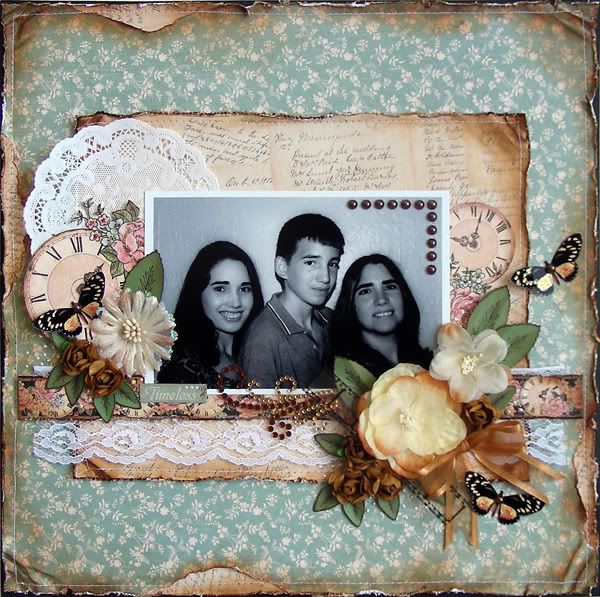
Thanks for stopping! I hope that you are inspired to make something with this amazing kit! If you want to see more of my creations, please stop by my blog.


Gorgeous page, Amy!
ReplyDeleteWow, Gorgeous LO, Amy!! Thanks for the step by step tutorial!! ~ Blessings, Tracey
ReplyDeletehttp://gracescraps.blogspot.com/
Awesome BAP Amy!! love it!!
ReplyDeleteJust beautiful Amy...love your step by step tutorial!
ReplyDeleteFabulous BAP Amy, Beautiful page!!
ReplyDelete