Showing posts with label March Kit. Show all posts

Friday, March 15, 2013

ScrapThat! Kit March Creations by Amarilys Doria

Amarilys here today sharing with you the projects that I made with the March Kit "New Blooms". This kit is simply gorgeous and filled to the rim with scrappy goodies!

My first layout is based on my sketch for ScrapThat! March Kit.


(See details about the challenge here: Sketch Challenges)

and here's my take on it:
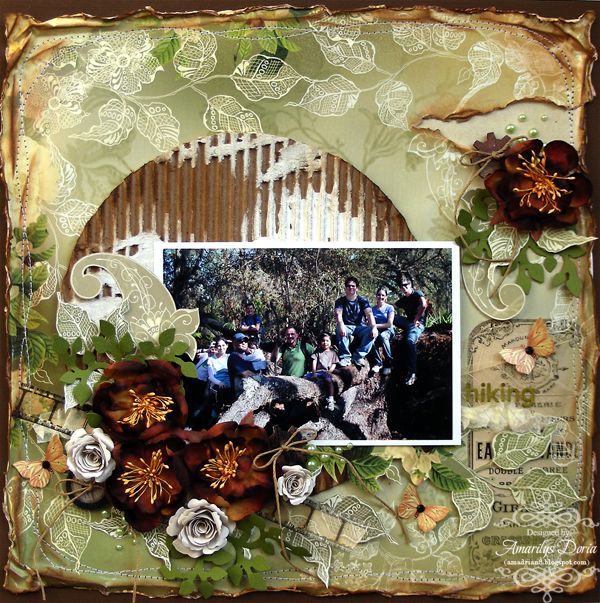
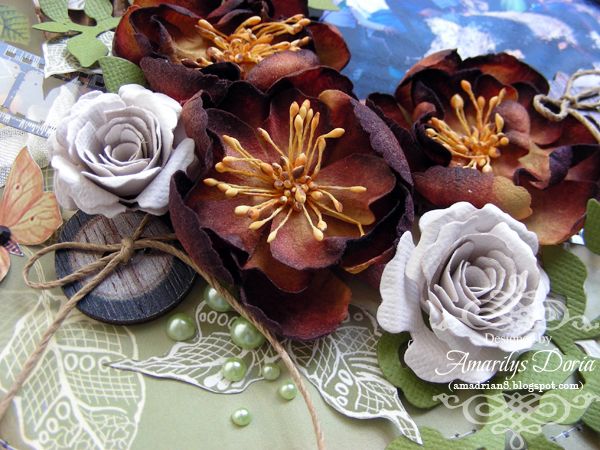
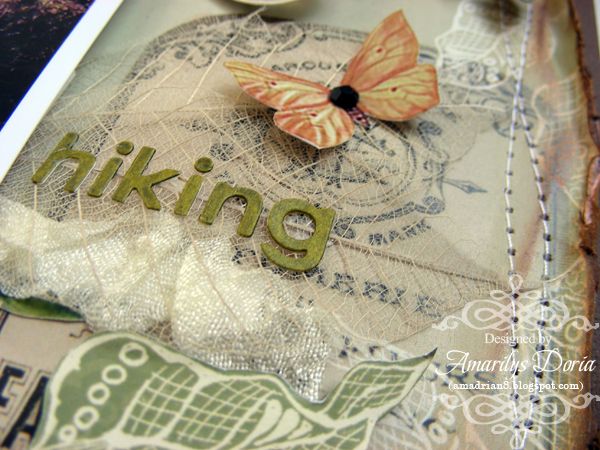
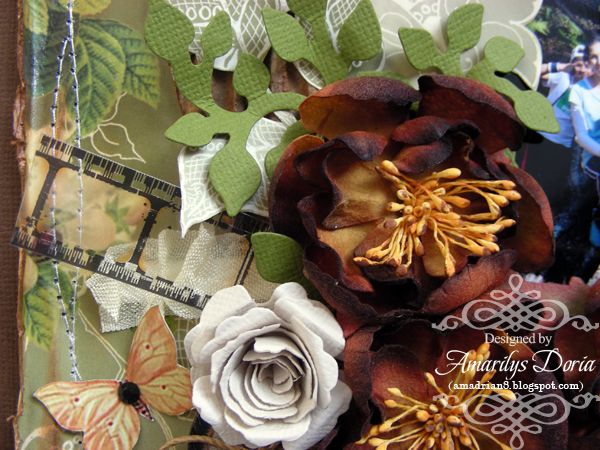
I used the Main Kit, The Embellishment Add On and Flower Add On for this layout. The jute and cardboard are from my stash. The dark green leaves and butterflies are all handmade by me.

I wanted this layout to be outdoorsy so I did a lot of distressing and used a brown/green color palette. I used a circle cardboard (from the box that the kit came in) and distressed it with white acrylic paint and Vintage Photo distress ink. I also did some water distressing on the edges and machine stitched around twice.
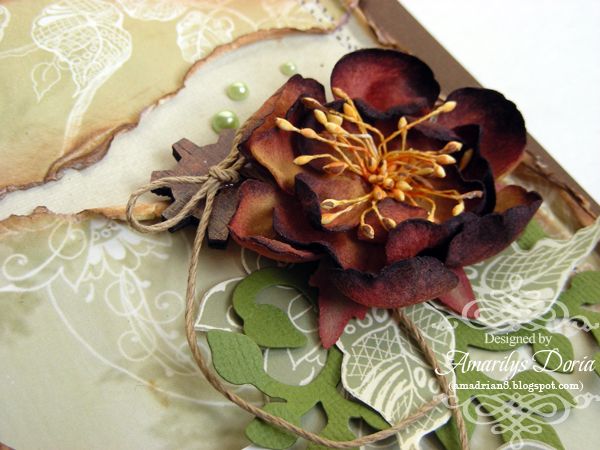
Here are a few close ups:
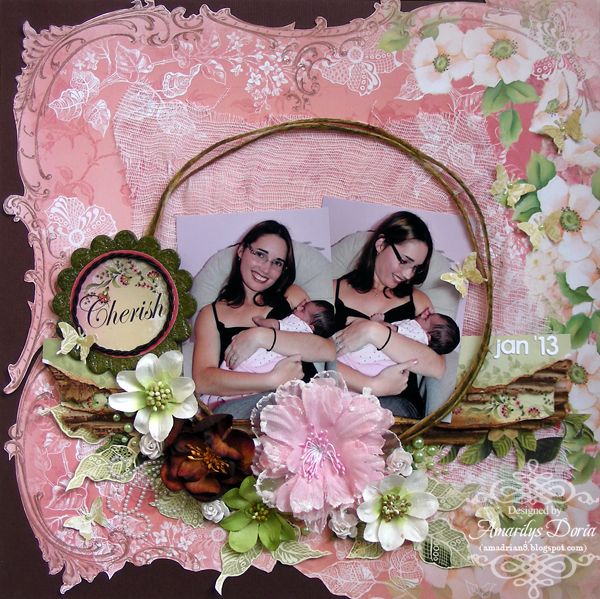


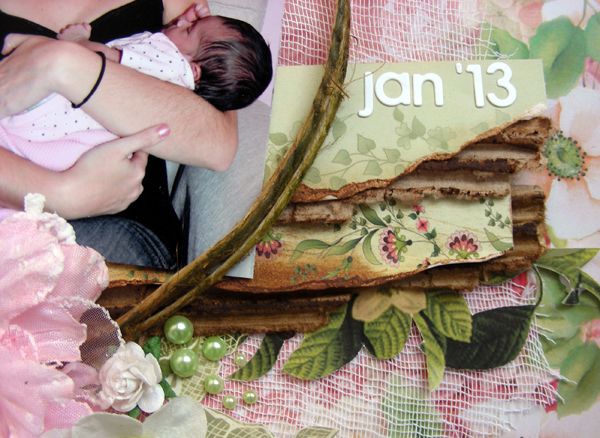
My second layout is about the first time I held my best friend's newborn baby girl.

"Cherish" Layout

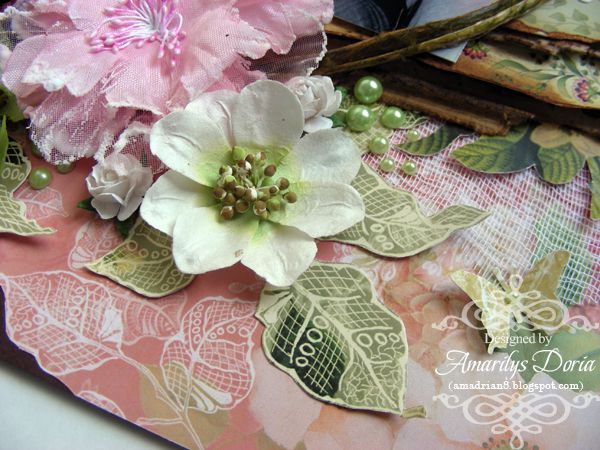
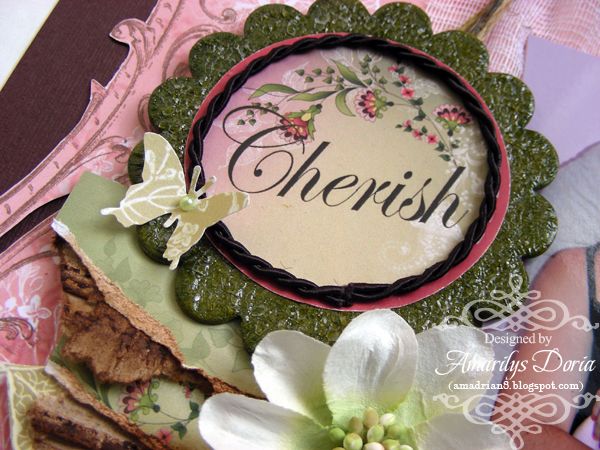
I used the Main Kit, The Embellishment Add On and Flower Add On for this layout. The hemp cord, large pink Prima flower and cardboard are from my stash. Everything else is included in this month's kit.These pictures were taken by my friend Hanay when I first held her newborn daughter. These pictures are so precious to me and it's a memory that I will always cherish!

Here are a few close ups:


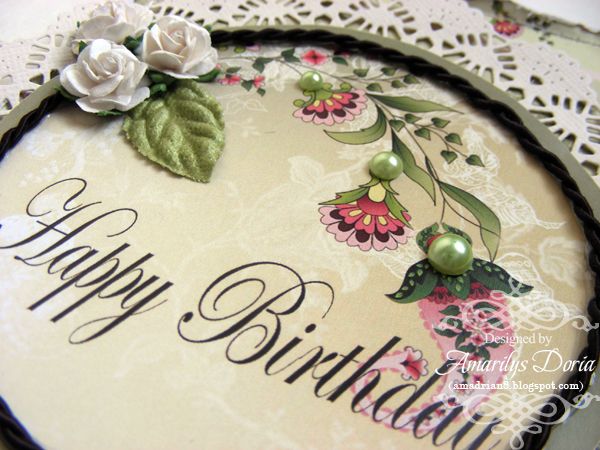
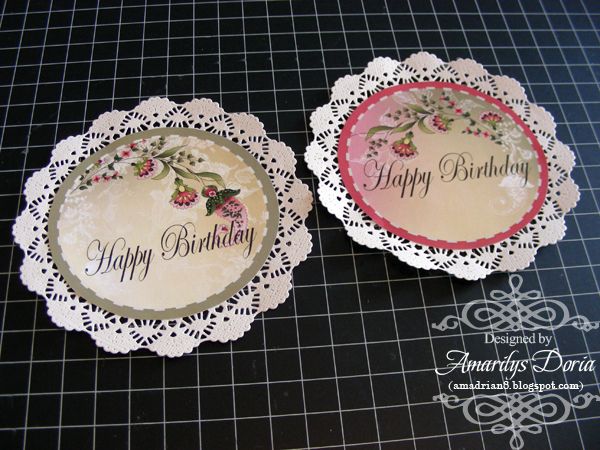
My last project is a set of two birthday cards. Everyone can use one more birthday card for their stash, right?

Birthday Card Set
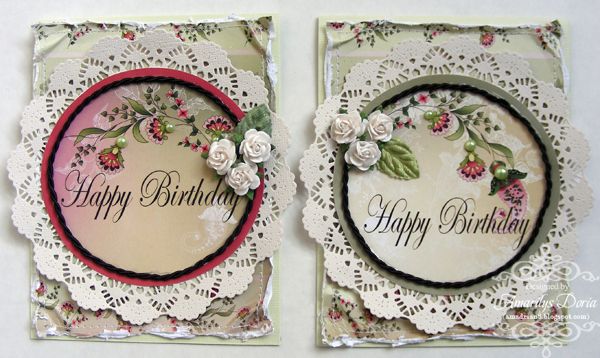
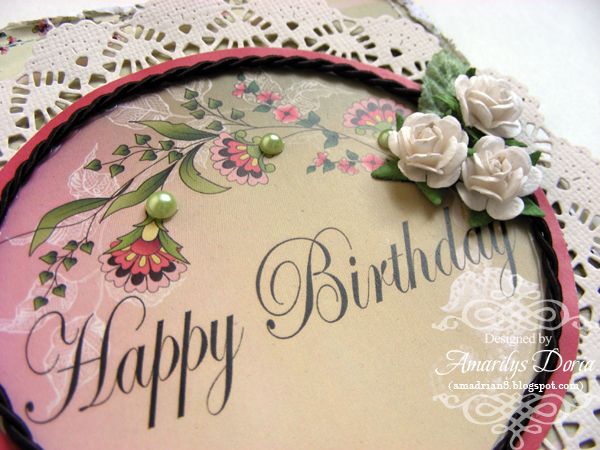
I used the Main Kit only for these cards. The doilies are handmade with the Cheery Lynn Designs English Tea Party Doily Die. I have a tutorial on how I made this card set using scraps after I was done working with the March Kit.

Here are some close ups:


Thanks for stopping! I hope that you are inspired to make something with this amazing kit! If you want to see more of my creations, please stop by my blog today!

Wednesday, March 13, 2013

GD Limor Webber - March Kit Featured Projects

Hello Crafters, Limor here.

As you know I was asked to be the March Guest Designer for ScrapThat!

Here are two layouts I created with the wonderful kit they sent, and I wanted to give you a more in depth look at how I created these layouts.

Layout 1
MK, EAO

This corner of the page has so many little details, This chipboard piece came with a beautiful ornate frame which I used in the next layout, so much versatility!.  The chipboard is inked with Prima Chalk Inks and a little bit of Lindy's Stamp Gang Scintilating Silver Glitz Sprits. I am addicted to using packaging so I decided to use the beautifully stitched Prima packaging as my photo mat.  

Nothing is more fun the ripping and creating folds on your layouts which is what I did at the corner of the layout.  I pulled out my favorite punches and created all those wonderful layers that you see underneath the Dream chipboard sign.

A little fussy cutting can sure make your page pop especially if you layer it which is what I did here.  Add some Prima flowers and you have yourself a page!

Layout 2
MK

This page is full of dimension, I really wanted to add a little bit of my Mixed Media touch to these pages so I used the beautiful brick stencil by The crafter's workshop to create the background

I could not resist but to fussy cut this paper to death!!! it screamed at me to cut it up!!! I love my dies which is what this page mostly consists of.

For the title I used that chipboard piece I spoke of earlier and inserted one of the sentiments from the paperline to create the title.

Thank you so much for stopping by! I hope you enjoyed these projects!


Be sure to stop by Limor's blog, Chic Scrapbook Designs by Limor Webber, to see more of her gorgeous work!

Monday, March 11, 2013

Sarah's March Kit Creations!

It is time to share some of the details and close-ups of my ScrapThat! March Kit layouts! I was so excited to get the March "New Blooms" kit, which features gorgeous Meg's Garden papers. These papers are so beautiful and have wonderful details with so much fussy-cutting potential, as you'll see on this first layout I'm sharing.
~~~~~~~~~~~~~~~
Our Boy
The photo is one of my son's first "School Pictures" (his daycare does pictures) - and I was so pleased with how the photos from One for the Wall photography turned out.
I started out by fussy cutting the pink floral page around the edges. I added in some doilies that I inked with green chalk ink around the edges and used the light green cardstock as the base page. I used my Silhouette Cameo to cut the green 'trellis' from one of the sheets of patterned paper and fussy cut the leaves from another sheet.
The title is a Chipboard phrase by Imaginarium Designs. It took me several mediums/techniques until I finally got a colour/effect I liked on it. When you're working with chipboard, don't get discouraged - just keep adding paint, ink, chalk, gesso until you get a result that you like! This piece started out with a coat of gesso, green and white pastels and then Distress Crackle Paint in Hard Rock Candy. I didn't like how it turned out, so I tried inking it with Distress Ink in Vintage Photo (to pick up the brown in the paper). That turned it into a muddy-green failure. So, I rescued it with another coat of gesso, which ended up looking great!
In this close-up you can see some of the fussy-cut leaves, as well as the natural skeleton leaves that came in the main kit. The green/white flowers are from the Flower Add-On and the large White flower is from the February ScrapThat! Flower Add-On.
Another close-up of the fussy-cut leaves and green/white flowers. You can also see two of the three Imaginarium Designs chipboard butterflies on this layout. I used gesso and three different colours of smooch to create the three different butterflies.
~~~~~~~~~~~~~~~
Are You Ready?
My second layout with the ScrapThat! March Kit features photos from my wedding day of me getting ready for my wedding, hence the title "Are You Ready?"
This is a very paper-heavy layout because I wanted to really feature how beautiful the Meg's Garden papers are. I tore two of the patterned papers to form the base for this layout - I wanted the scroll design on the papers to frame the layout - so used part of the green floral and part of the pink floral page to create this effect. I cut the striped paper using my Silhouette Cameo and then tore off the left edge of the die-cut and doubled up the fancy edge on the right side of the layout.
I used the white cardstock in the Kit to create a double-ended banner as a mat for the fussy-cut perfume label. I then used the leftover pink/green patterned paper (from creating the base page) to create the banner across the bottom of the layout.
I used the cream ribbon to create the ribbon swirls around the photos to help frame them and added a beaded flower from the Flower Add-on - I love how well this flower coordinated with the striped paper! The beautiful girl helping me get my necklace on in the photo is one of my very best friends - Amy!
~~~~~~~~~~~~~~~
Those Eyes
For my final layout with the ScrapThat! March Kit, I scrapped another of my son's "School Photos". He has the most beautiful, soulful blue eyes - which just melt my heart, so I've called the layout "Those Eyes".
I have to admit, this is my favourite layout that I created from this kit. I just love this photo and how the torn/punched layering turned out. I used two different Martha Stewart edge punches and alternated the punched layers with torn layers, also tearing the ends of the layered papers at the top and bottom.
The flower clusters are a combination of flowers/leaves from the main kit as well as from the February Kit Flower Add-on - I also added in a couple of corkscrew swirls created from the stems off the white roses. I just love the crinkle ribbon that was included in this kit - it creates such a pretty bow!
Another bow and some white roses to help frame the title of the layout.

I wanted to show you one more close-up of the photo. I got the digital files for my son's pictures and played with this photo in Photoshop to create a vintage black & white photo effect, but then re-revealed the eye colour. I'll be sharing a tutorial on how I did this later in the month!
~~~~~~~~~~~~~~~
Thanks so much for stopping by the blog today. I hope you found some inspiration in my layouts!

Thursday, March 7, 2013

Tag Video Tutorial by our Featured March GD, Limor Webber


Hello Crafters!! It's Limor here to share the tutorial of the tag I created as a Guest Designer for Scrap That Kit Club. I received this incredible kit package, and one of the projects I chose to make was this tag.

 
Here are some close ups of the tag and of course the full video tutorial for your pleasure! 


Enjoy the video tutorial and thanks for stopping by!

To view more of Limor's gorgeous work, be sure to stop by her blog, Chic Scrapbook Designs by Limor Webber.

Wednesday, February 27, 2013

Birthday Card Set Tutorial by Amarilys

Amarilys here and today I want to share with you a quick tutorial on how to make cards using your scraps after you are done working with your kit. I absolutely loved working with the March kit but I always end up with a pile of scraps that are too small to keep using on layouts. That's when making cards come in handy, plus everyone can use an extra card or two in their stash! Right before I put my kit content away, I always make a few cards (I don't always I post them online though) because, let's face it, after you put things away you don't want to take them out again!

Supplies:
  • ScrapThat! March Kit scraps
  • adhesive
  • sewing machine
  • doily die or 5" doilies

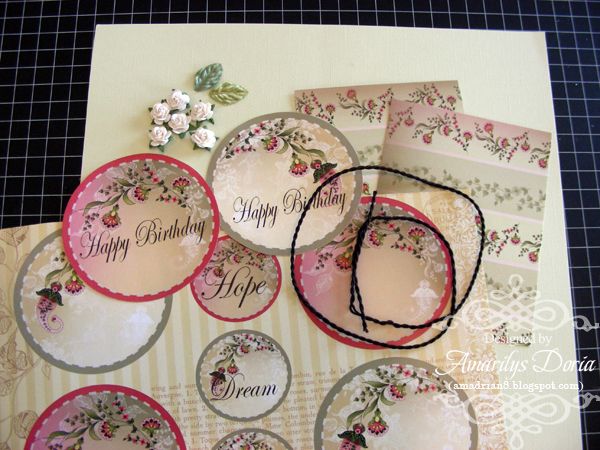
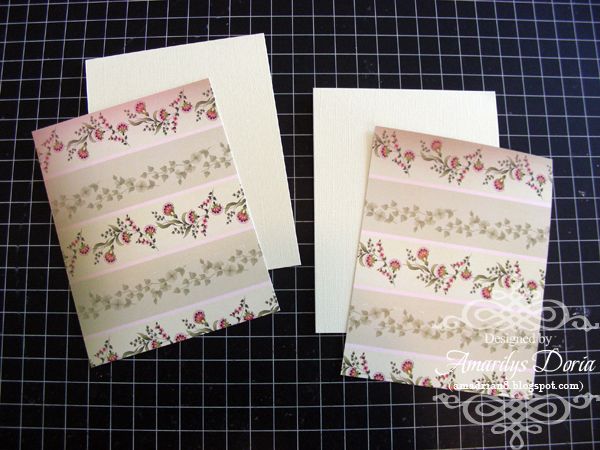
Step 1. Gather your scraps from the kit. As you see, I didn't have many 'scraps"! :)


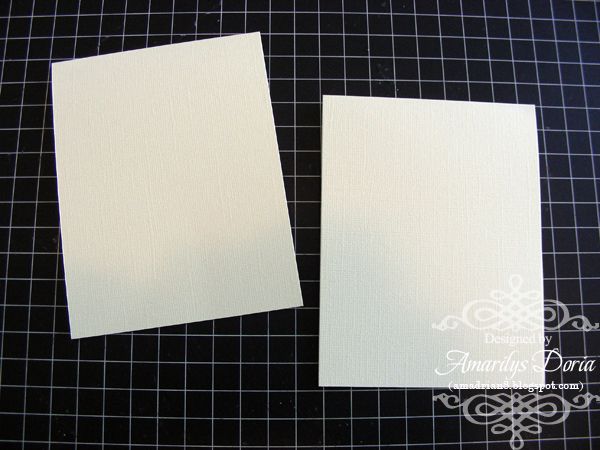
Step 2. Make card bases with any leftover cardstock. I like to work with 5.5"x4.25" card bases.


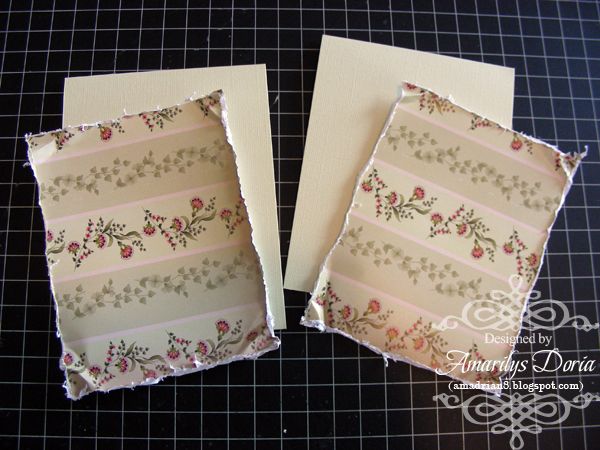
Step 3. Trim your pattern paper to the same size and run them through the Distrezz-it-all tool.


Step 4. Fold and crinkle the corners to give them an aged feel.


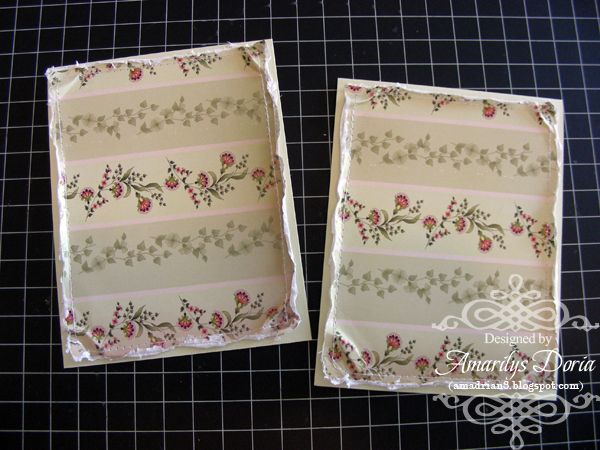
Step 5. Machine stitch (or hand stitch if you prefer) each pattern paper layer alone and then adhere unto the card base.


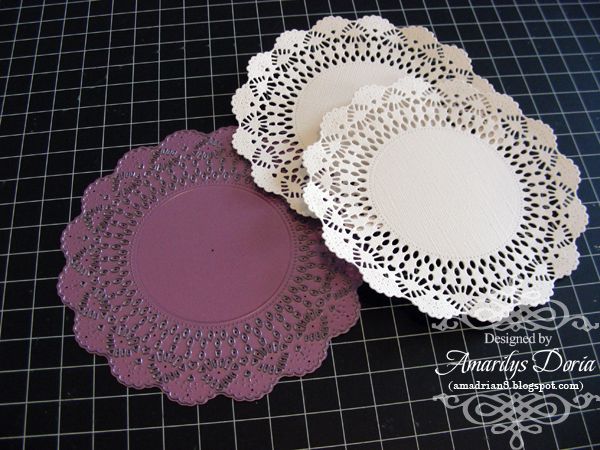
Step 6. If you have a doily die, die cut two from leftover cardstock. If you don't, then use store purchased 5"  doilies.


Step 7. Fuzzy cut the birthday sentiments and adhere them unto the doily.


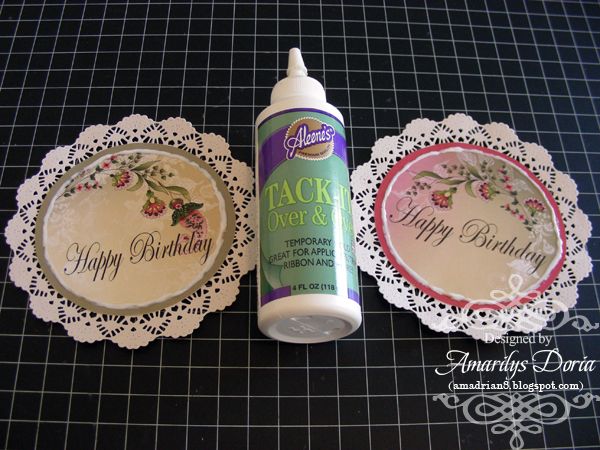
Step 8. Apply Aleene's Tack -It Over & Over adhesive all around the faux stitching on the sentiment circle and let it dry.


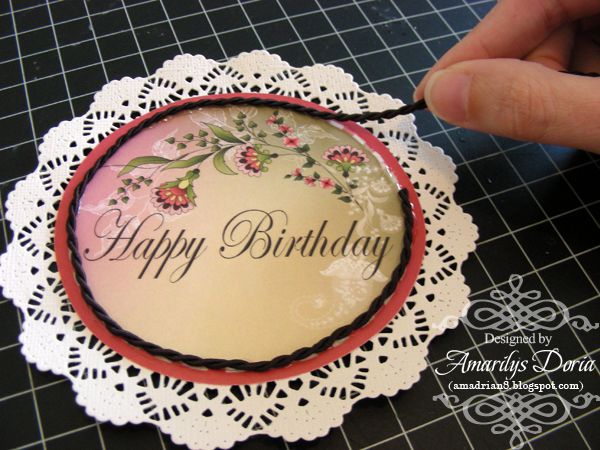
Step 9. After the adhesive dries, it will be temporary and will feel tacky to the touch. Add the cording included in this month's kit all around it.


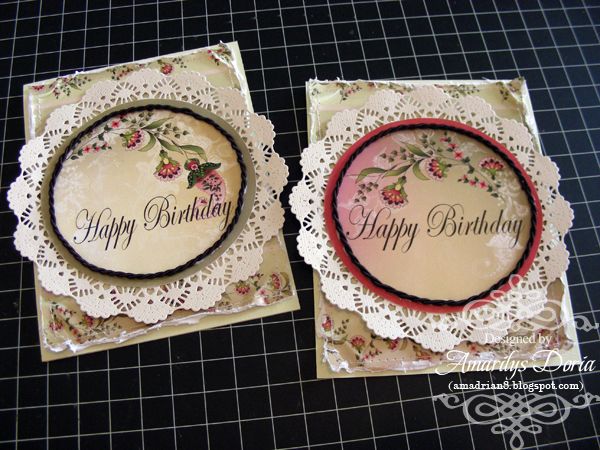
Step 10. Add the doily and sentiment to the card base as shown. Now, you can add embellies to your cards!


Here are my finished birthday card set. Aren't those roses the sweetest?

I hope that you give these cards a try!

Thanks for stopping! I hope that you are inspired to make something with this amazing kit! If you want to see more of my creations, please stop by my blog.

Monday, February 28, 2011

Graphic 45 Mentions Scrap That! on Facebook

We are so happy that Graphic 45 has mentioned Scrap That! on their facebook page!  Our March "SECRET GARDEN" kit features the entire "Once Upon a Springtime" Collection from G45.
This paper collection is to die for!  A beautiful spring palette of rose pink, sky blue, and grass green - these papers mix and match with each other so well and the fussy cutting possibilities are endless!

Stop by their fan page and "LIKE" us :-)

Monday, February 21, 2011

March Kit Sneak Peek!


Hello Lovely Followers!

It is that time again!  Seriously where has February gone?

We are happy to present the March Kit Sneak Peek!  We need  your help in choosing a name for this delightful kit.

Leave a comment on this post, and whoever submits the winning title for this kit will receive a little something in the mail from Scrap That!