


Supplies:
- ScrapThat! March Kit scraps
- adhesive
- sewing machine
- doily die or 5" doilies
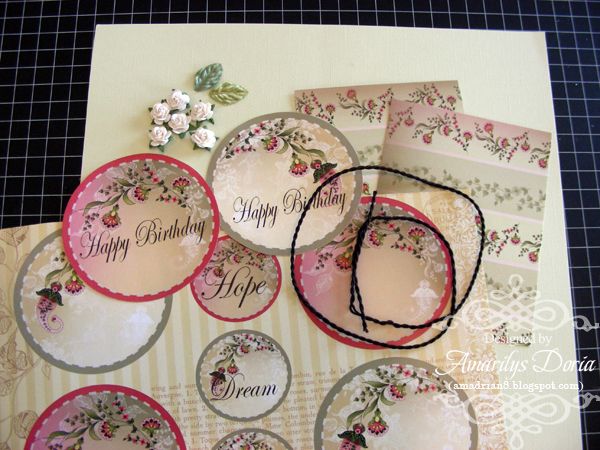
Step 1. Gather your scraps from the kit. As you see, I didn't have many 'scraps"! :)
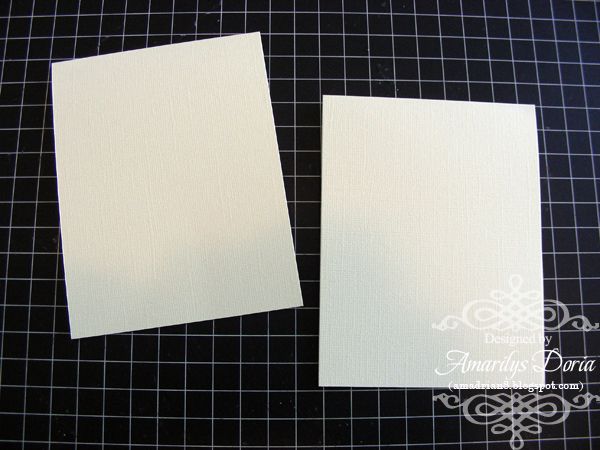
Step 2. Make card bases with any leftover cardstock. I like to work with 5.5"x4.25" card bases.
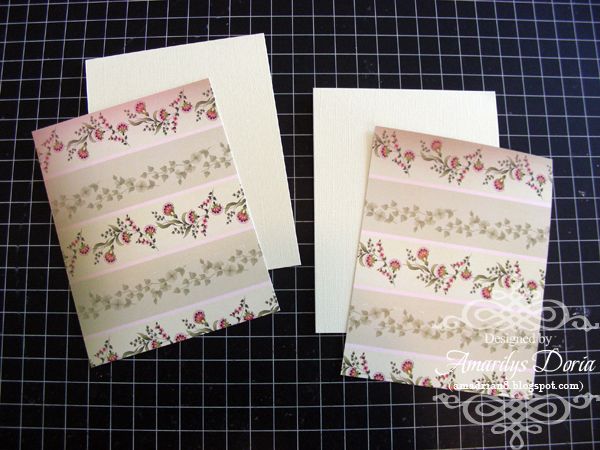
Step 3. Trim your pattern paper to the same size and run them through the Distrezz-it-all tool.
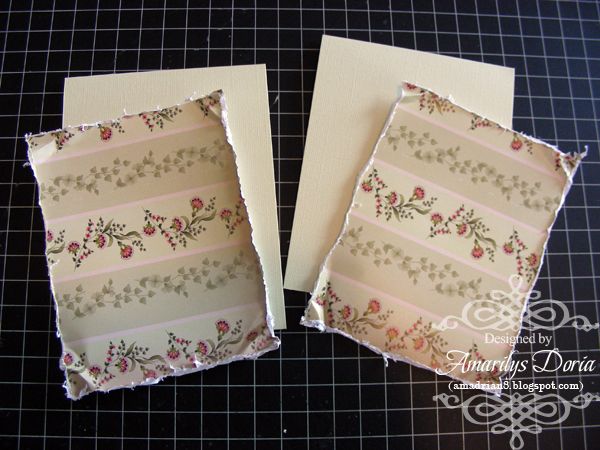
Step 4. Fold and crinkle the corners to give them an aged feel.

Step 5. Machine stitch (or hand stitch if you prefer) each pattern paper layer alone and then adhere unto the card base.
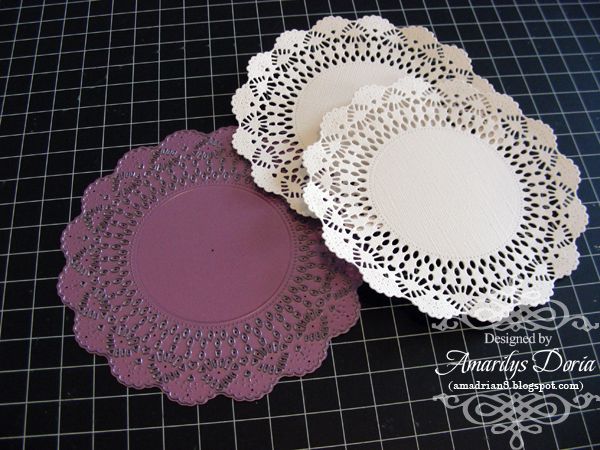
Step 6. If you have a doily die, die cut two from leftover cardstock. If you don't, then use store purchased 5" doilies.

Step 7. Fuzzy cut the birthday sentiments and adhere them unto the doily.
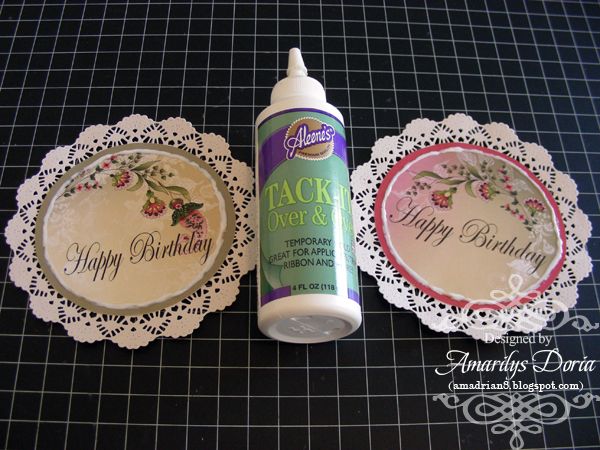
Step 8. Apply Aleene's Tack -It Over & Over adhesive all around the faux stitching on the sentiment circle and let it dry.
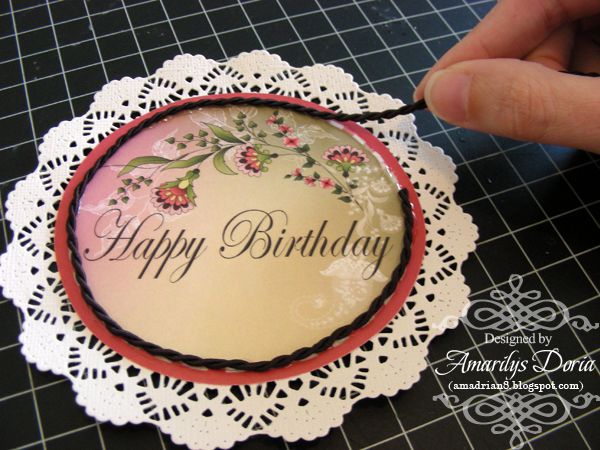
Step 9. After the adhesive dries, it will be temporary and will feel tacky to the touch. Add the cording included in this month's kit all around it.
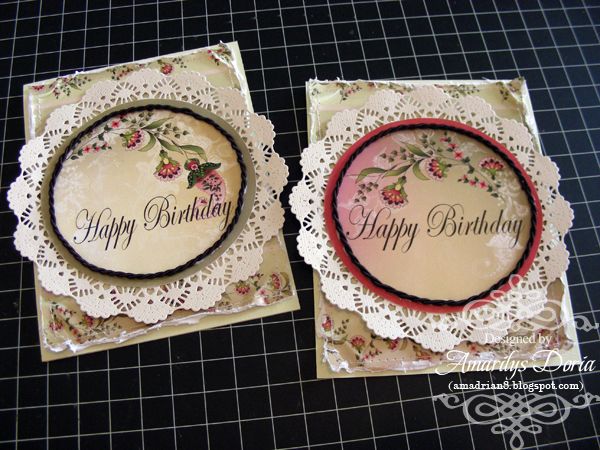
Step 10. Add the doily and sentiment to the card base as shown. Now, you can add embellies to your cards!
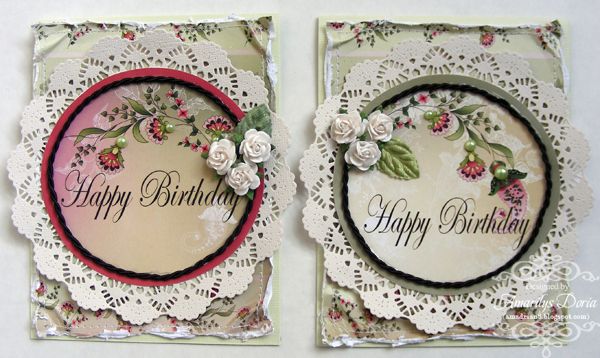
Here are my finished birthday card set. Aren't those roses the sweetest?
I hope that you give these cards a try!
Thanks for stopping! I hope that you are inspired to make something with this amazing kit! If you want to see more of my creations, please stop by my blog.


Gorgeous cards Amy! I struggle with cards but you make it look so easy!
ReplyDeleteAwesome card ideas, Amy ..
ReplyDeleteSuch gorgeous cards, Amy!! Thanks for the step by step to create them! ~ Blessings, Tracey
ReplyDelete