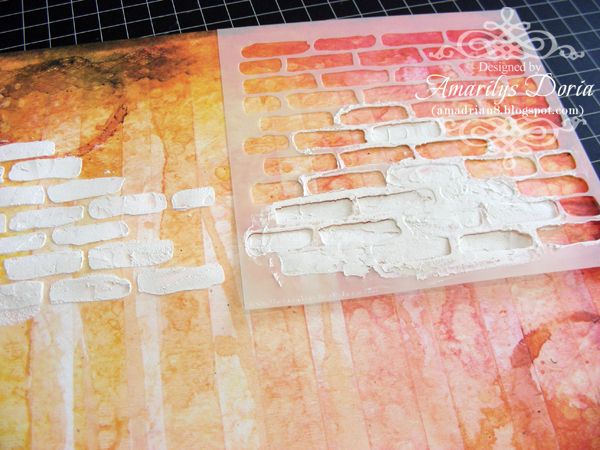
Step 1. Use your The Crafters Workshop 6"x6" small brick template and either store bought or homemade (HERE's link for a great tutorial) texture paste and apply randomly to your background paper.
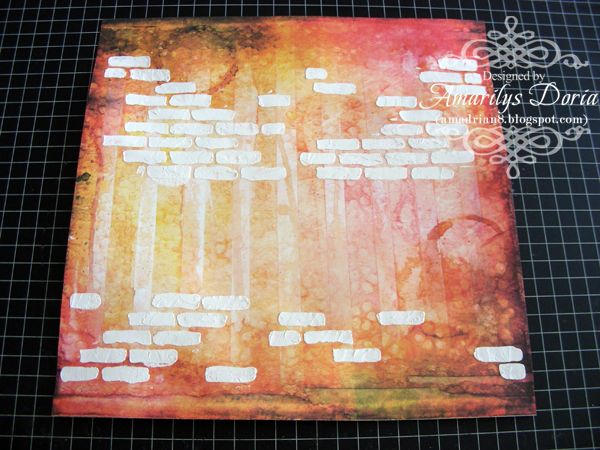
Step 2. This is how it will look when you are done. Let it dry completely overnight or you can speed up the process with an embossing tool.
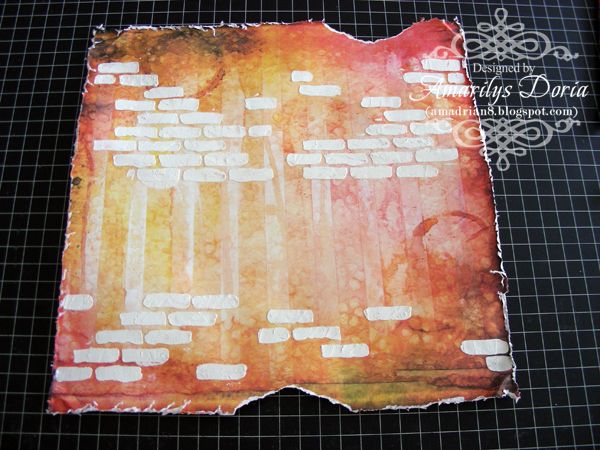
Step 3. Run the whole sheet through the Distrezz-it-all tool and do two tears on your layout, top and bottom.
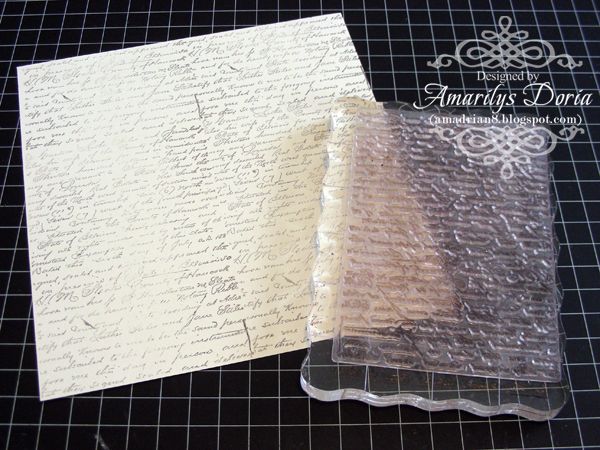
Step 4. Use the Prima Notary background stamp and stamp it twice on a cream color cardstock with archival brown ink.
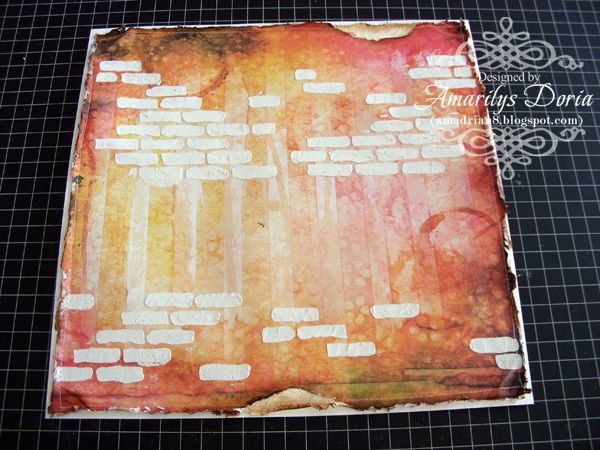
Step 5. Adhere the background paper unto a white cardstock and tuck in a strip of the stamped cardstock under the peek a boo areas. Ink all the edges and machine stitch around the layout as shown.
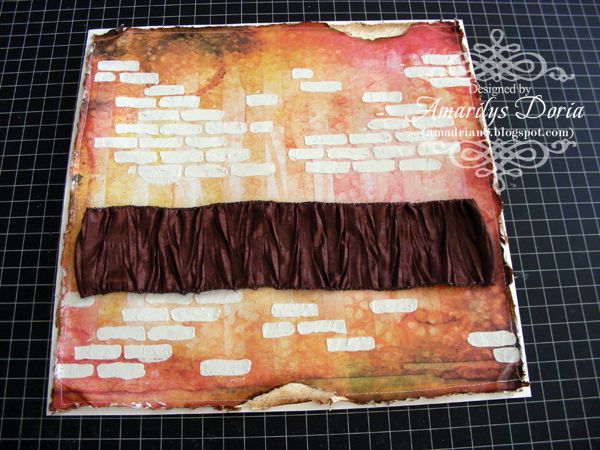
Step 6. Add a 10" piece of the wide wired ribbon to your layout.
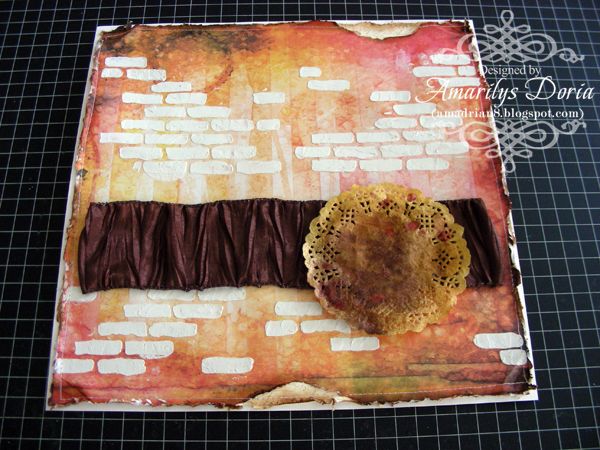
Step 7. Mist a small white doily with brown, red and yellow glimmer mist and add to the bottom right side of the layout.
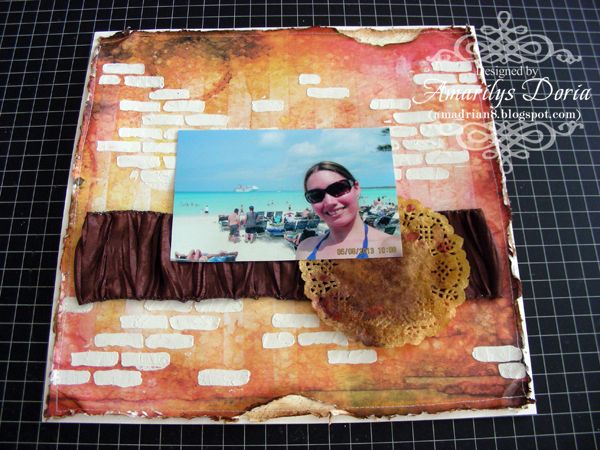
Step 8. Add your contrasting photo over the center of the page.
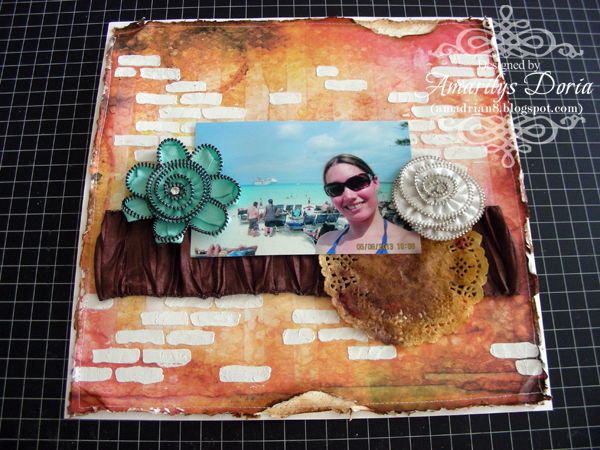
Step 9. Add both flowers from package on the Flower Add On kit to either side of the photo.
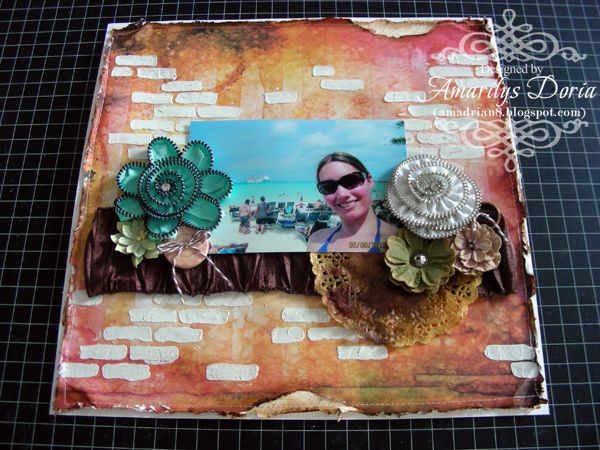
Step 10. Fill in the clusters by adding some more blooms and a button.
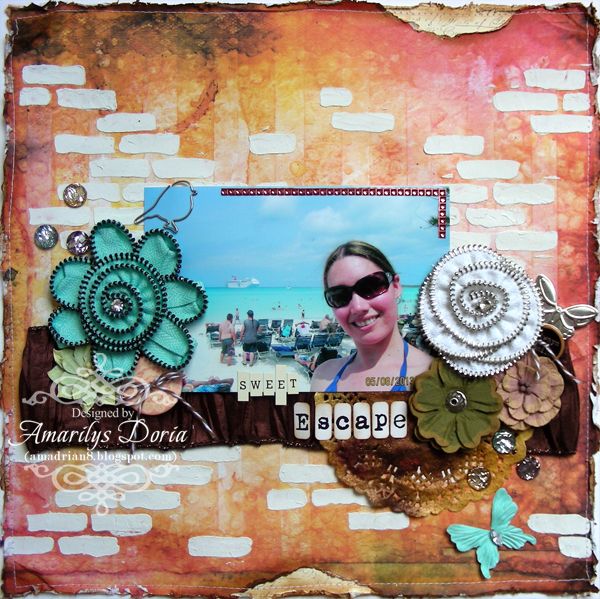
Step 11. Finish by adding a title, some Dress It Up-Flats and butterfly or two to finish your layout.
Thanks for stopping! I hope that you are inspired to make something with this amazing kit! If you want to see more of my creations, please stop by my blog.


Love seeing your process!
ReplyDeleteSo many wonderful techniques!! Thanks for sharing!! ~ Blessings, Tracey
ReplyDelete