Thursday, May 9, 2013

Embossed Vellum Flower Tutorial by Tracey S.


It's Tracey S. here to share a flower technique I tried out with the vellum in the May kit. One of my favorite things to do is to try out new flower techniques. I've seen some of my card making friends create amazing embossed vellum flowers, so I thought I'd give it a try. I was so please with the way they turned out. Here is a step by step tutorial on how I created them. First, here's a close-up from my "First Dance" page showcasing an Embossed Vellum Flower.


Note ~ Some of my tutorial photos are not as clear as I like. I don't think there was quite enough contrast for my camera to focus properly; however, they are plenty clear enough for you to see the process. 

Embossed Vellum Flower Tutorial

Supplies:

Supply list:
Vellum ~ ScrapThat! May Anniversary Kit
Heartfelt Creations Tattered Blossoms Stamps (two smallest stamps) or other flower stamp
Heartfelt Creations Tattered Blossoms Die Set  (two smallest dies) or other dies to coordinate with your stamp. (You can also use scissors to fussy cut around a stamped and embossed flower image.)
Stamp block
Donna Salazar Mixed Media Inx - Jasmine
Whispers Embossing powder - Pearl, or other white or pearlized embossing powder
Big Shot or other die cutting machine
Heat Tool
Ranger Distress Ink in color(s) of choice
Adhesive dots like Zots or Glue Dots
Helmar 450 glue
Queen and Co. Goosebumps clear gem or other flower center of choice - or leave plain.
**Note ~ while I have given the specific products I used, there is a great deal of flexibility with this technique, so I hope you will pull out the supplies you have and give it a shot.**

Step 1. Stamp flower image with Jasmine Ink. I have tried a lot of different white inks and Jasmine Mixed Media Inx by Donna Salazar/Clear Snap is the best I've used to give good coverage. It also stays wet for a long time, so is perfect for embossing. I highly recommend it for this technique. With the Mix'd Media Inx, you can stamp several flowers before step 2.


Step 2. Sprinkle embossing powder over stamped image while the ink is still wet. Tap off excess and return to jar


Step 3. Heat emboss until the powder turns glossy. Don't over heat.

Step 4. Cut the flower images into individual pieces.

Step 5. Place a mini adhesive dot or a tiny piece of a regular adhesive dot on opposite outer edges of each die, then place the embossed flower face down on the die, matching the edges of the die. Make sure the vellum is adhered where you placed the adhesive dots.

Step 6. Run through the Big Shot or die cut machine of your choice.

Hint: I found that occasionally when I place the image in the center of the platform the vellum cracked and one of my petals fell off. This was resolved by placing the die closer to the outer corner of the platform where it gets a little less pressure from the die cutting machine rollers. This may vary with your die cut machine.

Step 7. (Optional - do not color for white flowers.) If you want to color your vellum flower, rub Distress or other ink in the color(s) of your choice on the "back" (non-embossed side) of each flower.


Hint: Embossing powder acts as a resist; however, when I tried to color the top and then wipe the ink from the embossed area, it took most of the ink color off of the vellum as well. Inking from the back works better since vellum is transparent and you can see the color where it is not embossed.

Step 8. Place a dab of Helmar 450 or other liquid glue to the back of the smaller flower and match up the centers of the two pieces while offsetting the petals.

Step 9. (Optional) Add gem to flower center.

Variation ~ For a fuller flower you can use two of each petal size (four flowers all together) You would glue the two large flowers together first, offsetting the petals and then add the two smaller flowers, offsetting the petals each time.

Tip: I also used this same technique to create the blue strip of lace under my cluster. I do not have a matching die for this lace stamp, so after embossing, the lace strip was fussy cut. You can stamp and emboss any image to create delicate embellishments from flowers to lace and doilies. 

I hope you will give these
Embossed Vellum Flowers a try.

The May ScrapThat! Kit and add-on kits are currently available in our store. 

Wednesday, May 8, 2013

Sandi's May Kit Paper Folding Tutorial


Hi, Scrap That! fans! Sandi here today to show you how I did the folding of the green polks dot paper on my layout from the May Kit Reveal. This was something I learned from friend and previous DT colleague Tammy Henderson.  It is actually a little bit of work but so worth it to achieve something a bit different on an  occasional page. I hope you'll try it!

You will need:
A sheet of 12x12 paper, preferably one that has a lighter patterned side B so that you can see your markings.
Pencil
Ruler
Scoring tool and/or bone folder
Brayer, optional


First of all, make sure that you work on the Back side of your paper as you don't want your markings to show on your completed project. 
Make an X on the Top Left corner of your paper, as well as on the Bottom Right. This will be useful as we move through our folding. 
Then make tick marks across the Top of your paper at these intervals:
  2 in, 2 1/4 in, 6 in, 6 1/4 in, 10 in and 10 1/4 inches. 
(For the purpose of my tutorial, I am using an older piece of paper that was not included in the kit.) 


Then do the same thing going down the Left hand side of the paper. I make an arrow to help me keep track of my page's orientation. When you get to the bottom, you can turn your page to where the X is now in the Top Right position and continue marking your other 2 sides. 


Next, begin connecting the tick marks until you get to the last set. 


This is what it should look like at that point. 


Next, turn the paper until the Top Left X  is at the Top Right. Then begin connecting that set of tick marks. 


This shows how you page will look when you have connected all your marks. 


Now you will want to start scoring your marked lines.  I find it easier to use my ruler as I go along. You may be tempted to skip this step but it is critical to making your folding look crisp and uniform. 


Time to actually start folding!  Begin with the X in the Top Left corner again.  You will be folding from the Top Left to the Bottom Right.  Your FIRST fold is at the SECOND line and you will fold INTO the page as shown above. 


Next fold at the FIRST line as shown above and making the corner go back up toward the Top Left. 


Go all the way down your page folding first the SECOND line, then the FIRST.  You can see where the scoring pays off, right? 


This is how the paper looks when you've completed one direction.  This is a good time to smooth everything down with your brayer before continuing. 


Now you will turn the paper until the Top X is in the Upper Right corner. Then begin folding just as you did the first time around. 


On this photo you can see that I've completed 2 sets of rows going in this direction.  When you've finished all your folds, you may want to use a brayer to make all the folds nice and crisp. Some people will use a bit of tape to hold everything in place although that is optional. 


Now flip over to the right side of the paper and you are ready to use your folded project  on a layout! I do like to ink my folded edges. 


Once again, here is the layout I've done with my folded paper. I've added pearls at some of my intersecting folds to help emphasize them. Paper folding is just something a bit different to use now and again for a litle added zip! 

Thanks for coming by and be sure and let me know if you have any questions! 


Tuesday, May 7, 2013

ScrapThat! Kit May Creations by Amarilys Doria


Amarilys here today sharing with you the projects that I made with the May Kit "Spring into May". This kit is simply gorgeous and filled to the rim with scrappy goodies and I ended up making 3 layouts, a card and an OTP project!

My first layout is based on my sketch for ScrapThat! Anniversary May Kit.


(See details about the challenge here: Sketch Challenges)

and here's my take on it:

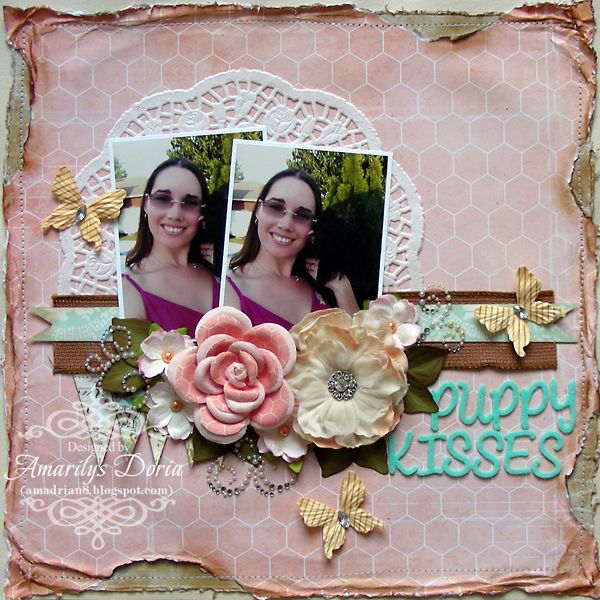
"Puppy Kisses" Layout

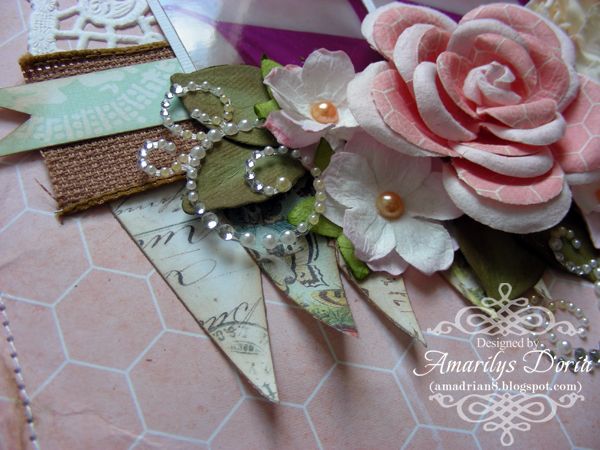
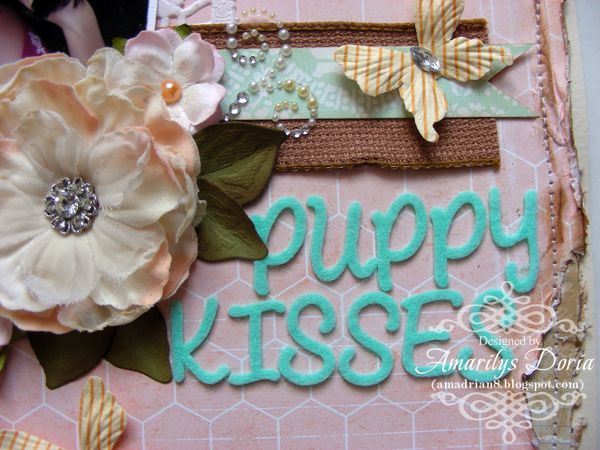
I used the Main Kit, The Embellishment Add On and Flower Add On for this layout. The doily is from my stash. I took this picture a few weeks ago of my new puppy and I. The timing was perfect since she actually licked me when I snapped this photo!

Here are a few close ups:


My second layout is a wedding layout (my goal is to finish my weding layout by the summer-I'm almost there!)

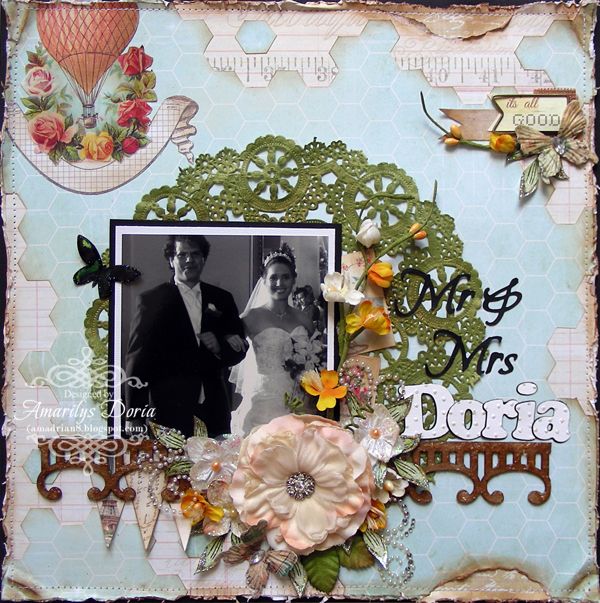
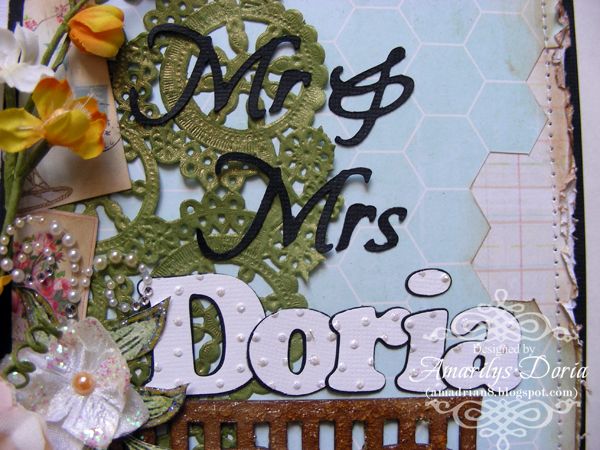
"Mr. and Mrs. Doria" Layout

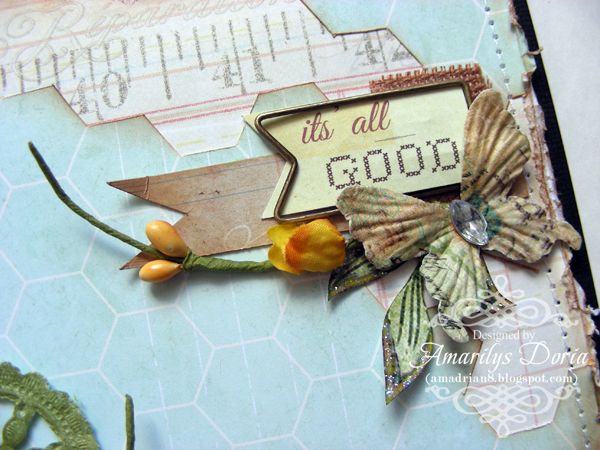
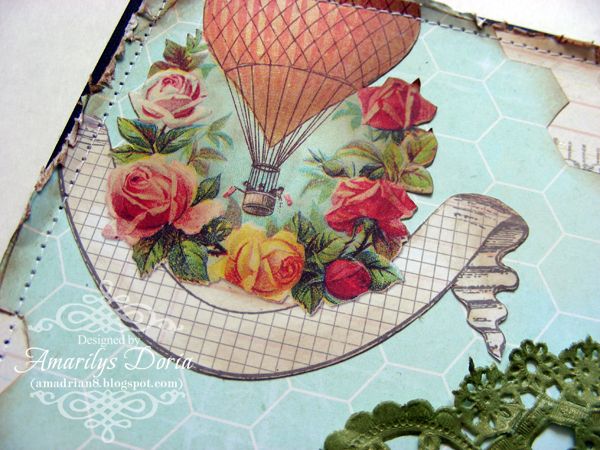
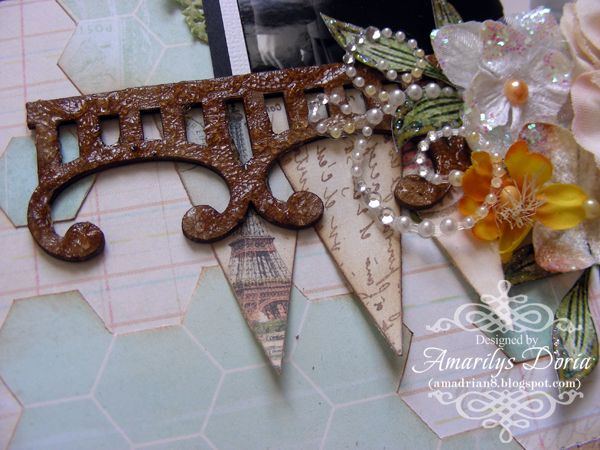
This layout is based on Dusty Attic April Sketch. I used the Main Kit, The Embellishment Add On and Flower Add On for this layout. The doily, small flowers, and Dusty Attic chipboard are from my stash. The leaves, butterflies and title are all handmade by me. This is a wedding picture of my hubby and I as we were being introduced as Mr. and Mrs. during out reception. I can't believe that it has now been 4 yrs since our wedding day!

Here are a few close ups:


My last layout is all about me and I got inky with it!

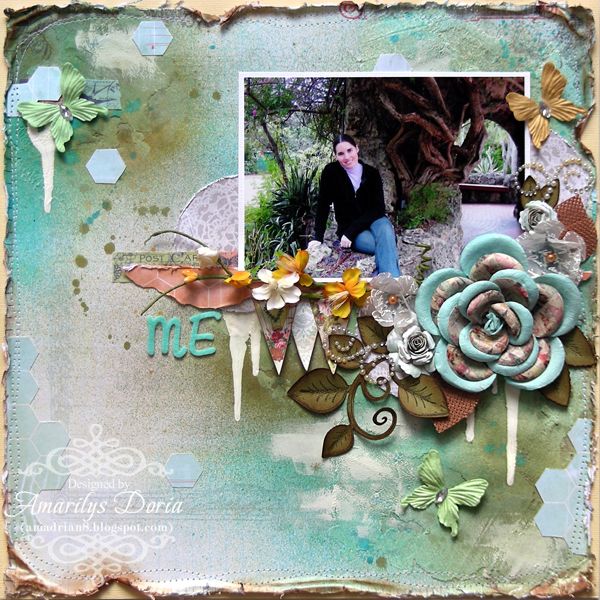
"Me" Layout

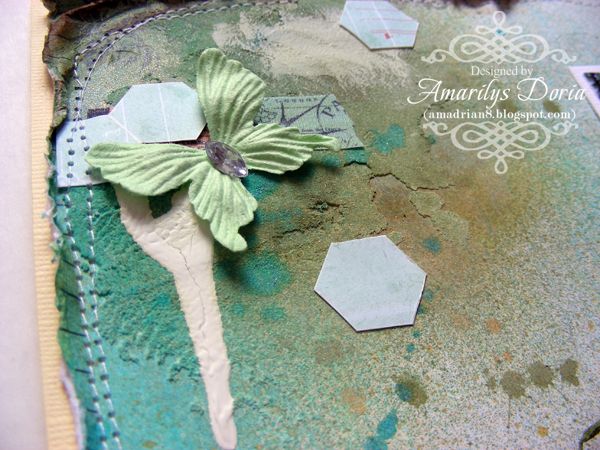
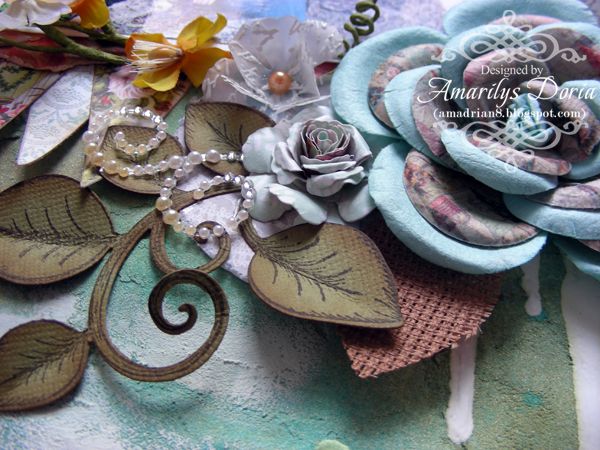
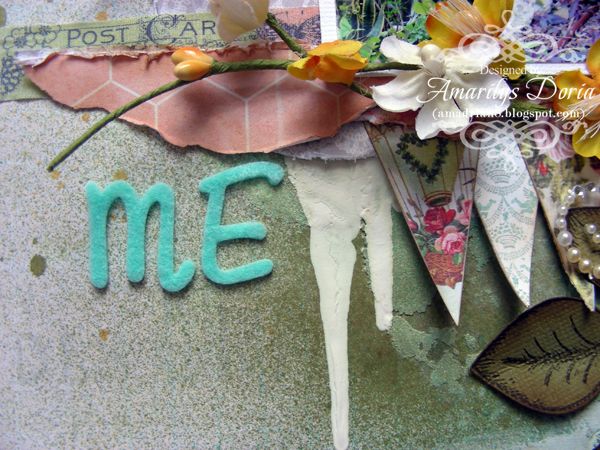
This layout is based on Prima April BAP. I used the Main Kit, The Embellishment Add On and Flower Add On for this layout. The leaves are handmade by me and glimmer mists and acrylic paint used are from my stash. My hubby took this picture of me in the same spot we got married 4 yrs ago. The paint drips are inspired by Marilyn (love your work girl!).

Here are a few close ups:


Finally, my last two projects are a Birthday card and gift set:

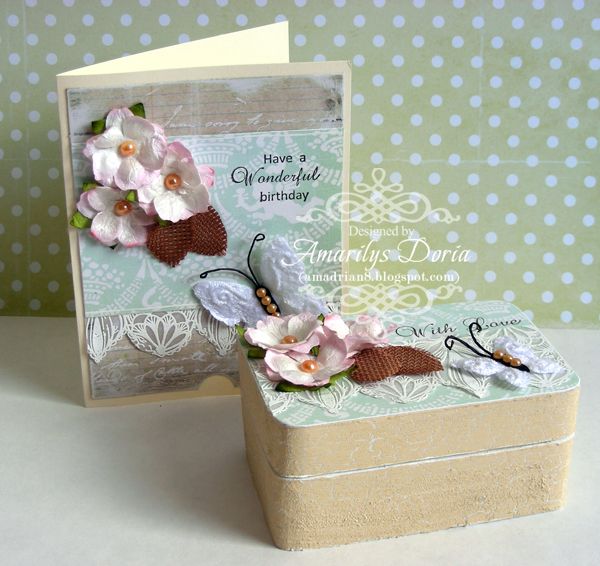
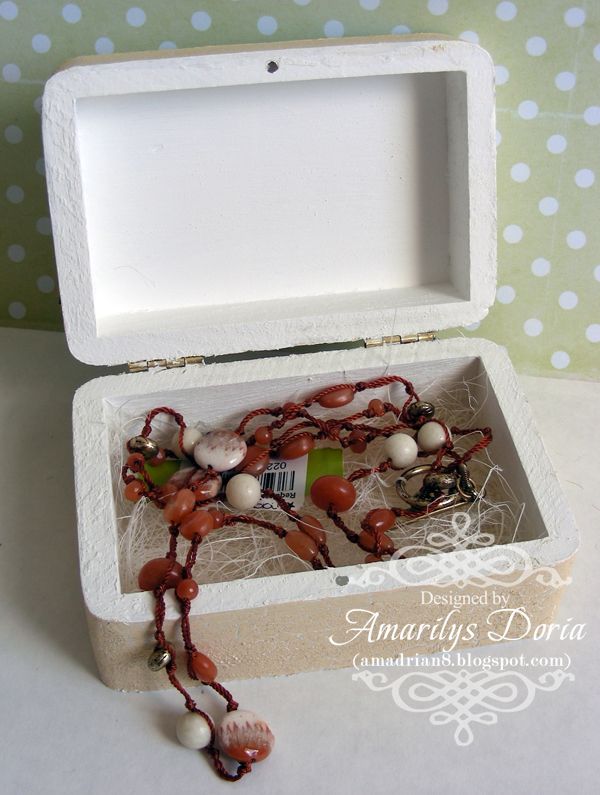
"Birthday card and Box Set"

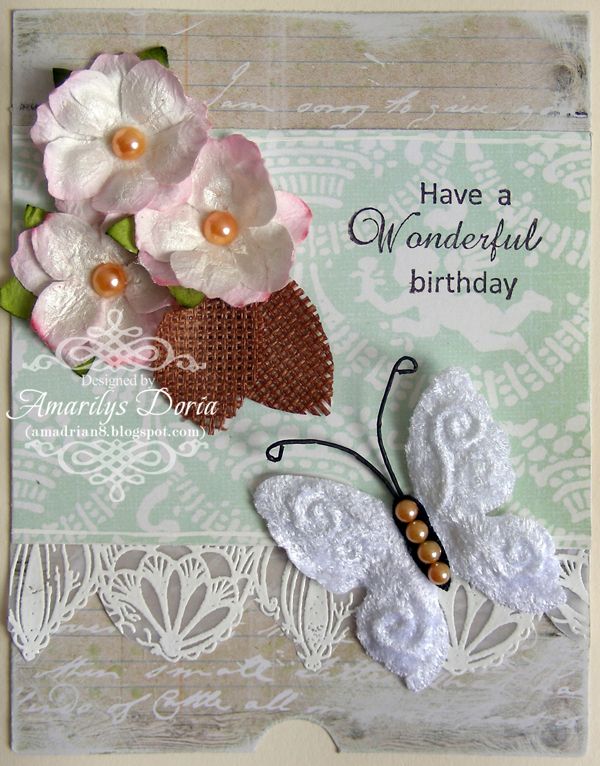
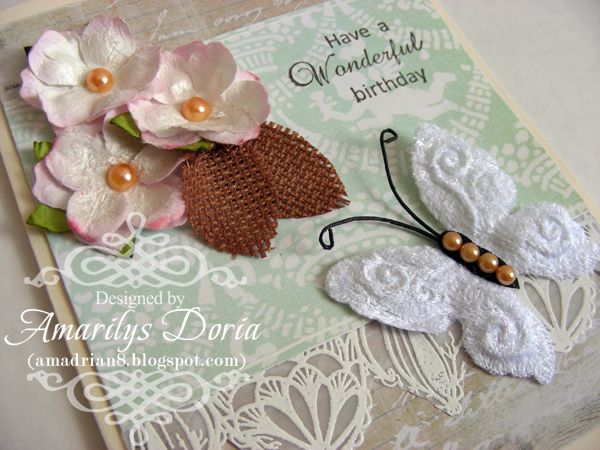
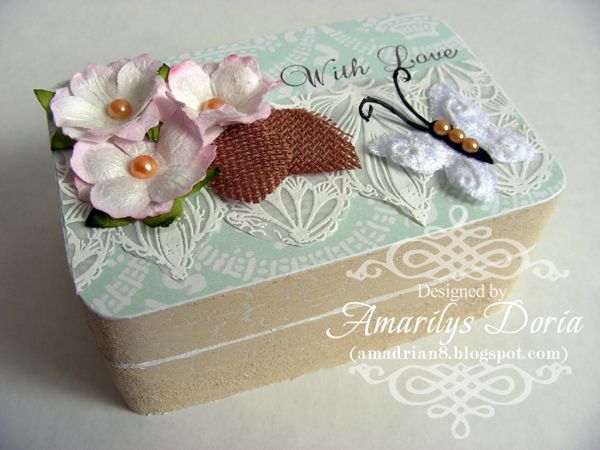
I used the Main Kit only for this birthday set. I embossed a Heartfelt Creations doily stamp on the vellum included in this kit and fuzzy cut it and added it to my projects. The stamps used are all by Heartfelt Creations, of course.

Here are a few close ups:


Thanks for stopping by! I hope that you are inspired to make something with this amazing kit! If you want to see more of my creations, please stop by my blog today!

Sunday, May 5, 2013

Layout of the Week-May 5 **Bonnie Friessen**

There were so many amazing layouts this week, I really wish I could give out runner-up prizes too! The page that absolutely captivated me is The Peaceful Heart by Bonnie Friessen. Take a look:

The beauty of this page starts with this portrait of her sister and the colors in her dress are a perfect combination against the bright vintage auto.Bonnie subtlety picked up and wove all these rich colors together combined with textures to create a colorful,yet not overwhelming with color layout.I love the touches of her handwriting on the circle and the stitching around the page.
This will always be a fave for me!

So congrats,Bonnie on LOTW. I will send you the blinkie badge and you are able to take 10% and kits from 2012-including the separate add-ons!


Saturday, May 4, 2013

All of us here at ScrapThat!
are wishing you a happy 
National Scrapbook Day! 

We are celebrating all month long with a fun
Round Robin Challenge.

Stop by the forum to join in on our
May Challenges.


Visit our ScrapThat! Store to pick up your May Anniversary Kit before they are all gone or to become a kit club subscriber. 

Friday, May 3, 2013

May kit pages from Tracey G.

Hello! Tracey G. here to share a little about my pages made with the fabulous May Anniversary kit.

Here is my first layout, using only the goodies in the main kit and the brand new sketch from Stuck on U Sketches:

Featuring my niece,Vivien in her first princess crown. Yes, it's on backwards but with that smile,we'll just let it pass. I used the yellow cardstock as the base and applied a texture paste to the background. Everything was misted using Tattered Angels and Lindy's products. The butterflies come white and ready to color so I applied the mists with my fingers for a blended look. I will have a tute for the spring lilies on the page and I love how they are nestled in the fun fibers that also come with the kit. I added gesso to the alphas and just thought the Prima banner clips were the cutest!

Look at the beautiful sketch Amarilys has created for May:

Here is what I made with it,using the add-ons:

I made the paper roses with the kit's cardstock and my Spellbinder die and highlighted them with the pretty Smooch that comes with the main kit. I curled all the edges back by lightly misting them,wrapping them around a thick paintbrush handle and drying them with the heat gun. I added perfect pearls to the lace doily design on the background paper to highlight the delicate pattern. I love the burlap look to the ribbon and the wired aspect made it so easy to shape.These are older pics of my daughter that I have been waiting for the right papers..I love how the sunshine highlights her face and these sunny papers and blooms were perfect!

See details about the challenge here: Sketch Challenges

For my last layout, I had no design in mind but just played with it:
As soon as I saw these papers,I remembered this pic of Naomi wearing this favorite outfit. Perfect match,right? When I saw the ruler it reminded me of my doorjamb where all my kids have their height marked. my daughter is small for her age and is always the most anxious to see if she has grown any!I made the flowers with Prima papers and my Timmy tattered floral die add added some Michael's dollar bling to the center and the enclosed pretty coral pearls. I broke the large coral Prima flower down but trimming off the bottom layer so it would be proportionate. The pompom trim is also from the Michael's dollar aisle as well and I borrowed some Prima accents from previous ScrapThat! kits to complete the page.

That's all I have for today-have a wonderful weekend!

Wednesday, May 1, 2013

Laura's May Anniversary Kit Reveal!

Good morning everyone!  I hope you are all having a great May day!  
Today I get to reveal my creations using the anniversary kit!

This first layout I used the main kit only. 
I sprayed the fiber with pink mist so it matched my layout a little bit better.
I also punched some butterflies and used the pearls for their bodies!


Here is the paper roll detail...I will share later this month a short tutorial on how I created the paper rolls


my second layout I used MK, PAO, EAO, FAO

This is my Granddaughter Gina...she has such a cute smile!

I scattered the butterflies, added some  doilies from my stash and the flowers from the add on!

here is a detail shot


My last layout I used Amy's sketch but turned it on its side!
I created with the MK, PAO, EAO, FAO
My granddaughter was having fun one day at a park!  She is so adorable!


I used the papers with the yellow to pick up on the yellow in the tunnel!
Here is the detail shot


Thanks everyone!  I hope you enjoyed my post!