


Supplies:
- large letter of your choice
- ScrapThat! Main Kit
- Spellbinders Bitty Blossoms die
- Cuttlebug machine (or any other die cutting machine)
- Heartfelt Creations (HCPC 3367) Vintage Life Background PreCut Set (or any script background stamp)
- archival ink in brown
- Vintage Photo distress ink
- Martha Stewart Doily Lace Punch
- brown acrylic paint
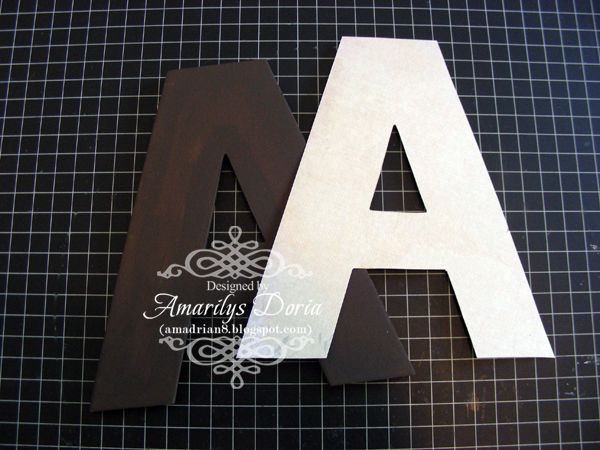
Step 1. Trace your letter unto your chosen pattern paper and cut it out. Paint your letter in brown, making sure that the edges are completely covered in paint. Let it dry.
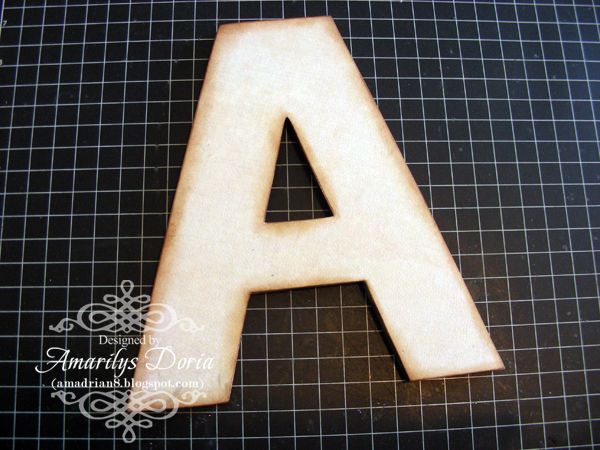
Step 2. Adhere the pattern paper unto the paper mache letter and ink the edges.
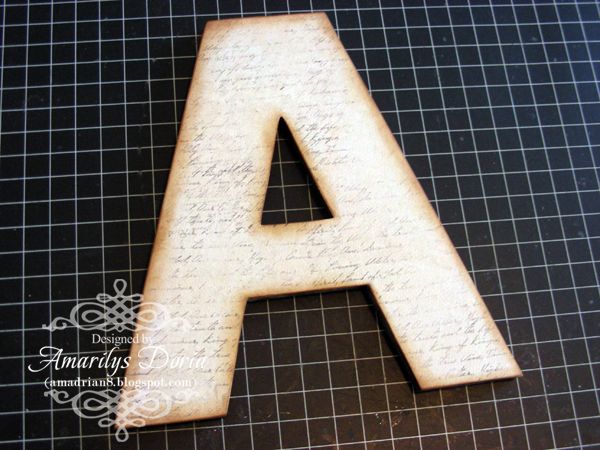
Step 3. Randomly stamp the background script stamp on the letter.
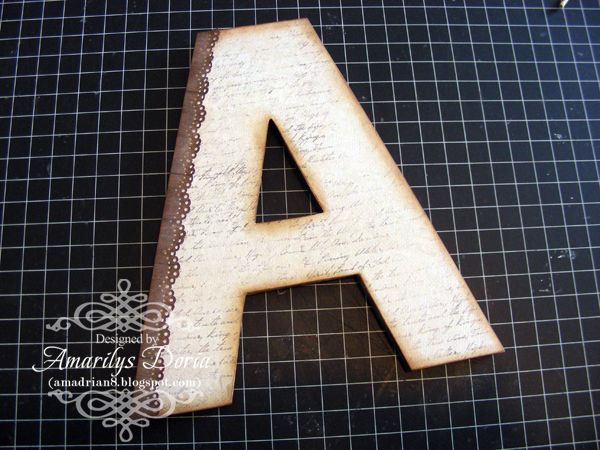
Step 4. Punch out a border using a Martha Stewart punch and add to the left side of the letter. Trim the excess.
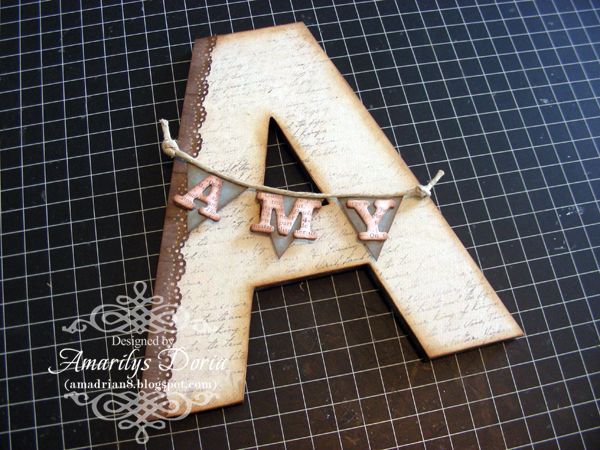
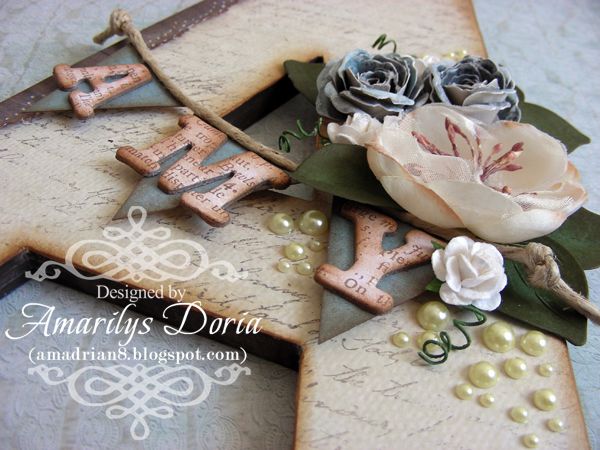
Step 5. Add a small banner across the letter and spell out whatever you want using the alphas included in the kit.
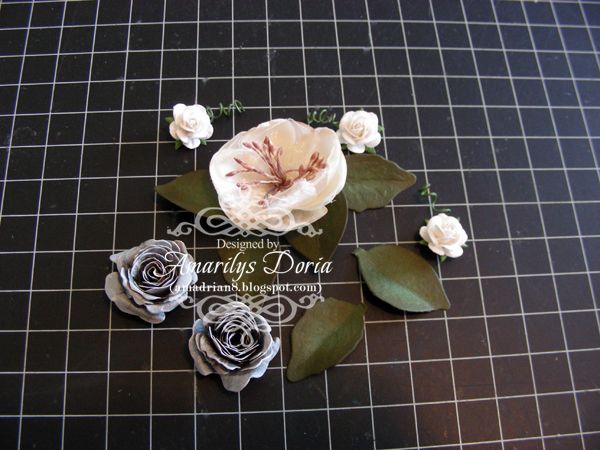
Step 6. Gather your embellies and hand make a few flowers and leaves using the Bitty Blossom die and papers from the Main Kit.
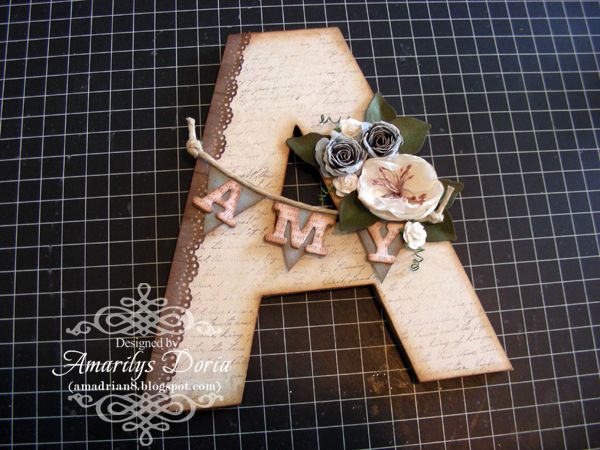
Step 7. Adhere the embellies to the letter as shown.
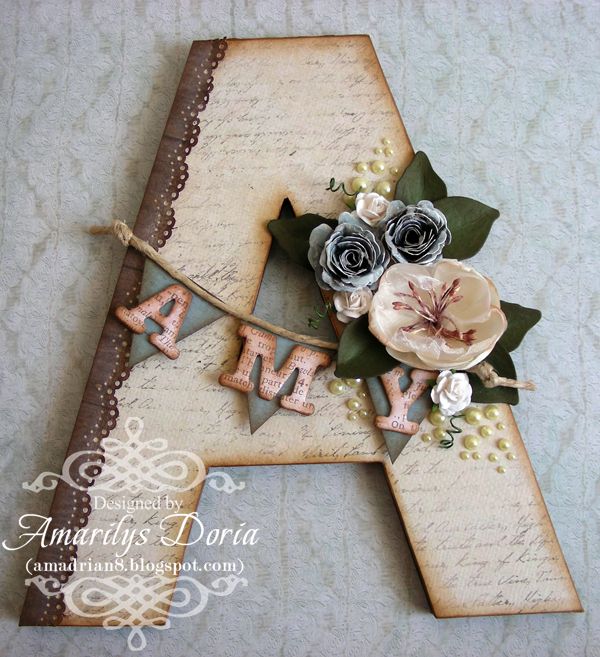
Step 8. Finally, add blind pearls around the cluster to finish your letter off.
Here are some close ups of the letter:
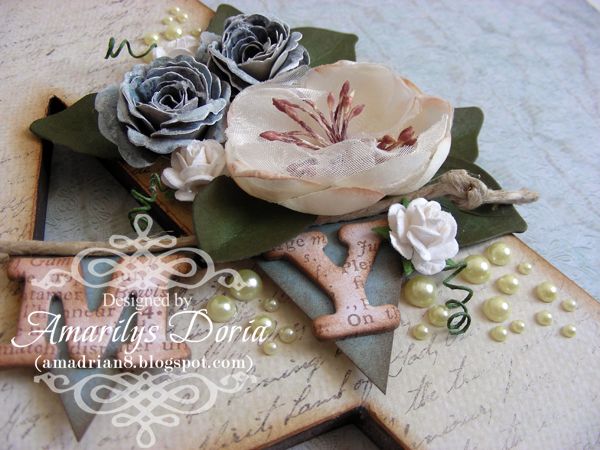
I hope that you give this tutorial a try and make an altered letter for your home! This one is now sitting in my scraproom.
Thanks for stopping! I hope that you are inspired to make something with this amazing kit! If you want to see more of my creations, please stop by my blog.
***The April Kit is now available for purchase to non-subscribers in the ScrapThat! Store.


So gorgeous Amarilys. I have got to try this one. Thanks for sharing.
ReplyDeleteHuggies
Rachelle
xxx
Such a cute project! Thanks for the tute!
ReplyDeleteThis is such a fabulous project, Amy. Thanks for sharing your steps with us!! ~ Blessings, Tracey
ReplyDelete