Supplies:
- dies: Heartfelt Creations Decorative Metal Fixtures Dies-HCP 725
- stamp: Decorative Metal Fixtures PreCut Set-HCPC 3488
- Cuttlebug machine
- chipboard or thick cardstock such as the one used in the back of a paper stack or collection
- archival ink
- chalk ink (included in the December Kit)
- Crackle Medium (optional)

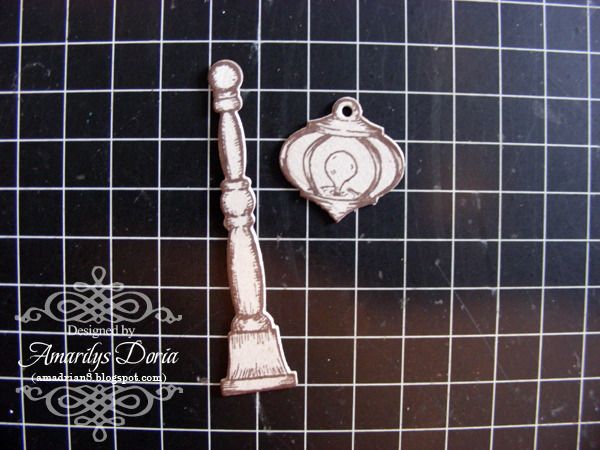
Step 1. Die cut your shape out of chipboard or thick cardstock such as the one used to bind a paper stack.

Step 2. Stamp your image unto the chipboard with archival ink. If you do not use archival it will bleed through

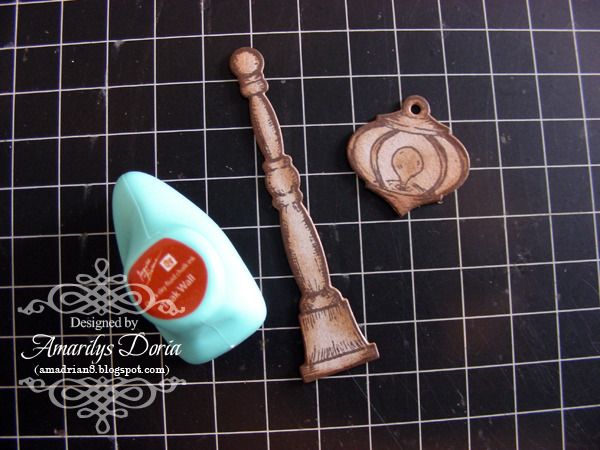
Step 3. In random areas, lightly ink the image to create an antique look.

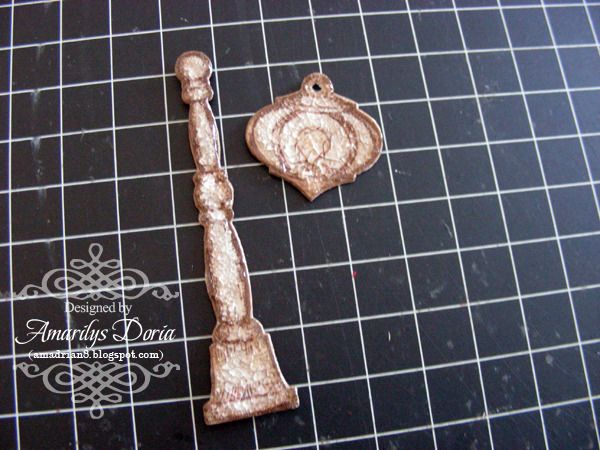
Step 4. Finally, add crackle medium and let it dry.
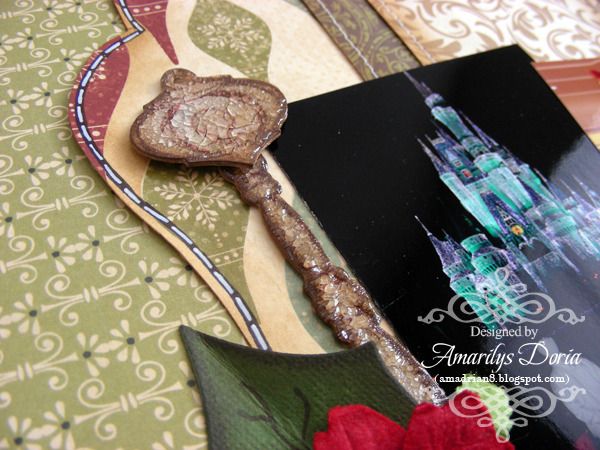
Here's a close up of my finished piece in my layout:

Note: You do not have to treat the chipboard as I did. Once your chipboard piece is finished you can color it with acrylic paints, mist it with glimmer mist or leave it as is. Many designers this month are having chipboard treatment tutorials so I encourage you to try one of those tutorials on your handmade chipboard piece!
Thanks for stopping! I hope that you are inspired to make something with this amazing kit! If you want to see more of my creations, please stop by my blog.


Fabulous tutorial, Amy!! I didn't know you could cut chipboard with a Spellbinder die. I tried heavy cardstock once, and it wouldn't cut. I'm going to have to go back and try again. Thanks for the inspiration!! ~ Blessings
ReplyDelete