Polymer
Clay Gardenia Bloom Tutorial
By:
Step 1:
Soften clay by kneading it in the palm
of your hand for a few seconds. Make 3 small stamen's for the center of your
blooms.
Step: 2:
Put the 3 stamen pieces together and
set aside.
Step 3:
Divide the rest of your ball of clay
into 6 pieces.
Step 4:
Take one of your clay balls and create
a triangular petal. The shape does not have to be perfect, a rough, uneven edge
is just fine (even preferred!). (Make 6 of these)
Step 5:
Pinch the bottom of the triangle to
create a little pleat and lightly ruffle the top edge of the petal.
Step 6:
Attach 3 of the six petals evenly around
the stamen you made. Then attach the other 3 behind the other three offsetting
them from the other petals.
Step 7:
You will be left with a clump of extra
clay behind the bloom you made. Clip this off with a pair of scissors. (Note:
you can use the left over bit of clay to make 3 leaves for behind your bloom, or
you can use the leaves included in the kit for behind your flower)
Now You will bake your clay piece in a 270 degree Fahrenheit oven
for 15 minutes. (I like to use a disposable foil tray to bake my Polymer clay
since clay is toxic and should not be used on appliances you normally cook/bake
with.
Step 8:
When
you pull your clay piece from the oven it may still feel slightly flexible but
it will harden as it cools. Now you can paint your piece to your liking....or
you can do as I did here and use some Perfect Pearls or Pearlex (mica powder) to
tint up your piece. Just take a paint brush and start from the center of your
bloom, dust the pearl powder outwards so that it fades out. I used a pink color
for the petals and a yellow/inca gold for the stamens. I used regular green
acrylic craft paint for the leaves. (Give your piece a light spray of sealant
to protect the finish.....or you can do as I did and use a light spritz of hair
spray to protect the piece.
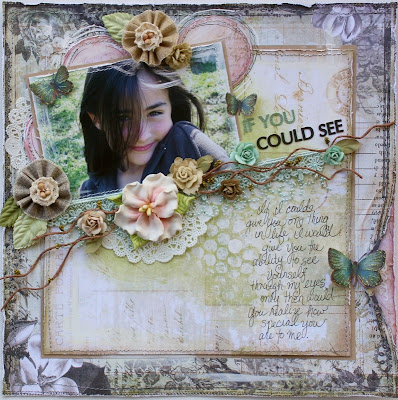
Now you can use your finished piece on your layout or home decor project.
Here is a close-up of the piece on my layout.
For more polymer clay tutorials by
Gabrielle Pollacco
click HERE


Awesome tutorial...the end result is gorgeous!
ReplyDeleteThat is such a beautiful flower. TFS.
ReplyDeleteJust gorgeous! I must give these a try!
ReplyDeleteGabi this is so clever and gorgeous - can't wait to see what I can make with mine!!
ReplyDelete