Wednesday, April 17, 2013

Tracey G.'s April Kit Creations!

Hi there! Tracey G here to share a little more about my layouts made with the April."Within Nature" kit featuring the beautiful designs of Donna Salazar.

My first layout uses the main kit only and this SOUS sketch created by our own Sandi S.!

I made all the roses with Spellbinders and the textured flowers with Tim Holtz' Tattered Floral die and embossing. With the cool wood look papers, I used Timmy's (what else ?) wood embossing folder and some distress ink. The background is a mix of gesso, walnut stain and perfect pearls. the pic is my Mom with my niece,Vivien, last Easter, opening some kind of goodie.I chose to use the sign and the post separately and used Rub n' Buff on both pieces for the weathered metallic look.

My next layout uses the MK and add-ons and is inspired by Amy's sketch:

This denim paper is so fun! I love the little metal rivet roses that come with the Embellishment Add-on-how perfect! Using my faithful Holtz die,I cut the burlap and added layers to the petaloo blooms. The Dandelion chippie is from my winnings at ScrapFX and just begged to be added. So I dunked it in molding paste and glimmed it with the kit's Stickles. Also from my stash is the blue ribbon,the earring/zipper pull and the small alphas. The brown ribbon is from the October ScrapThat! kit. That's a Crafter's Workshop chicken wire in the background created with molding paste.

My 3rd Layout is a freestyle, using Add-ons:

I love this pic of my DD and wanted to keep the LO simple. There is a lot of ink and texture that is better seen IRL. I altered the gold hearts with silver Rub n'Buff to match my DD's necklace. Just for the record, I had the pic and necklace BEFORE I received the kit ! LOL. Do you like the little blue blooms?I have a tute on the ScrapThat Blog as well!


Thanks for stopping by and having a peek at my pages! We can't wait to see what YOU create with this kit!

Tuesday, April 16, 2013

GD Lynn Shokoples ~ Featured April Projects

Good Morning Everyone! This is Lynn here today, and I'm so excited to be a guest designer this month for ScrapThat! I have a few projects to share with you using the April Kit. When I saw the patterned papers from the Donna Salazar collection, I was in love.

"Nikki"
MK

For this layout I used the main kit only and the sketch by Amarilys Doria but flipped it on it's side. I loved having the burlap in the kit as well, it just added to the shabby feel of the layout of my daughter. I chose to do her photo in black and white to blend into the neutral colors. I added some doilies from my stash and did some faux stitching to finish my project.


If you would like to play along with the March sketch challenge, check out the details here.
 ~ ~ ~ ~ ~ ~

Here are some close-ups of my details.

 I used the twine along with some glossy accents to wrap around the flowers.
 I loved the Chipboard Alphas that came with the kit, and I just added a little ink to the edges.

 ~ ~ ~ ~ ~ ~ ~
For this layout I played with the main kit and the embellishment add on kit. I will be sharing a tutorial later this month on how I added some texture to the background. I just couldn't get enough of using the burlap, so I added it to this project as well.
 The Maya Road Vintage Trinkets were just the perfect embellishment to add to the center of my flowers along with the Prima Vintage Trinkets. I took the hearts from the strand and tucked them into the flower cluster for some extra bling.
 Here you can see a sneak of the texture I added. I also used my sprays to add color to some white flowers from my stash.

~ ~ ~ ~ ~ ~ ~

"Days Like These"
MK, EAO
For my last project I used the Prima Flower spray and just tucked it around my photo. I used some punches to play with the frame. The title I cute out of one the patterned papers from the main kit along with my Silhouette Cameo. I just had to add some more of the burlap to my project, can you tell how much I love it?
With the embellishment add on kit there was some chipboard from FabScraps. I used some stamps and ink along with the Maya Road Trinkets to jazz up the chipboard.

Thank you so much for letting me share my projects with you today. I've really enjoyed the opportunity to be a Guest Designer this month!

To see more of Lynn's amazing work be sure to stop by her blog!
Scrappyhappymom

Monday, April 15, 2013

Laura's April Reveal

Hi everyone!  Laura here and I am ready to reveal my layouts using this months amazing kit!
This first layout is based on Amy's wonderful sketch!


Here are some of the details


The little roses were perfect for the peek a boo!

my second layout 'Waves of fun' used only the main kit!  I used the fantastic burlap and twine which added a lot of texture to the layout.  I also used the sizzex and an embossing folder to on the photo mat, I added a few of my handmade flowers and some mist runs and my layout was completed!

some of the details


my third layout 'The world' is about my son Tyler....he really is a wonderful kind hearted sweet boy
I simply layered some distressed papers, made a few flowers, used the fabulous flowers from the flower add on and added my title


a few of the details


My last layout is about our oldest son Cody....he really is an amazing kid, smart, funny and he has such a big heart that he truly amazes me

this was a simple layout, I used my mask and molding paste, misted flower, hand made flowers and some letters from my stash


some of the details


Thanks so much for stopping by!

Sunday, April 14, 2013

LOTW Nicole Dorion - Forever

There were so many awesome projects in the gallery this week....it was hard to choose but I LOVE this layout by Nicole Dorion


I love her paper choice the sepia photo and beautiful KC chipboard! Look at all the little details!  She really rocked this layout!

Remember to upload your projects to our Gallery for a chance to be chosen as LOTW! Not only do you get a gorgeous LOTW badge, you also receive 10% off any of our 2012 kits left in stock-including add-ons!

Friday, April 12, 2013

Stickled Butterfly Tutorial by Tracey S.

Hi, it's Tracey S. here today to share the steps to create this lovely, sparkly butterfly using products from your April Main Kit along with a few common items most of us have in our scrapbooking supplies.

Stickled Butterfly Tutorial


Often I'm looking for just the right embellishment and don't have the right size, shape or color in my stash. Here is an easy way to add a lovely butterfly to your project using supplies from your kit along with a few items most of us have on hand. 

Supplies: 


Supply List:
~ Sizzix Big Shot or other die cut machine (Not pictured)
~ Scrap of paper **April MK
~ Donna Salazar Wonderful Wings Spellbinder die. You could also use a different die, a punch or electronic cutting machine image.
~ Clear Rock Candy Stickles **April MK
~ 2 pieces of covered wire **April MK (Cut off of small roses)
~ Kaisercraft Lemon Pearls **April MK
~ Selection of inks in the colors of your choice. For this butterfly, I used Ranger Distress Ink in Scattered Straw, Tea Dye, Rusty Hinge, and Vintage Photo. Not pictured - I also used Black Soot to color the green wire for the antennae
~ Adhesive - I used glossy accents (Not pictured)

Step 1. Cut butterfly from paper scrap.


Step 2. Color butterfly with inks. Start with the lightest color across the entire butterfly and then add the next darker color staying closer to the edge of the wings each time so you get a ombre effect from the body to the tip of the wings.

Scattered Straw

Plus Tea Dye

Plus Rusty Hinge

Plus Vintage Photo

Step 3. Squeeze distress stickles generously on the entire butterfly and spread out with your finger or a paintbrush.

Step 4. Allow to dry. I let mine sit overnight. You can use a heat tool with distress stickles since the glitter is glass; however, I find that the medium the glitter is suspended in tends to bubble when heated, and I prefer to air dry for this technique. 


Step 5. Color the wire pieces with ink in the color of your choice. Curl the ends of the wire. I used round nosed pliers, but you could wrap the end of the wire around a toothpick. Glue the wires to the back of your butterfly. I use glossy accents as my adhesive. 

Step 6. Place self-adhesive pearls down the center of the body. You can see that I used different size pearls here than for the butterfly in the card, so just use whatever pearls you have left after creating your other projects. 

Step 7. These butterflies are quite flexible and you can fold up the wings and gently curl them to add graceful dimension as seen in the close-up on my card.

You can change up these sweet sparkly butterflies to coordinate with your project by using different ink colors as well as altering the size or shape of your butterfly. The sky is the limit. 

Here it is on my card:

ScrapThat! is celebrating National Scrapbooking Day by holding a round robin. Check out the details here. 

I have the ScrapThat! DT challenge this month, and if we get 10 or more participants I'll be giving away an extra prize ~ 6 of my handcrafted twine flowers in a variety of spring colors and sizes. So come join my challenge to incorporate fibers and/or cording into your project. You may also enter it in other contests, so if you have a project that fits the requirements, stop by ScrapThat! and show us your gorgeous work. The challenge details can be found here.

And you won't want to miss Amy's gorgeous April ScrapThat! Sketch Challenge.

I hope you'll try out my sparkly Stickled Butterfly!!
Have a lovely weekend! 

Thursday, April 11, 2013

ScrapThat! Kit April Creations by Amarilys Doria

Amarilys here today sharing with you the projects that I made with the April Kit "Within Nature". This kit is simply gorgeous and filled to the rim with scrappy goodies!

My first layout is based on my sketch for ScrapThat! April Kit.

(See details about the challenge here: Sketch Challenges)

and here's my take on it:

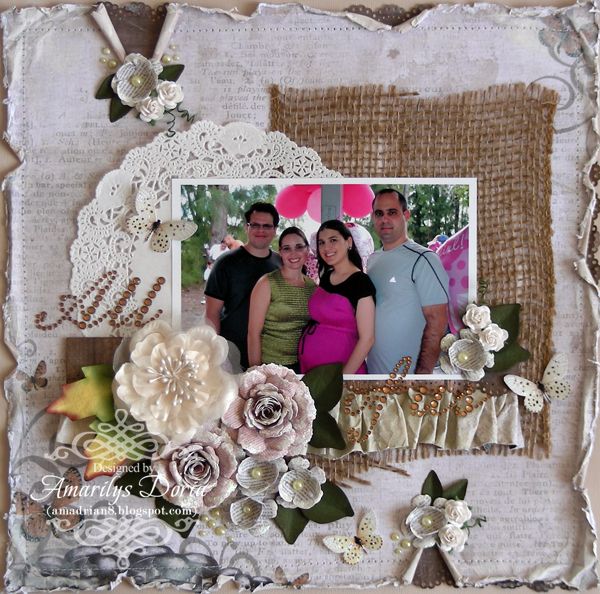
"All of Us" Layout

I used the Main Kit, The Embellishment Add On and Flower Add On for this layout. The doily, bling title and script paper used for my handmade flowers are from my stash. The leaves, butterflies and flowers are all handmade by me. This picture is of my best friend and her hubby with my hubby and I at her Baby Shower last year.

I definitely wanted this layout to be distressed and I went to town distressing on this one! I first distressed it with my Distrezz-it-All tool and then I water distressed it. I had forgotten how much I love to water distress! I followed the sketch down to a t and even did my 'random' tearings at the same suggested spots as the sketch.

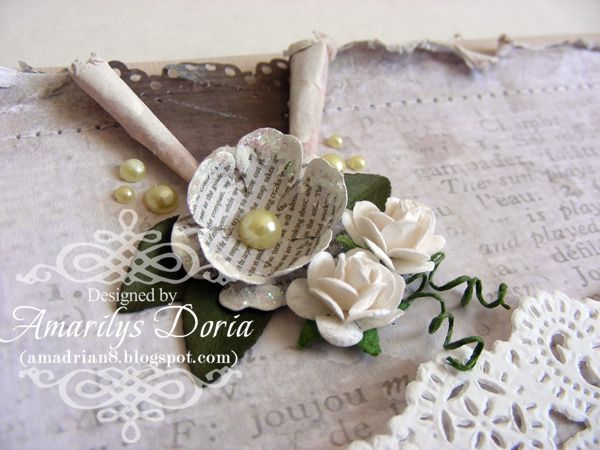
Here are a few close ups:


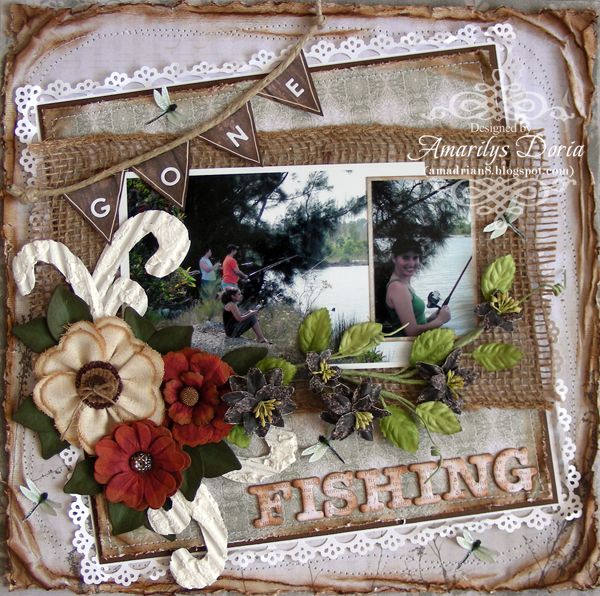
My second layout is about fishing! :)

"Gone Fishing" Layout
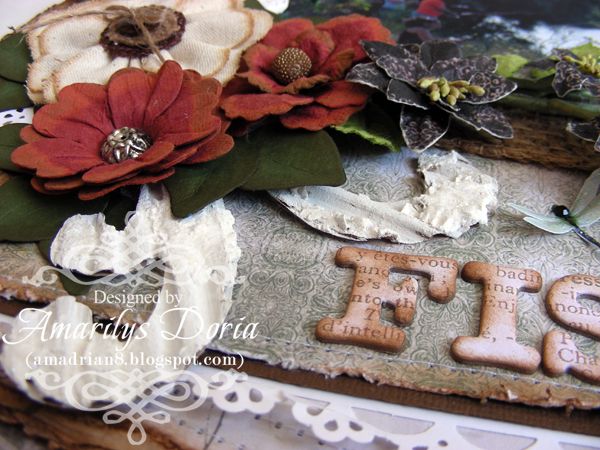
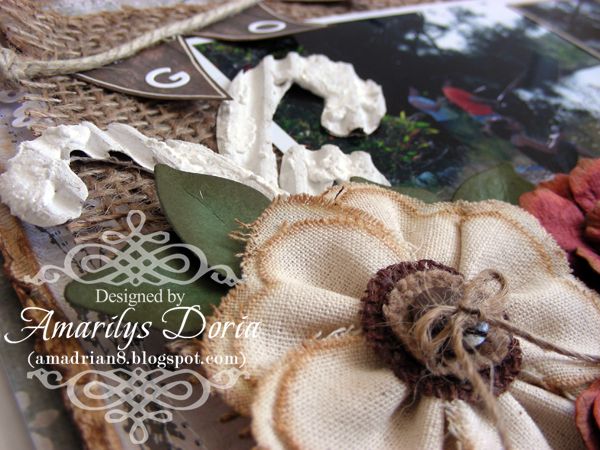
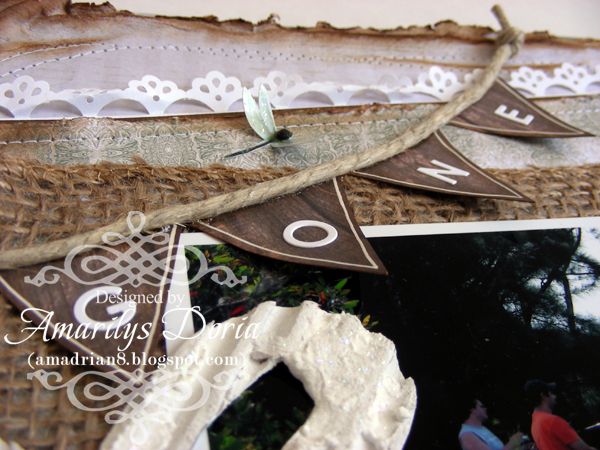
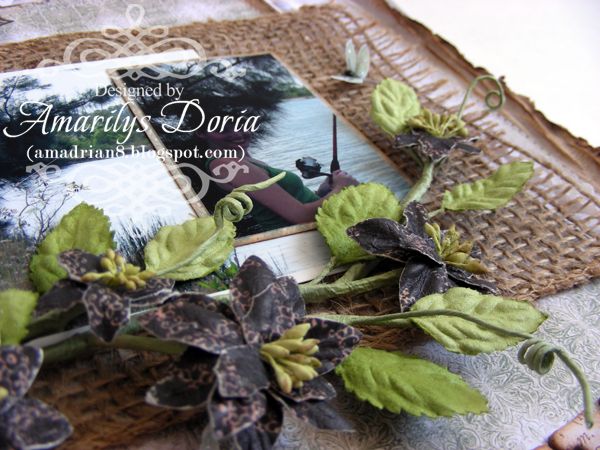
I used the Main Kit, The Embellishment Add On and Flower Add On for this layout. The cardboard used for the flourishes is from my stash. The leaves and dragonflies are all handmade by me. The pictures were taken a few years back in Miami, Fl.

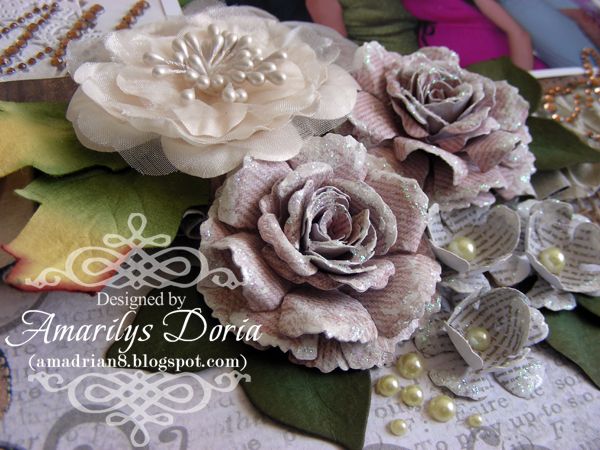
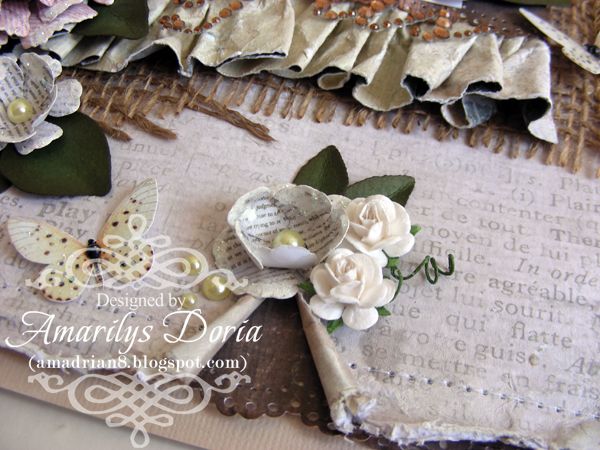
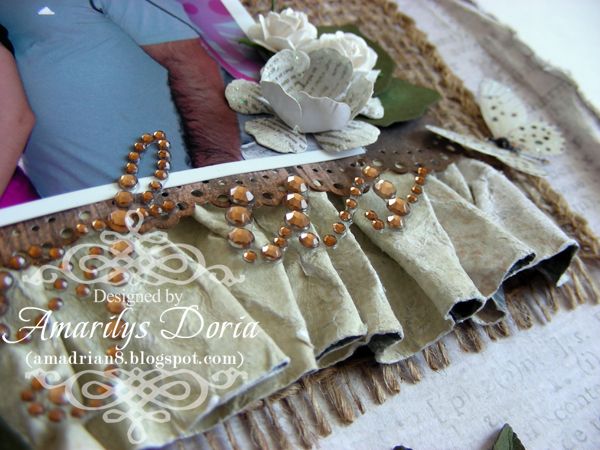
Here are a few close ups:


My next few projects are not layouts but were equally as fun to make!

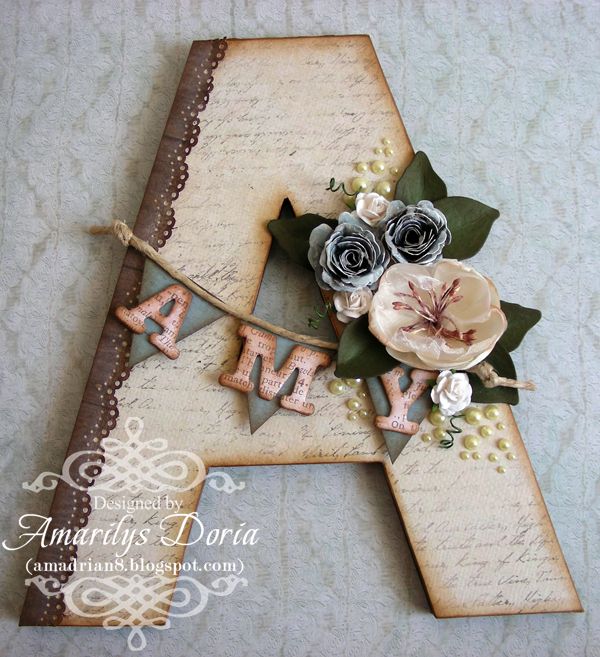
Altered Letter
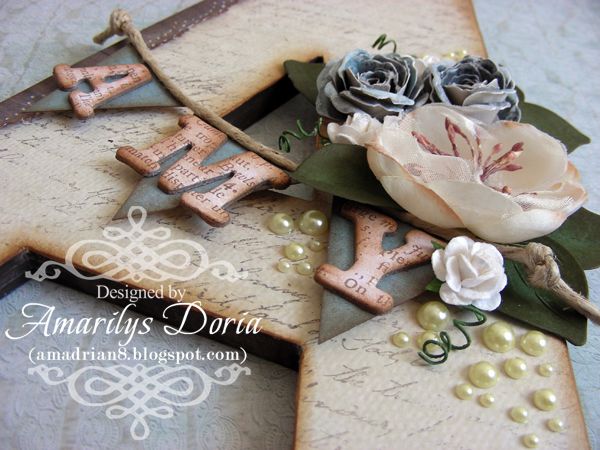
I used the Main Kit for this altered letter for my scraproom. I'm in the middle of remodeling/organizing my scrap area. The letter is from Hobby Lobby and everything used here is from the Main Kit. Here's a step by step on how I altered this letter.

Here's a close up of the finished letter:

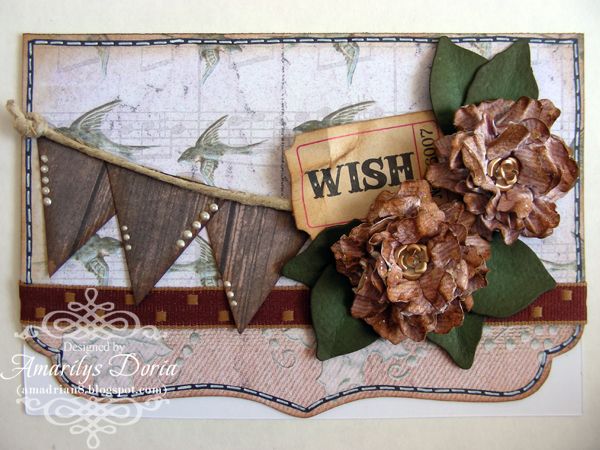
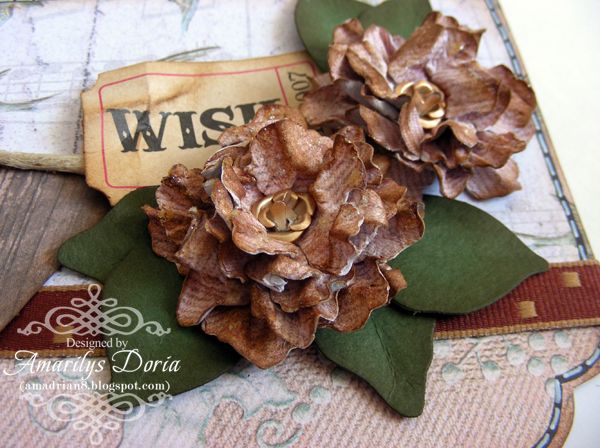
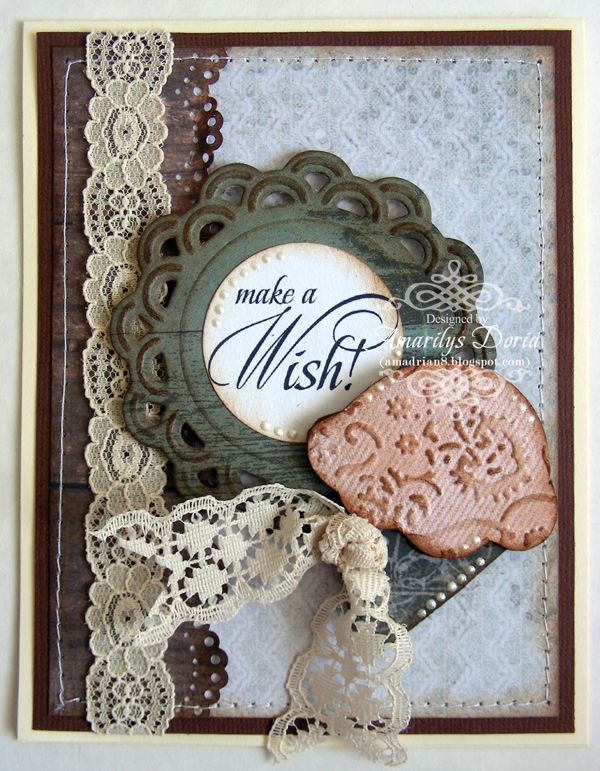
My last two projects are some quick cards that I made with leftovers from the kit after finishing with my layouts. I used the Main Kit only for these and handmade my own flowers/embellies using paper from the kit.


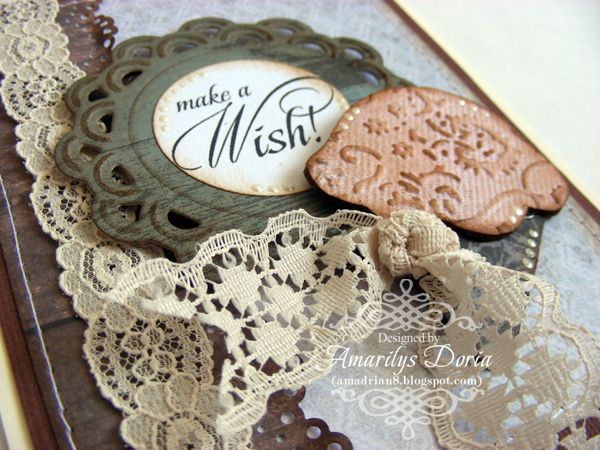
and my second card:


A lot of people have commented that I made a lot of projects with this kit and, well, i really did! However, I actually still have 2 full sheets of leftover pattern paper and a bunch of embellies left! This kit really is that huge!

Thanks for stopping! I hope that you are inspired to make something with this amazing kit! If you want to see more of my creations, please stop by my blog today!