


As many of you know, I love to make my own flowers and when I received this kit I knew I wanted to work on a new one!
Supplies:
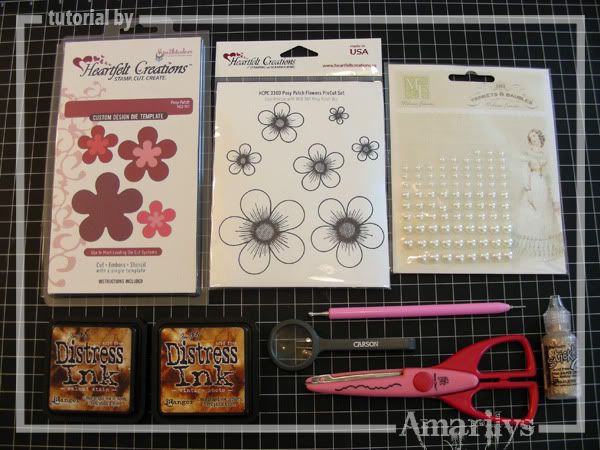
*Not photographed: cardstock, 8 petal daisy die cut, dry clear adhesive, pop dots
So, let's get started!
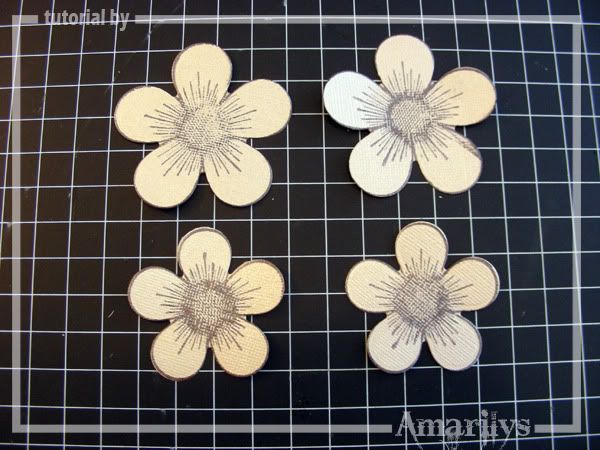
Step 1. Stamp and die cut two of each of the largest size of the posy patch flowers.
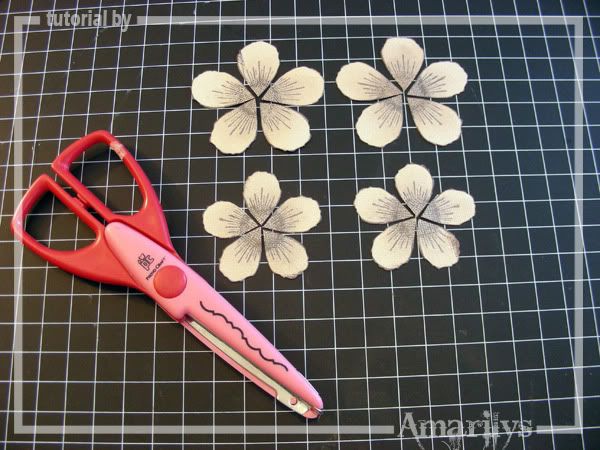
Step 2. Using any edger scissors, cut the edges of each petals and separate each petal from the flower.
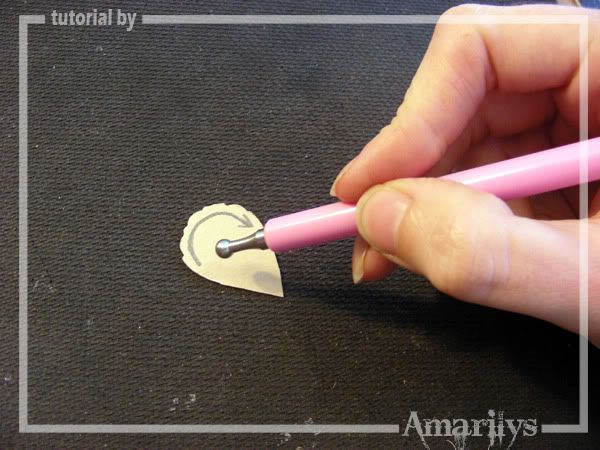
Step 3. Using an embossing mat (or your mouse pad), shape your petals.
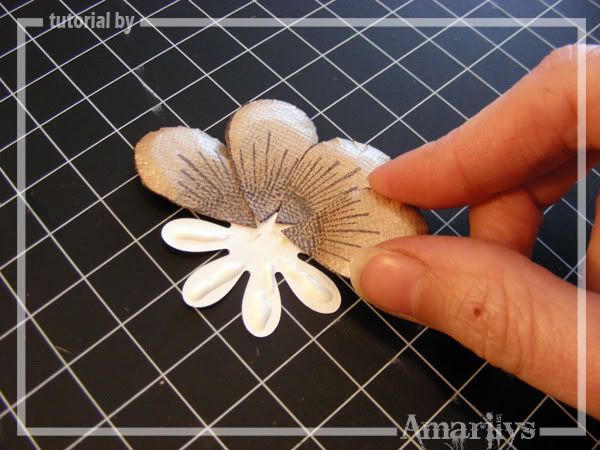
Step 4. Add each shaped petal unto an 8 petal flower die (I used a daisy) like shown above.
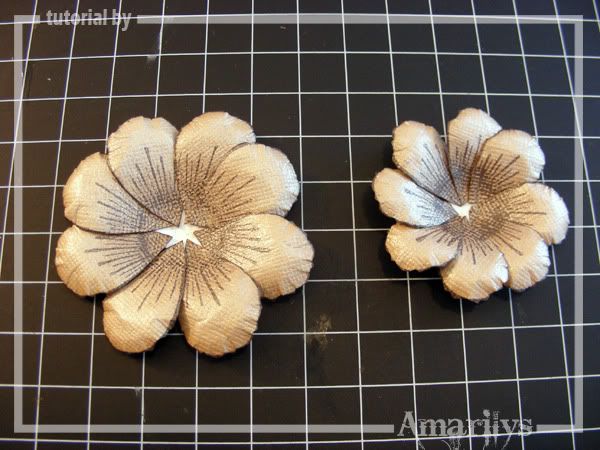
Step 5. You will have two 8 petal flowers when you finish and you will have a small gap in the center.
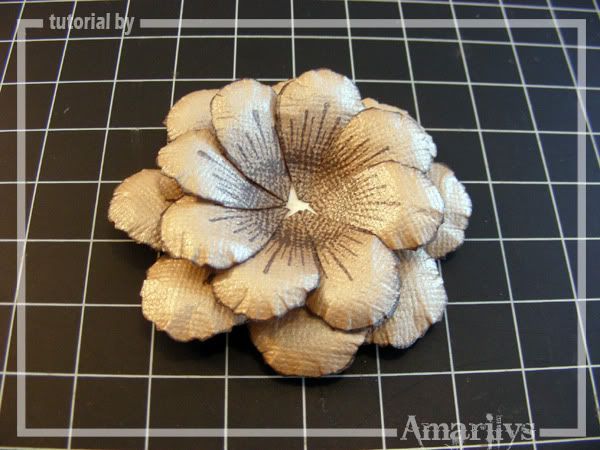
Step 6. Using a pop dot in the center of the large flower, layer the smaller one on top, staggering the petals.
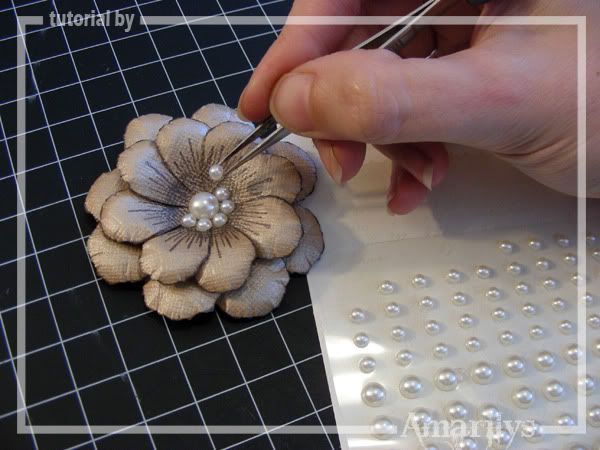
Step 7. Add pearls to the center as shown to custom make your own floral center.
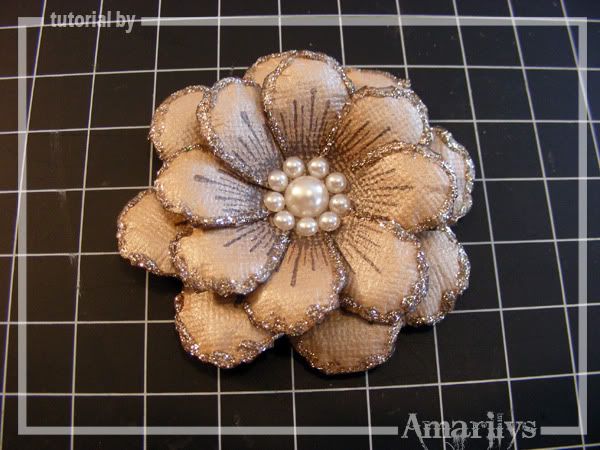
Step 8. Add Platinum stickles to the edges and let dry. You can then use your flowers for any project that you want!
Thanks for stopping! I hope that you are inspired to make something with this amazing kit! If you want to see more of my creations, please stop by my blog


wowwww! thank you for taking the time to show how you did this! the flowers are lovely!!!
ReplyDeleteAwesome tutorial Amy....love those flowers!
ReplyDeletethese are soo pretty, love them.
ReplyDeleteBeautiful flower and great tutorial Amy!!
ReplyDeleteTFS!!! :)
me encanta la idea de hacer flores.
ReplyDelete