Showing posts with label ScrapThat July 2013 Kit. Show all posts

Thursday, July 18, 2013

Tulle Flower Tutorial by Amarilys

Amarilys here and today I have a tulle flower tutorial for you! It's a very simple flower tutorial that can be done in under 5 minutes! So, let's get started!

Supplies:
  • Tim Holtz Tattered Florals die
  • manual die cutting machine
  • small rose from ScrapThat! Kit
  • tulle from ScrapThat! Kit
  • white pearls from ScrapThat! Kit
  • glue dots

Step 1. Die cut 6 Tattered Florals out of the tulle included in this month's kit.


Step 2. Fold each flower in half and then in thirds. You should be holding something like this.


Step 3. Add tulle flower over a small scrap square piece of paper with a glue dot.


Step 4. Repeat steps 2-3 until you are done with the die cut flowers. You should have a very puffy looking flower right now. Don't worry about the paper layer int he bottom as you will cover it up in the next step!


Step 5. To embellish the center, add a small rose from the kit to its center and start adding white pearls all around the flower. I ended up using 7 large pearls.


Step 6. Here's your finished tulle flower ready for your layout or card!

and here is how it looks in a layout:


Thanks for stopping! I hope that you are inspired to make something with this amazing kit! If you want to see more of my creations, please stop by my blog.

Friday, July 12, 2013

Stitched Background Flowers and Distressed Alphas Tutorials by Natasha our July GD


Hi everyone!  Natasha here with a few tips and techniques that I used on my layout, "Love Your Butterfly Kisses".  First I'd like to show you how I created the stitched background flowers that add dimension and texture to my layout.

Stitched Background Flowers

STEP 1: Use your favorite flower dies or punches to cut flowers from the adhesive-backed cork sheet.


STEP 2: "Distress" the cork flower cut-outs by dabbing white ink onto the top of the flowers and brown ink onto the edges. 
 
STEP 3: Remove the backing from the cork cut-outs and adhere onto your layout.  Poke holes around the edges of the flower.

STEP 4: Stitch the holes using embroidery floss to create a textured border.

Next I would like to share a quick tip on how to distress the awesome cork alphas that come in this month's kit.

Distressed Alphas
  
  
STEP 1: Stick your title letters onto a sheet of paper or a craft sheet.


STEP 2: Gently scrape the top surface of the alphas with an emery board, metal file or similar tool.


STEP 3: Dab white pigment ink onto the distressed alphas.

STEP 4: Spritz with water to allow the white ink to soak into the alphas. Dry with a heat tool and add a little brown ink to the edges.

I hope you find these tips useful!  Thanks for stopping by today!
Much love & hugs,

Friday, July 5, 2013

Featured Kit Creations by Natasha Naranjo Aguirre our July GD


Hi everyone! Natasha here to share a few close-ups and details about my projects using this month's amazing kit! It was such a pleasure working with this kit because green is my favorite color and combined with beige, it's one of my favorite color combinations.

"Love Your Butterfly Kisses"
 I made this layout using the Main Kit and the Embellishment add-on.  The photos are of my daughter when she was a baby.  She would stick her nose up at me to give me a butterfly kiss.  :o)

 I distressed the cork alphas that came in the kit and added printed words to my title.

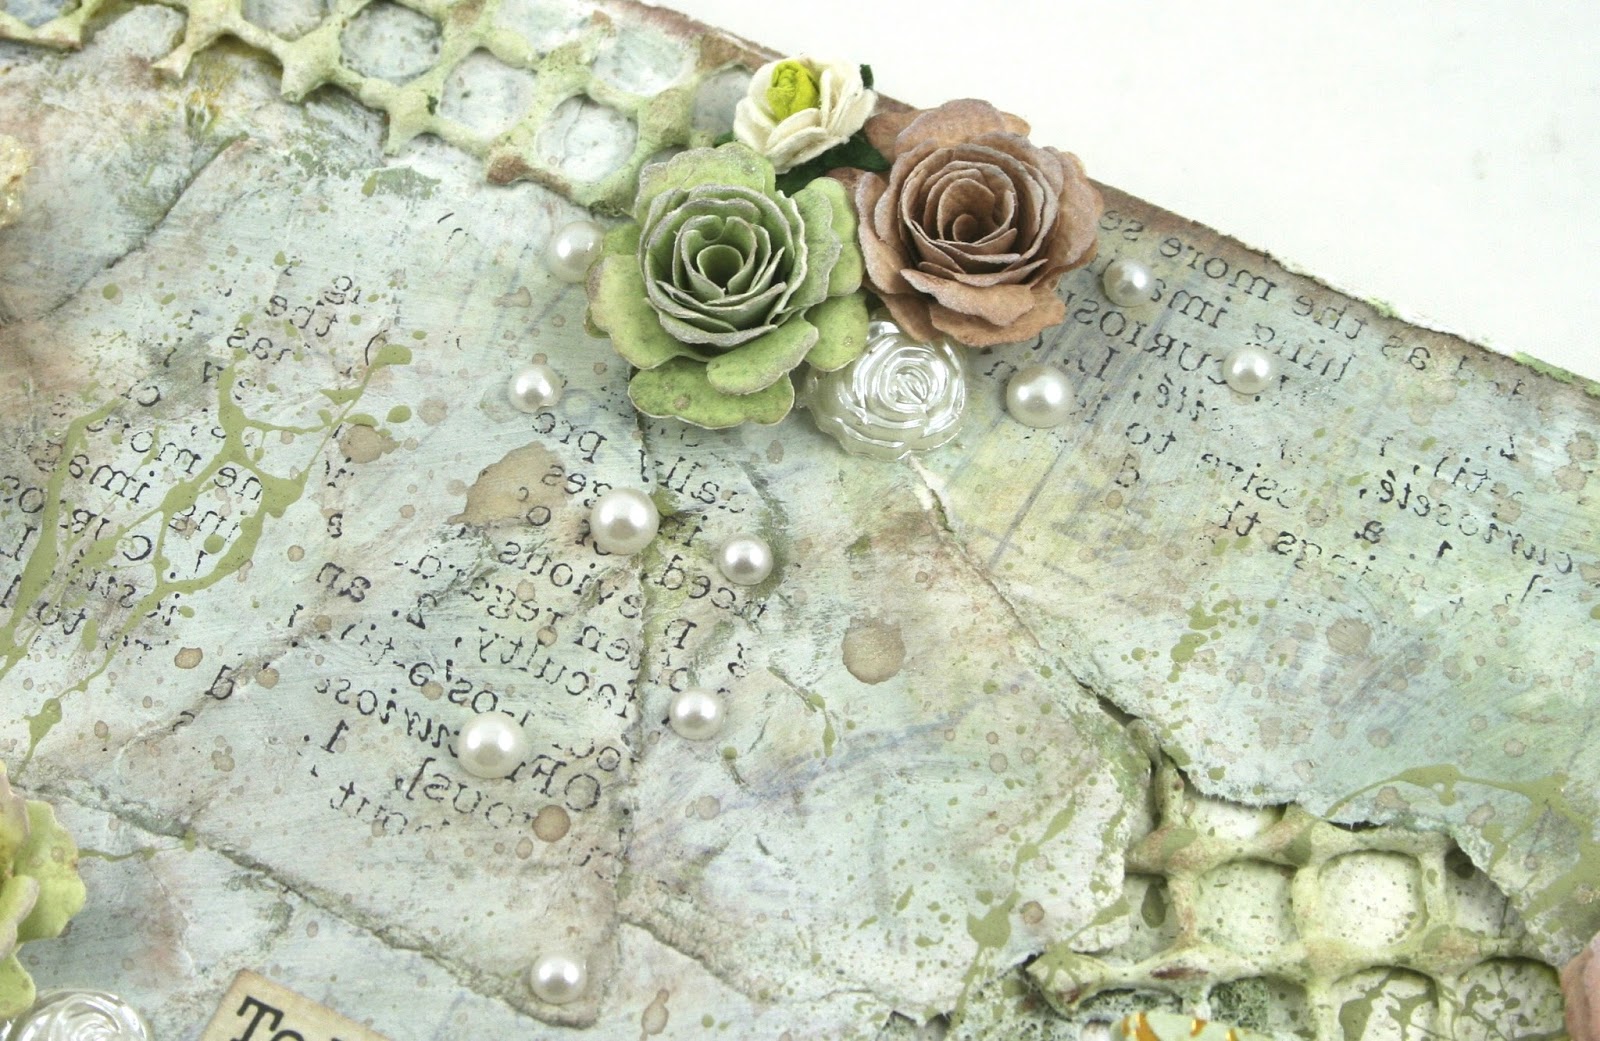
I love paint!  I try to always add a few splatters here and there on my work.  The pearls are included in the kit, and I have placed them so that they cascade down my layout. I altered the flocked ribbon with paint and embossing powder and tucked them under the edges of my papers. 

 I used Natural Sand medium and a stencil to add a subtle texture to my background.

 I cut flowers out of the cork and 'stitched' them to my background paper.  I have a tutorial on how to do this coming up, so be sure to stop by on the 12th to check it out.

To make these little roses, I took the Crate Paper sheet and inked it with Distress Stains to match the color palette of my layout.  Then I used Bitty Blossoms dies to cut out the flowers and rolled them into roses.  The vintage pearl roses are by Maya Road and are included in the Embellishment add-on. 

Also included in the EAO pack are these adorable butterfly clips by Pink Paislee.  Love them!  

"I {heart} U"
 I made this layout using just the Main Kit and I followed Amarylis' sketch.

I cut these ribbon banners from the journaling cards included in the kit.

The larger flowers were hand-made using Rose Creations dies.

This month's kit comes with a Prima stamp that I used to randomly stamp onto my background paper.

I used the tulle to add a laced border to my layout.  You can find the tutorial for my "Twisted Lacing" technique HERE.

How cute are these Scrabble tiles?  I hand cut a tiny heart to use for my title.  

"Accept Yourself" Canvas
For my last project, I created a canvas using all of the leftover papers and bits.


 I tore all the papers and overlapped them onto the canvas.


 I also used pieces of the flock ribbon and pliable mesh to add texture to the background.  Then I applied gesso and ink to the entire surface of the canvas.
 I printed out this inspirational quote that I found on the internet.

All of these flowers were hand-made (except for the tiny roses and pearl roses).

I added a butterfly clip to each of the floral clusters. 

The burlap butterflies are also part of the EAO pack.  They are stunning!

I had a fantastic time playing with this lovely kit!  Thank you to the ladies at ScrapThat for having me as a guest!

Have a beautiful day! Natasha

Thursday, July 4, 2013

Shimmer Tile Tutorial by Tracey S.

All of us at ScrapThat! wish our US friends a happy
4th of July!


It's Tracey S. here to share a fun tutorial with you. The Scrabble tiles in the ScrapThat! Main Kit are so cool, but since I wasn't able to spell something with the ones I received, I thought I'd try my hand at transforming them into shimmery tiles. Here's what I came up with.

Shimmer Tile Tutorial

Supplies:

Supply List:
  • Scrabble Tiles (ScrapThat! July Main Kit)
  • White Gesso
  • Prima Hello Pastel Clear Stamp (ScrapThat! July Main Kit)
  • Whispers Clear Glitter Embossing Powder (Holographic)
  • Perfect Medium or other clear embossing pad
  • Donna Salazar Mix'd Media CHOX Inx ~ Sage
  • Donna Salazar Mix'd Media Inx ~ Wisteria
  • Heat Tool (Not Pictured)
  • Paint Brush (Not Pictured)
Step 1. Place a small amount of gesso on a craft mat or paint palette. Add some water to thin down the gesso to create a wash. The amount of water will depend on how thick your gesso is. I used about 1 part water to 2 parts gesso. Brush the wash across the back and sides of the Scrabble tiles using a soft brush. Set aside to dry. I wanted just a touch of the wood grain to show through and used two coats of the gesso wash.


Step 2. Once the gesso has dried, stamp the tiles using the Prima Hello Pastel stamp included in the ScrapThat! July Kit. Ink the edges lightly. I used Donna Salazar's Mix'd Media Inx in sage and wisteria, but you can use any colors that coordinate with your page.


Step 3. Once the ink has dried. Press Perfect Medium or any clear embossing pad onto the painted and stamped side of the tile.


Step 4. Sprinkle with clear glitter (holographic) embossing powder and heat set. For even more sparkle you can repeat this step. (I used two coats of embossing powder.)

*****Tip: If you prefer a glossy finish that is not glittery, use clear embossing powder or UTEE.


Here are the finished tiles:

Thanks for dropping by to check out my tutorial! 

The July Kit is available in the ScrapThat! Store.