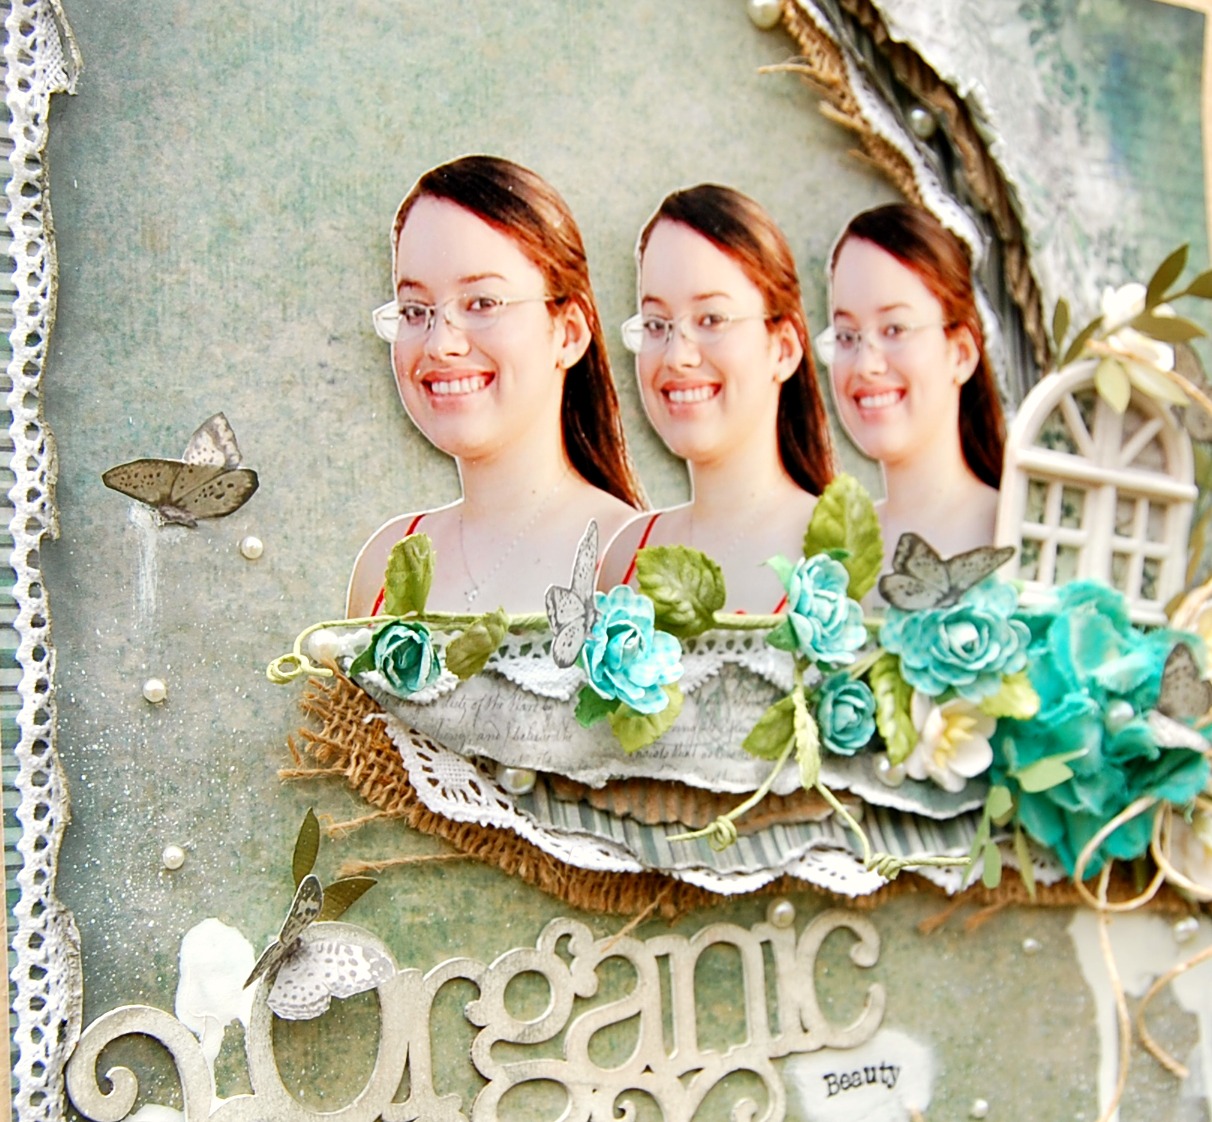
Amarilys here today sharing with you the projects that I made with the July Kit "Summer in my Garden". I managed to make 3 layouts, a card and a tag!
This is my first layout:
 I used the Main Kit and the Embellishment add-on for this layout. The doily, which I glimmer misted in brown, is from my stash. For this layout, I went with a blue/brown color palette. I water distressed the background pattern paper and layer it over a punched white cardstock (from my stash) and over another blue pattern paper which I mounted unto a brown cardstock (from my stash as well). I did some more die cutting and stamping on this layout too. The picture is from this year's Valentine's Day, which we celebrated the day after because my hubby worked, hence the blue/brown color combo instead of the red/pink traditional Valentine's Day colors.
Here are a few close ups:


My next layout is based on my sketch for the July Crop which you can find
here.
 I used the Main Kit for this layout only (no embellie add-ons or flowers add-ons) and did not add anything from my stash. I went crazy with punches and the lace for this layout! It's a picture of my hubby and I earlier this year during our 3rd anniversary. I did a lot of stamping and die cutting and I handmade my own flowers. Come back tomorrow for a tutorial on how to make the large flower.
Here are a few close ups:


The next layout is based on the July sketch:

and here's my take on it:
 This layout is based on my sketch for Scrap That! July Kit which I followed almost completely. I used the Main Kit and the Embellishment add-on for this layout. The doily, which I glimmer misted in brown, is from my stash. I took these pictures of these wild deer in a National Park here in Orlando, FL last year. They were so amazing to watch!
Here are a few close ups:


My next project is a birthday card for my mom:

I used the Main Kit and the Embellishment add-on for this card. I had so much fun working on this birthday card for my mom's 45th birthday! I added some die cuts and some stamped images and even made a little banner using the clothespins-she loved it!
Finally, my last project is a simple tag that I made for the crop:

You can find the July Kit "Summer in my Garden" on the
ScrapThat! Kit Page. This month’s kit features Fabscrap gorgeous Organic Collection! The kit is full of gorgeous goodies, such as lace, bling, an array of pretty flowers and much, much more!

Before you go, I want to announce the winner for the July Sketch Challenge!
The winner, according to random.org, is:
Drea Slee
Congrats!!!
Thanks for stopping! I hope that you are inspired to make something with this amazing kit! If you want to see more of my creations, please stop by my
blog today!




.jpg)