Saturday, August 21, 2010

Feather Flowers by Vicky

Vicky here blogging today. This is a layout of my daughter at 6 months "Beautiful" (using old MME papers from my stash) and a brand new flower tutorial "Diva Feather Flowers" that I created.

This layout also features embellies from my Etsy shop NOW OPEN! My shop is listed under my full name vickyalberto at http://www.etsy.com/shop/vickyalberto. Lori will be featuring some of my scrappy supplies in upcoming Scrap That! kits so stay tuned!


To get started you'll need 7-8 short craft feathers, one medium and one large punched paper flower (any die cut with separated petals will do), tweezers, water for misting (or color mist instead of inking the edges) and glue. My flowers are 2 and 3 inches for these. You'll also need a brad or decorative center of choice.

Step 1: As with most of my flowers, ink the edges and then slightly water mist. Using your tweezers, twist and push the petals towards the middle then give it a slight pinch into place. Let completely dry.

Step 2: Slightly unravel the petals of your flowers and glue feathers in the petal separations of the larger flower. Let dry.

Step 3: Glue the medium flower onto the large feathered flower and then also glue a few feathers to fill in blank spots. Let dry.

Finally, add your brad or decorative center and you're done!

I hope you enjoy making these fun little embellies and thanks for stopping by. Be sure to check out my other flower tutorials on my personal blog at http://simplypaperandcreativity.blogspot.com/ - they are all listed on the top right side with quick links. Happy scrapping!

Monday, August 16, 2010


Making False Pleats


Happy Monday everyone! LG here sharing a very quick and easy tip to create pleats on your layout design. I decided to do these kind of pleats because I find it hard doing the actual pleats if you don't own a sewing machine. Here is the sample of the pleats we are trying to achieve:


Materials:
Several strips of patterned paper preferably from the same paper
Border punch
Distress ink pad and blending tool
Trimmer or scissors
adhesive

Step 1: Cut several strips from one patterned paper and punch one side using your desired border punch.


Step 2: Cut them into small pieces. You can use the punched design as guide when cutting. You can make the same sizes or random sizes. Then distress all the sides of each piece. This will give a shadow illusion to your pleats.


Step 3: Adhere the 1st layer of pieces one by one making sure that there are spaces in between. Feel free to be concise or just paste them in random. Experiment!


Step 4: Adhere the 2nd layer of pieces on top of the 1st layer making sure that you adhere them in between the pieces of the first layer. Curl the edges using your fingers.


Thats it!!! Very easy right?

Friday, August 13, 2010

A Special Offer From the Scrap That! Kit Club

All subscription renewals, and all new subscribers received between Friday, August 13th (a very auspicious day) and September 3rd, will be entered into a draw to win a Zutter Distrezz-It-All!


This handy little gem is something ALL scrappers should have!

The Scrap That! “Say See ‘Ya Later” to Summer Sale!

If you love online shopping (and who doesn’t?) you are going to LOVE this!  Scrap That! is having a sale! Everything in the store has been generously discounted 40-70%. 
(Prices are already marked down on the site)

Did you know?

Our Shipping rates are the lowest in Canada?             
We don’t charge Sales Tax?                    
*FREE shipping on orders over $100?                     
We offer local pick/ up and delivery options in the Calgary area?

What are you waiting for?  Start Shopping HERE!

Thursday, August 12, 2010

Brilliant Bling Tutorial!! by Sandi Smith

Hi everyone...This is my first ever attempt at a tutorial so please
feel free to leave any comments or suggestions to make it better!

Supplies: 

Transparency Sheet Ranger Dimensional Pearls (Liquid
Pearls, Scribbles or any Fabric Paint will work fine) Tape Scissors
Exacto Knife Printer Printed Pictures of bling (Click HERE for the ones I use)
OR Leftover
Transparency sheets from used bling

OK...Here we go....this is really very easy!


Step 1:

Print your bling images and tape the transparency sheet over the
image you want to copy. Using your liquid pearls,carefully follow
the dots on the image. Be careful not to place the dots too close
together. For those who prefer to use the leftover bling sheets,
just follow the indentations in the sheet for your design. The dots
will have peaks but to give them a more rounded, flat look, gently
flick underneath the paper before they dry. I usually go a couple
of inches and then tap the paper. You can use one color or use a
couple of colors to compliment your project. Let dry 1-2 hours,
depending on how large your dots are.


Step 2:

Once the dots are dry, using your scissors, carefully cut
around the design. I sometimes use my Exacto knife for the little
places in between. You will not notice the transparency sheet once
it is placed on your LO. To fasten it to my project, I usually use
a glue dot behind an embellishment. All done!!


I have seen other tutorials where you scan your new crystal flourish, and place your
sheet on the printed image. Great idea for those who have a
scanner(not me). Or if you are really good, you can draw your own
flourishes. If the above images are not big enough, you can always
enlarge them in Microsoft Word. Making your own bling is a project
that improves with practice so don't be discouraged if your first
attempt is not perfect. Here area couple of layouts where I made my
own.


You can visit my blog at:  http://sandi-smith.blogspot.com/

If you have any  questions, feel free to contact me! Thanks for Looking!

Tuesday, August 3, 2010

EXTRA EXTRA! Read all About it!

Scrap That's August "Paper Girl" Kit goes on sale today!  This kit is PACKED with product to make your scrapbooking dollar go further.  This month's technique item is fabric, and we have included two awesome tutorials by our own Karen Wilson to show you how to make your own stunning blooms.  This has been one of our most popular kits to date and we have a limited number left available so be sure and grab one before they are gone!
August "Paper Girl" Main Kit

August "Paper Girl" Sampler Kit

August "Paper Girl"Paper Add-On Kit

August "Buttons Blooms & Bows" Kit

August Embellishment Add-On Kit

Sunday, August 1, 2010

Paper Weaving

Got scraps??? For today's tip, I will show you a simple way to maximize your scrapbook patterned papers by using your leftover scraps, mainly strips or rectangular pieces. In this project, we will use several pieces of colored patterned papers to produce a woven paper mat that we can use on a layout or a card.

Weaving is one of the most ancient forms of human creativity. Baskets and textiles would not have been possible without weaving. This project will give everyone the experience with working with the basic concept of weaving. The good thing is, we can also apply it to paper crafts!

Basic Materials:
Cut strips of patterned papers from your leftover scraps. Since my example will be for a card, the strip size that I did is 6"x0.5". The number of strips will depend on how big you want your woven matt. (You can always add as you go along)
liquid glue
your basic folded card
other embellishments or photos you would like to add

Before I started weaving, I distressed all the edges of my paper strips. This will add dimension and details to the project. Use a darker shade of Distress Inks to give the illusion of shadow and depth.

Start weaving, glue each section as you go along to make everything properly settled. You can go as long or as wide as you want too.


Once you have your desired size, just run it through your trimmer to cut the excess sides or you can just leave it as it is to show an unfinished project. That will definitely look great on a layout!

Thanks LG" for sharing this awesome tutorial with us!

Thursday, July 29, 2010

Scrap That! August Paper Girl Kit

Well, in case any of you have not had a chance to swing by our gallery and see the STUNNING work from our DT using the August Paper Girl kit, well here it is!  I can never say it enough, I am so privileged to have such a wonderfully talented group of artists representing Scrap That!


We have had tons of positive feedback and compliments on this kit, and people are lining up for it!  The kit will officially go on sale Monday - so if you don't want to miss out, email: customerservice@scrapthat.ca

Be sure and visit the DT blogs to leave some love, and view close ups of their amazing work! :)

Vicky Alberto http://simplypaperandcreativity.blogspot.com/
Karen Wilson  http://agirlsscrapobsession.blogspot.com/
Darien Anderson  http://darien-lovingmylife.blogspot.com/
Janis Medina-Maghinay http://thereluctantscrapper.blogspot.com/
Tara Orr http://eachmomentonlyonce.blogspot.com
Lady Grace "LG" Belarmino http://scrappinworld.blogspot.com/

Wednesday, July 21, 2010

August Kit Sneak Peek!

Fresh, Summer, Pretty, Girlie, Sunny.....these are just some of the words to describe the August Scrap That! Kit

Wednesday, July 14, 2010

Ruffled flowers

Hi there, this is Vicky blogging today. OK, so I have been researching techniques to manipulate paper to create ruffled flowers for a LONG while now. These take a bit of patience but turn out wonderfully so here it goes...

I am going to show you how I did the lilac one using heavy cardstock because heavier two-sided cardstock is the easiest to manipulate. The other two I used lightweight cardstock - I like them better but the paper tears easily when dampened. My flowers are 3 inches in diameter but you can make them any size!
Step 1: You need to gather 3 large punched/cut flowers, 1 medium and 5 small. It really doesn't matter what punch or die cut you use as long as there is a bit of separation between the petals. You also need a pen or pencil, tweezers, plain water mister and I forgot to put adhesive in the image - but that's a given right?
Step 2: VERY lightly mist the large and medium flowers, then using your tweezers gently twist and push the petals towards the center. Be careful not to overly wet them or they will rip. Right before you take the tweezers out give it a gently pinch to keep in place.
Step 3: Set aside to dry.
Step 4: Lightly mist the 5 small flowers. Then using your pen end, cup them around and roll then against the pen to get a good cup shape formed. On one of them pinch it to create your flower center.
Step 5: Glue the 4 flower cups into each other and press with pen end. Remember to off-set your petals. Then glue your center in. Set aside to dry. NOTE: This makes a pretty little rose on its own... just add leaves or a green star-like punched flower underneath to simulate a baby Prima rose.
Step 6: Lightly unravel your 3 large and the medium flower and glue them into each other, the medium one on top. Remember to off-set the petals again.
Step 7: Lightly push back the petals of the mini rose and glue it into the middle of the larger flowers. You can add leaves, or attach to a paper vine/flourish. You can also create "leaves" by putting a green pointed petal flower underneath. I just inked white cardstock.
Then you're done! I love the elegance of these flowers. You can also Glimmer Mist, add Stickles or simply ink the edges as I have done. I over inked the centre to show you the definition but I like them better more lightly inked in the center to look more natural.
I really enjoyed creating these. NOTE: I actually used the pointed flower base to create the pink one below. Like I said use whatever punch or die cut you have because once twisted they all look nice. Have fun and don't forget to show me your results! All I ask is that when possible you please give credit where due (to ANY artist) because tutorials do take a lot of effort to produce. Thank you. For more flower tutorial, please visit my blog at http://simplypaperandcreativity.blogspot.com/.

Thursday, July 8, 2010

...Another fabric flower tutorial=)

It's Karen here with you again.=)
I have another tutorial for fabric flowers!! Hmmm ya'll should get to thinking "why all these fabric flower tutorials???"...wink wink;) You all will find out soon enough.

This one requires alittle sewing but nothing major AT ALL!

K onto the point of this post!

Supplies:
*Fabric
*pretty center(pearl/brad/etc.
*scissors
*thread
*needle

Instructions:

Cut 2 strips of fabric, one being 1 inch wide & about 14 inches long, the 2nd strip being 1/2 in wide & 6 in long.


Take your longer strip, fold over one end of the strip and secure it with a stitch.


Then run a stitch across the entire bottom of your strip.


Once you're done running your stitch, pull the thread, this will make your fabric gather.


Secure the back with a few stitches, this should be what your flower looks like when you're done.


Repeat the above steps with your shorter strip. This will give you two blooms in the end.
Attach the smaller one on top of the large one with a few stitches, adhere your center..Voila!! A quick and easy fabric flower!

K off to bed now.
Goodnight!

Saturday, July 3, 2010

Fabric Flower Tutorial

Good morning to you all! This is Karen and I am going to share something with you. As I am sure you have all noticed, handmaking flowers has taken the scrapbooking world by storm. So guess what!?....I put together a tutorial that will show you how to make a flower out of fabric in just a matter of minutes!

Supplies needed:
*Hot glue gun
*Fabric
*Cardstock
*a puuurdy center(button, brad, pearls)

Instructions:

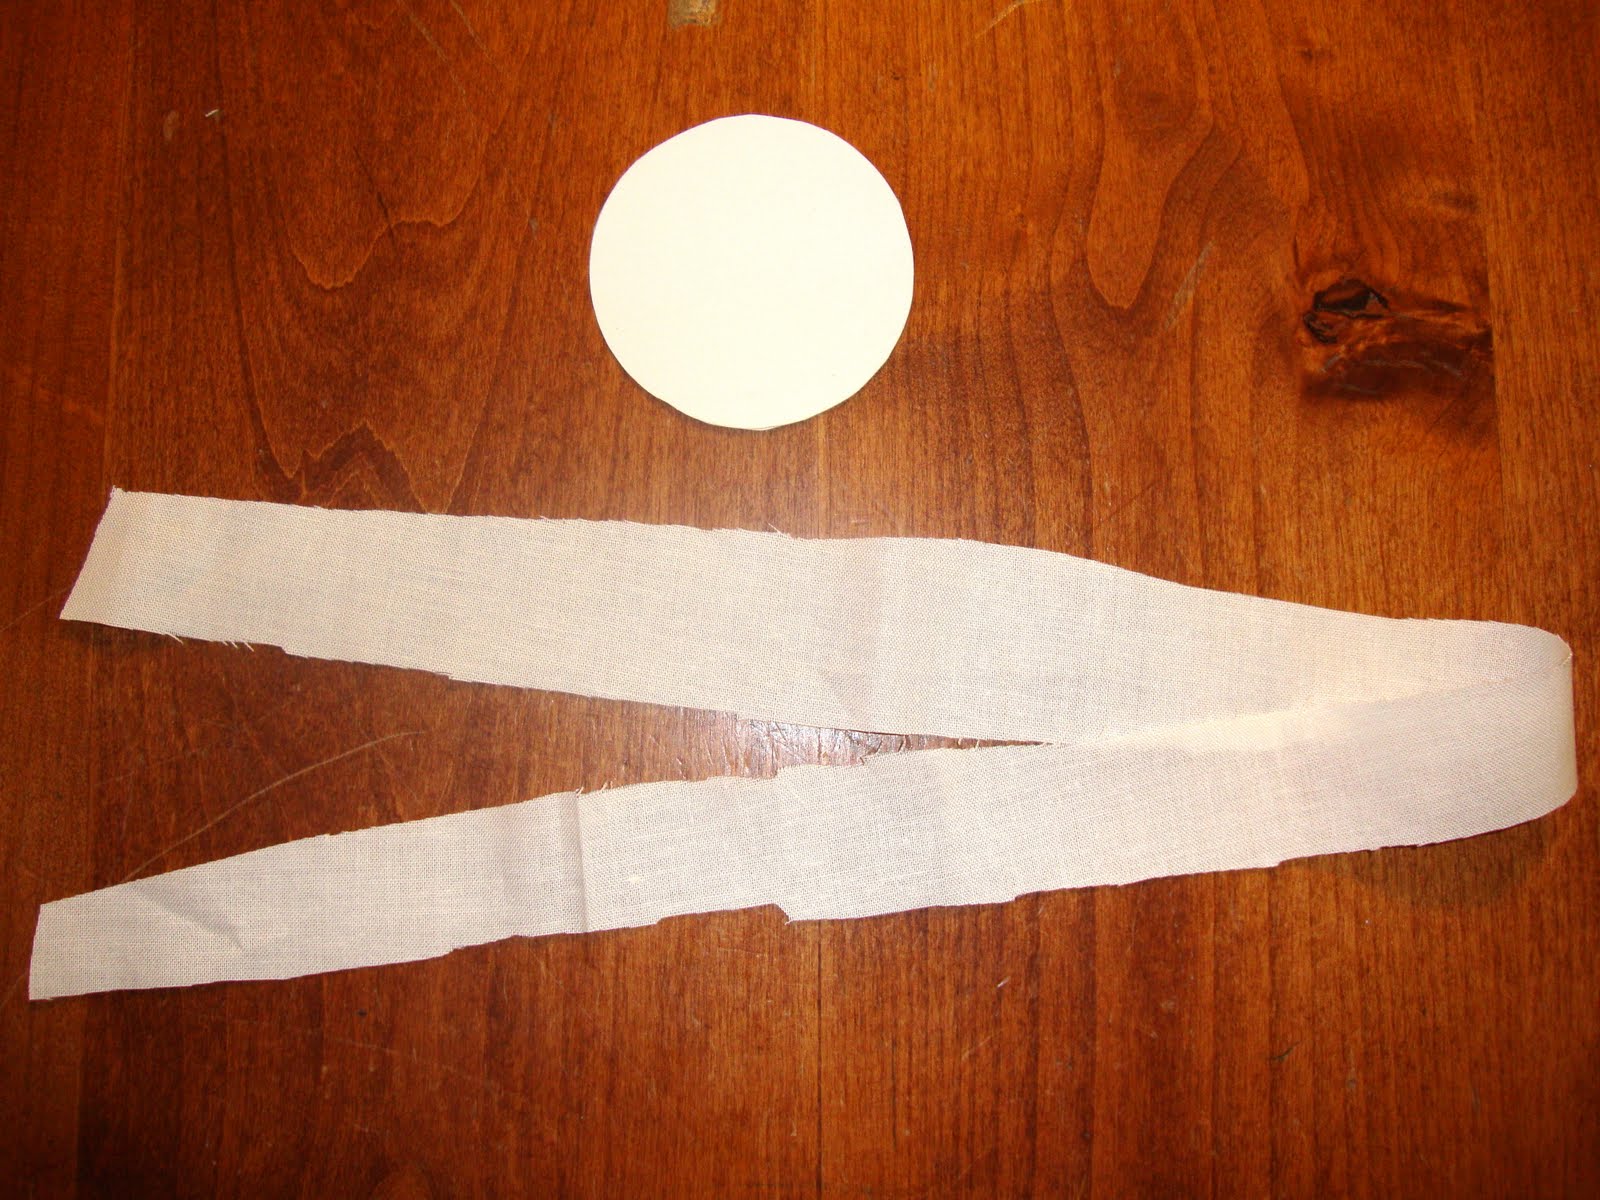
Cut a strip about 1 inch wide and 20 inches long of fabric(it doesn't have to be perfectly cut as you can see) =) Cut a 2 and a half inch circle from cardstock(this will be what you adhere your fabric to). **I like to cut my circle from coordinating cardstock just in case your paper peeks thru your fabric.


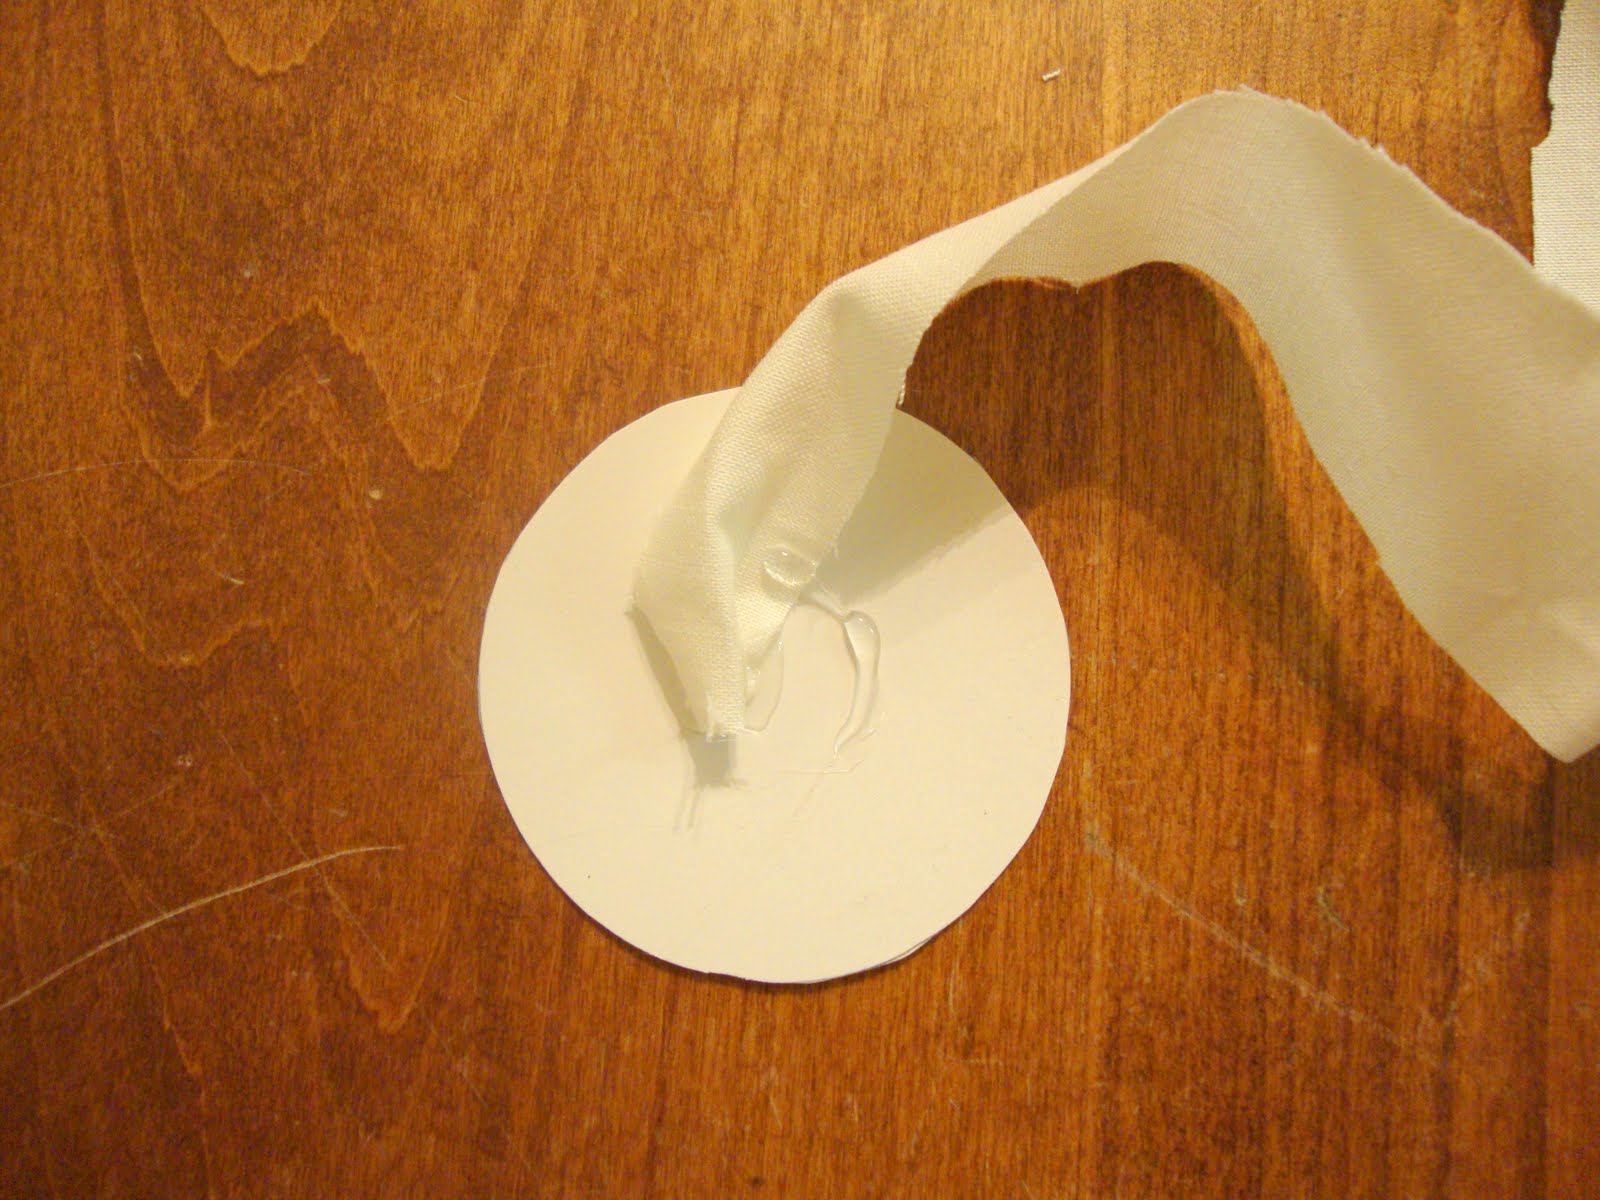
Place a dollop of hot glue in the center and adhere one end of your strip.


Start working from the center out, slightly twist the fabric as you go around. Work fast as hot glue only gives you a few secs before it dries. **Only put down a bit of hot glue at a time or it will dry before you get a chance to put your fabric down.


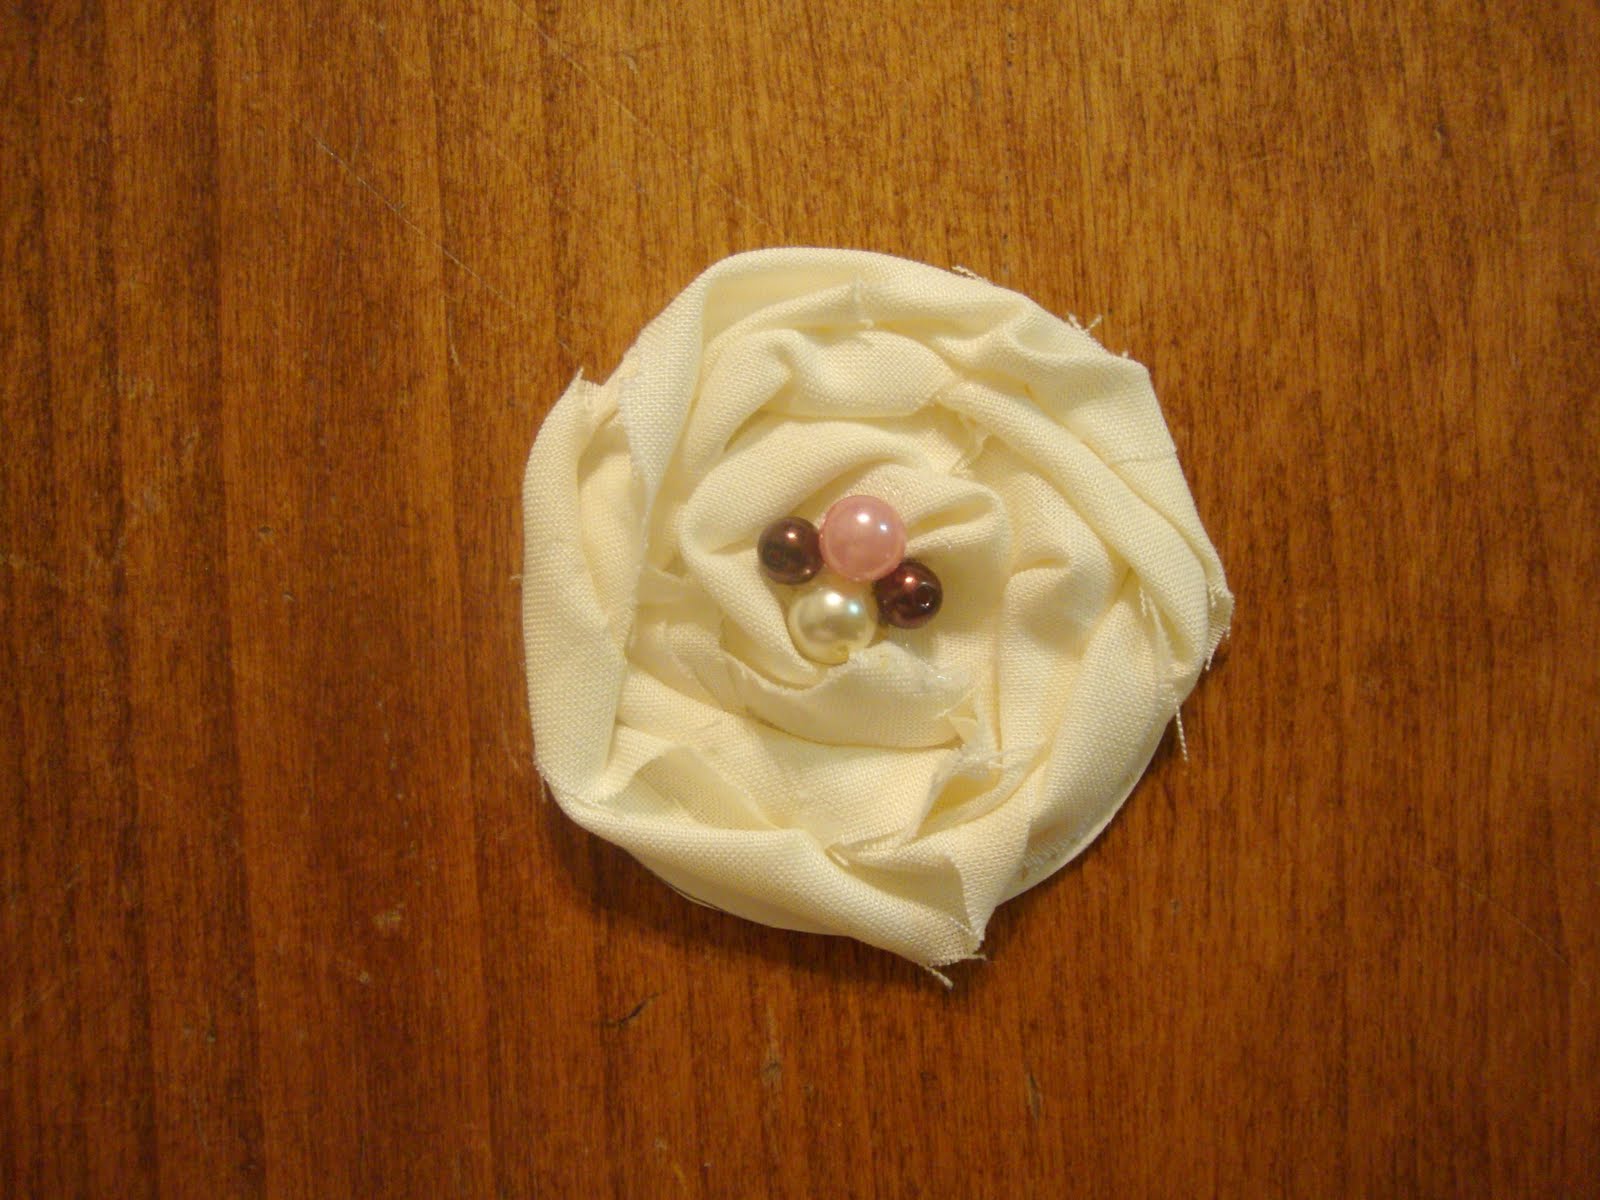
Once you are done you will probably have alittle bit of extra fabric, just place a dot of glue to the back of the circle and fold the fabric back.


Lastly embellish your center, whether it be with a decorative button or pearls. Tada! You've got yourself a handmade flower, done in justa few minutes!


Here's a layout which I used this type of flower on.


Hope you enjoyed this tutorial!
Can't wait to see all our flowers!
Have a wonderful and safe 4th of July.

((HUGS))
~Karen