Sarah here, hoping that you are enjoying a wonderful holiday season! Today, I get to share with you some details and close-ups of my creations with the gorgeous ScrapThat! December Kit.
"First Noel"
Main Kit
This is the layout I created based on Amarilys' beautiful December Sketch! The picture is of my son on his first Christmas Eve in the cutest little reindeer jumper.
Everything on this layout is from the Main Kit, with the exception of the buttons and the brown/white baker's twine, which are from my stash. I machine stitched a square about 1.5 ins. inside the edge of the die-cut page and then water-misted/scrunched the edges. I also added bits of edge-punched paper as peek-a-boos around the scrunched edge of the die-cut paper.
I love using the kit papers to create embellishments, so for this layout, I created a double-layered, stitched banner and three different sizes of rosettes. I "hung" the rosettes using the red/white bakers twine in the kit and added the holly leaves and berries as the "hanger" for the rosettes. For the banner, I handcut the flags and die-cut the scallops and machine-stitched them together to form a layered banner. Here is a close-up of the rosettes and part of the banner.
~~~~~~~~~~~~~~~~~~~~
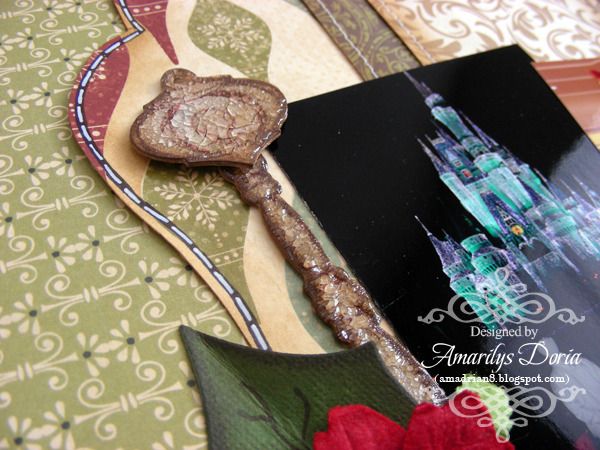
"The Best Gift"
Main Kit, EAO, FAO, PAO
This layout was inspired by my scrappy friend Frank Garcia's layout entitled "
Temps" and the song "
The Best Gift" (which you can find on Barbra Streisand's Christmas Album). I wanted the page to look like unwrapping a gift - the best gift I ever got, my tiny baby boy, who is about 6 weeks old in this photo.
I handmade the large poinsettias on this layout - you can go
here to see the tutorial on how I made them.
The gold leaves and white roses are from Main Kit and FAO and the green spirals are the wires cut from the white roses. I also added additional poinsettia flowers that I picked up in the bargain bins at Michael's. I did a simple paint treatment on the chipboard bells and then added some of the gold border stickers from the EAO to echo the borders I used across the upper portion of the layout. I cut the gold balled wire from the Main Kit into individual balls with stems to create the gold 'berry' clusters.
I altered the white roses by smearing them with craft glue and then dipping them into the same mixture of micro beads that I used for the poinsettias. Here is a close-up of one of the altered white roses.
For the bottom portion of the layout, I tore two layers of paper, folded back the edges and secured them with gold 'berry' clusters. The flowers are a mixture of the FAO and flowers from my stash. I also added in a chipboad french horn from the EAO (again a simple paint treatment). The letters for the title are from the ScrapThat! November Kit.
~~~~~~~~~~~~~~~~~~~~
"Joy"
Main Kit, EAO, FAO
My final page with the kit - I wanted to go with a lot of silver and gold on this page with a few splashes of colour. Everything got misted with a generous coat of gold mist too! I have to apologize for the quality of the photos of this layout - the gold misting simply does not photograph well!
I started this layout by doing some stamping with two Kaisercraft stamps from my stash - a chicken wire stamp (just visible in the top left) and a postage marks stamp (right side). I used two of the speciality papers, some Prima packaging and some bits of one of the borders off the patterned paper in the layering here. I also added in some Prima Canvas resist pieces from my stash.
I used the white flowers from the FAO and the silver leaves and silver balled wire (again creating 'berry' clusters). I replaced the rhinestone cluster from the centre of the larger white flowers with the silver snowflake brads from the Main Kit. You can also see some fussy-cutting of the ornaments from one of the speciality papers.
I painted the chipboard ornament with white gesso, embossed it with an embossing folder and then brushed it with gold paint.
~~~~~~~~~~~~~~~~~~~~
Thanks so much for visiting the blog today. I hope you found a little inspiration in my layouts and I wish you all the best during this holiday season!


